Supplier data collaboration
1. Login with Email
Enter your email address to proceed with the Vendor Login

2. Password Input Field
Enter your password in the designated field to access your account.

3. Login Button
Please click the Login button.

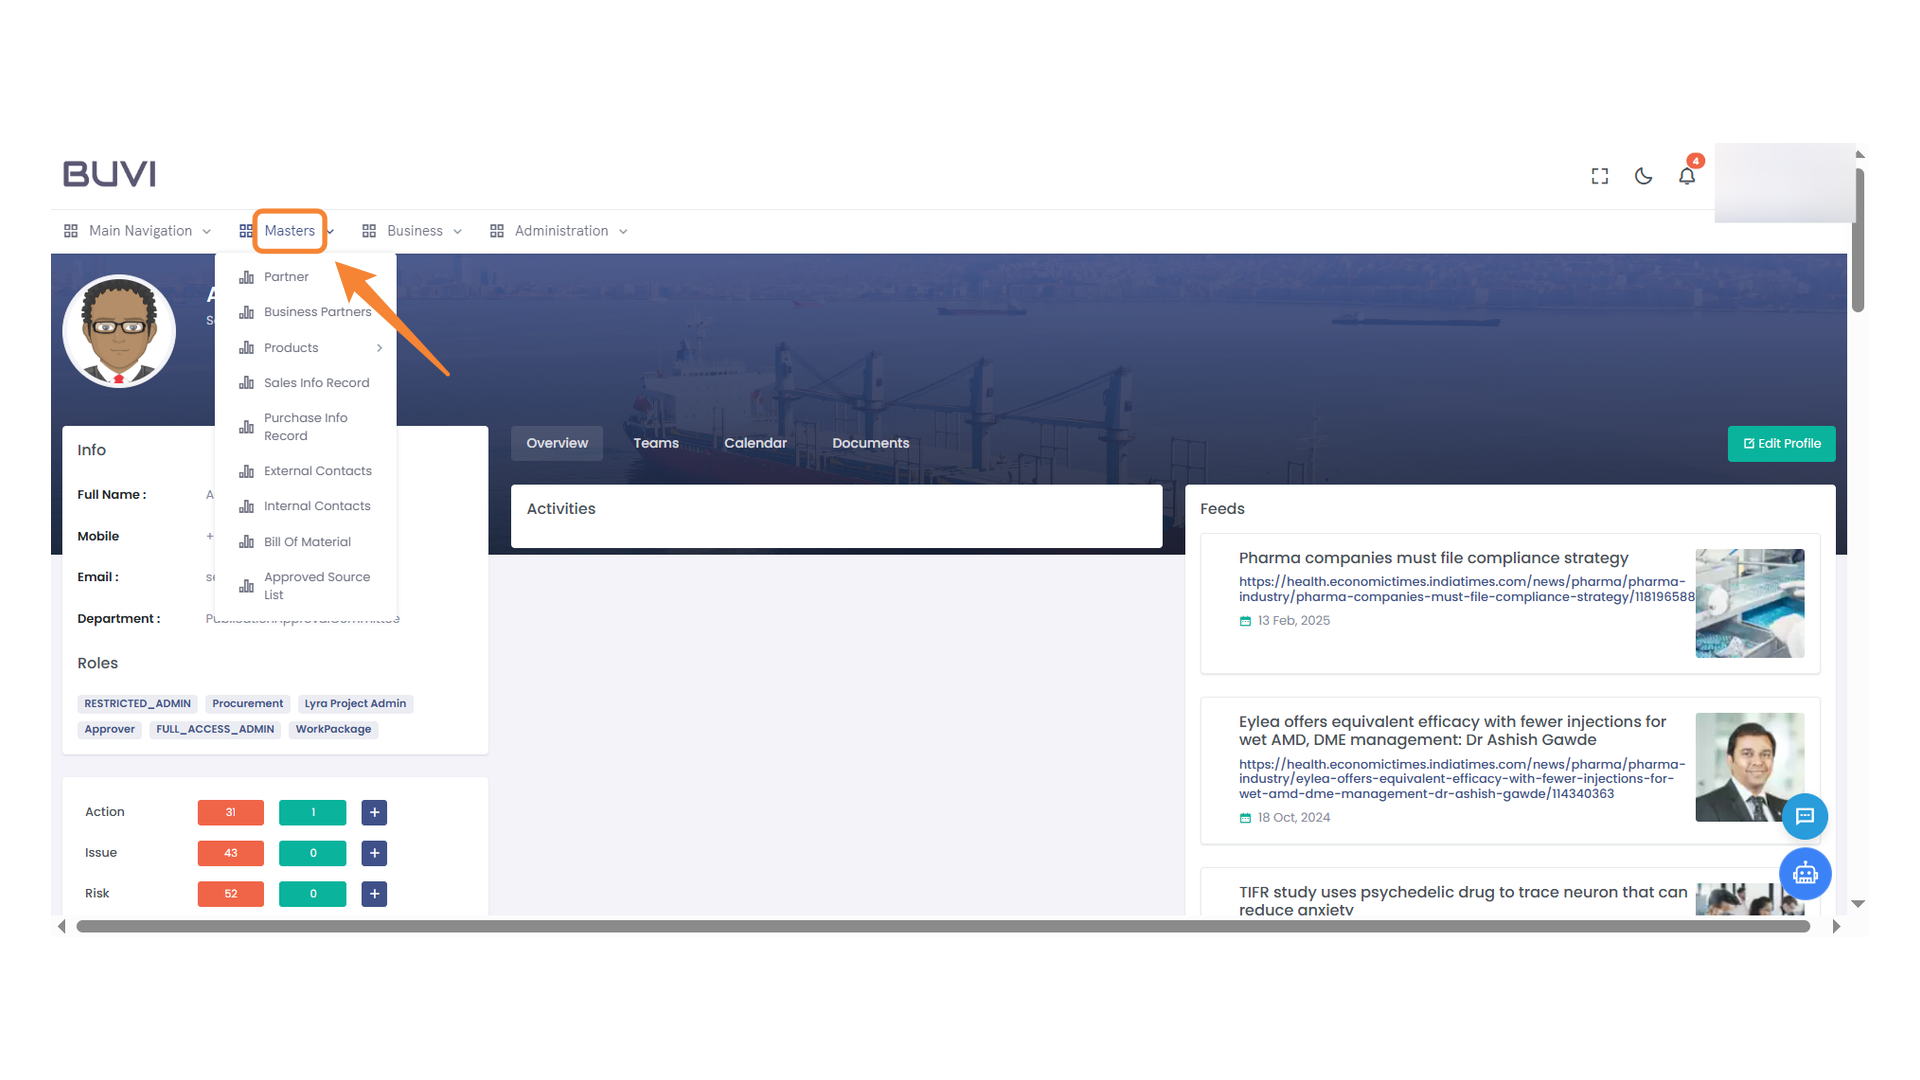
4. Administration Dropdown Menu
Navigate to Administration to collaborate with the Bank, Category, and Attachment and Contact Details.
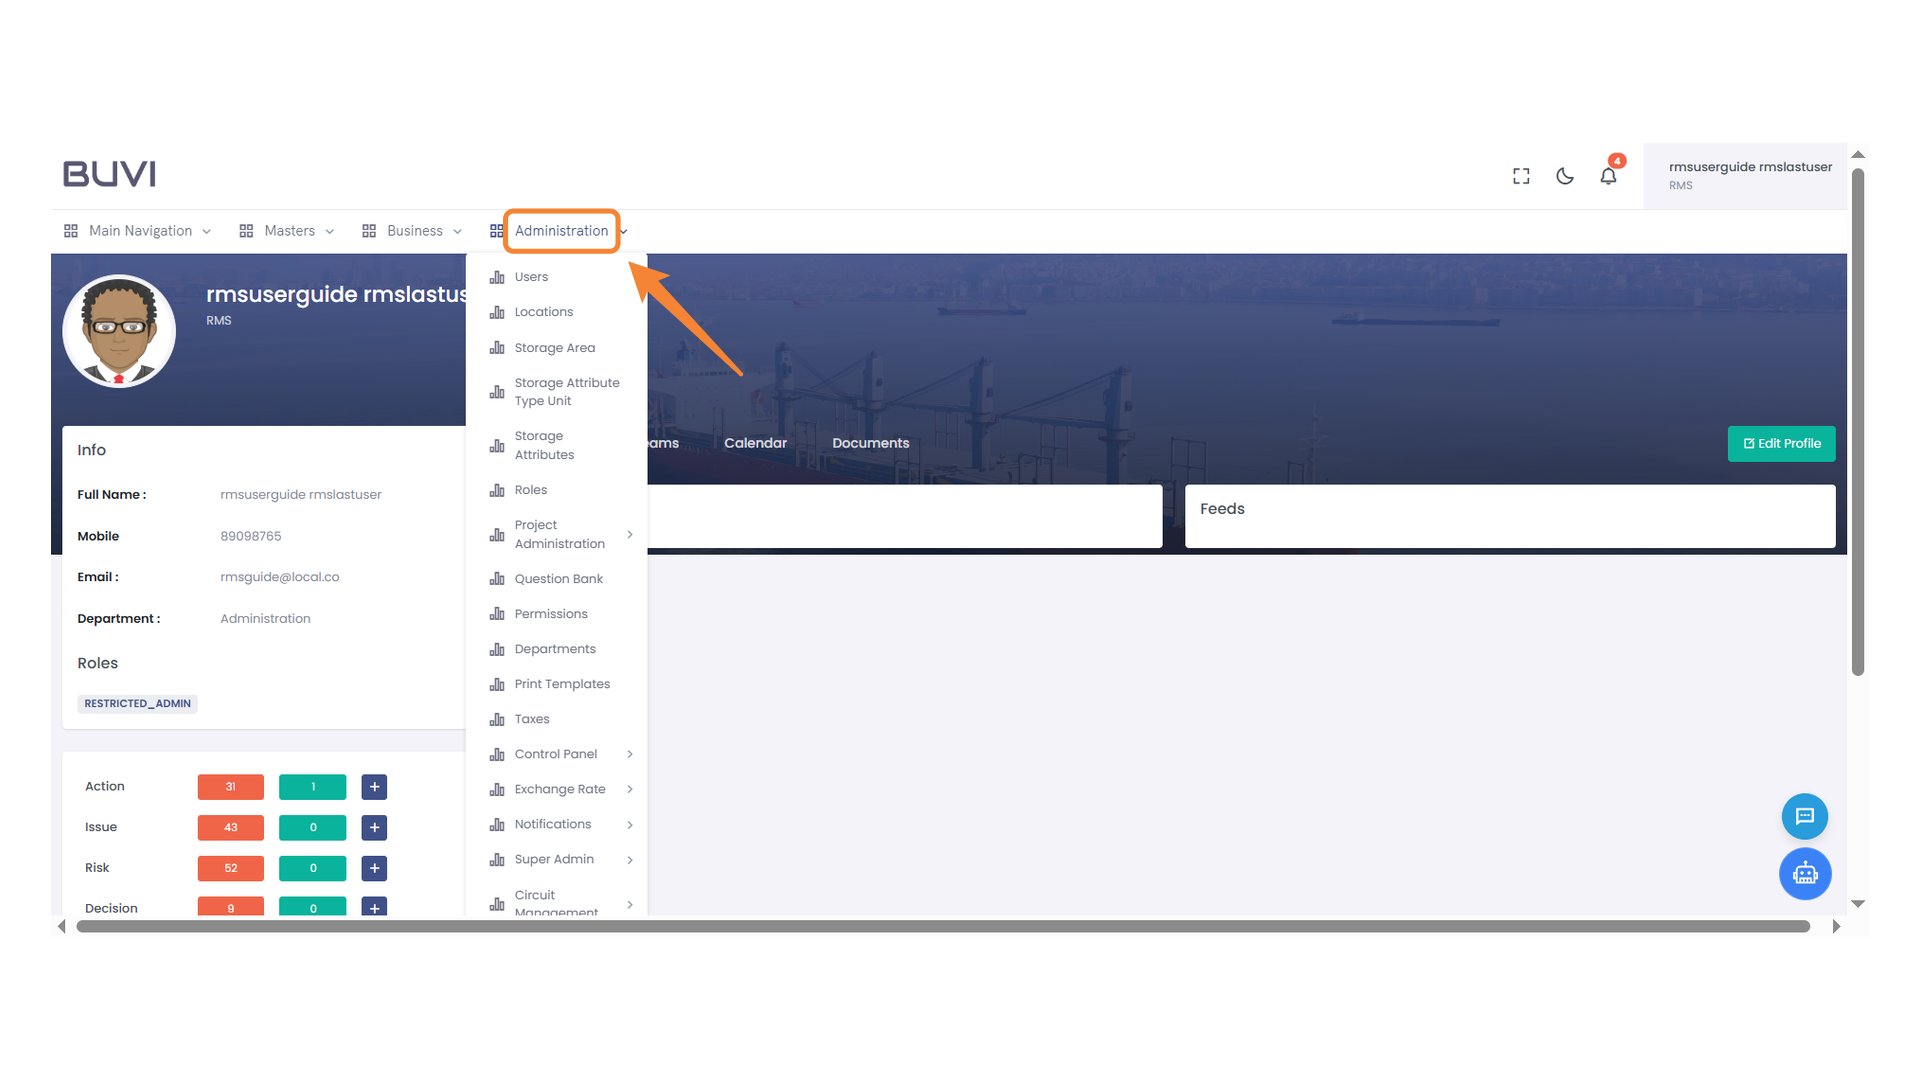
5. Navigating to Control Panel
Select the Control Panel.
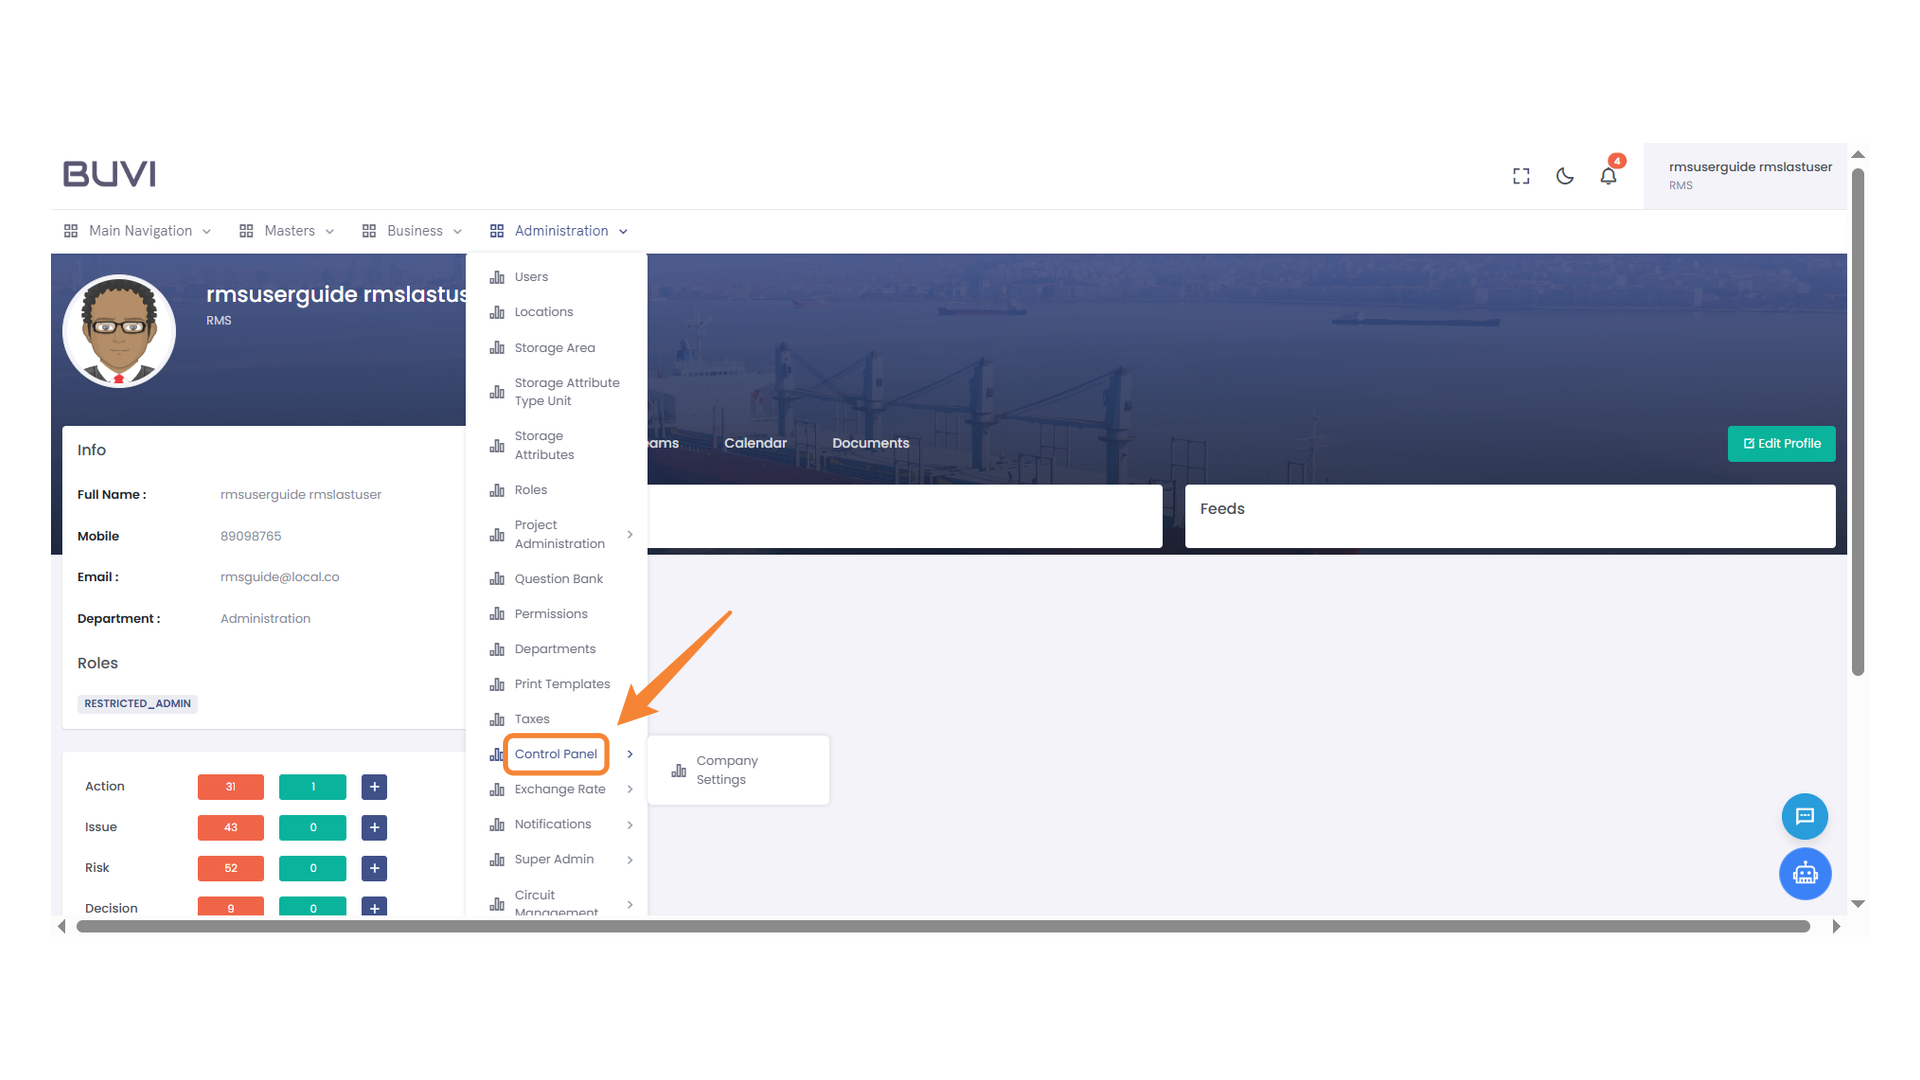
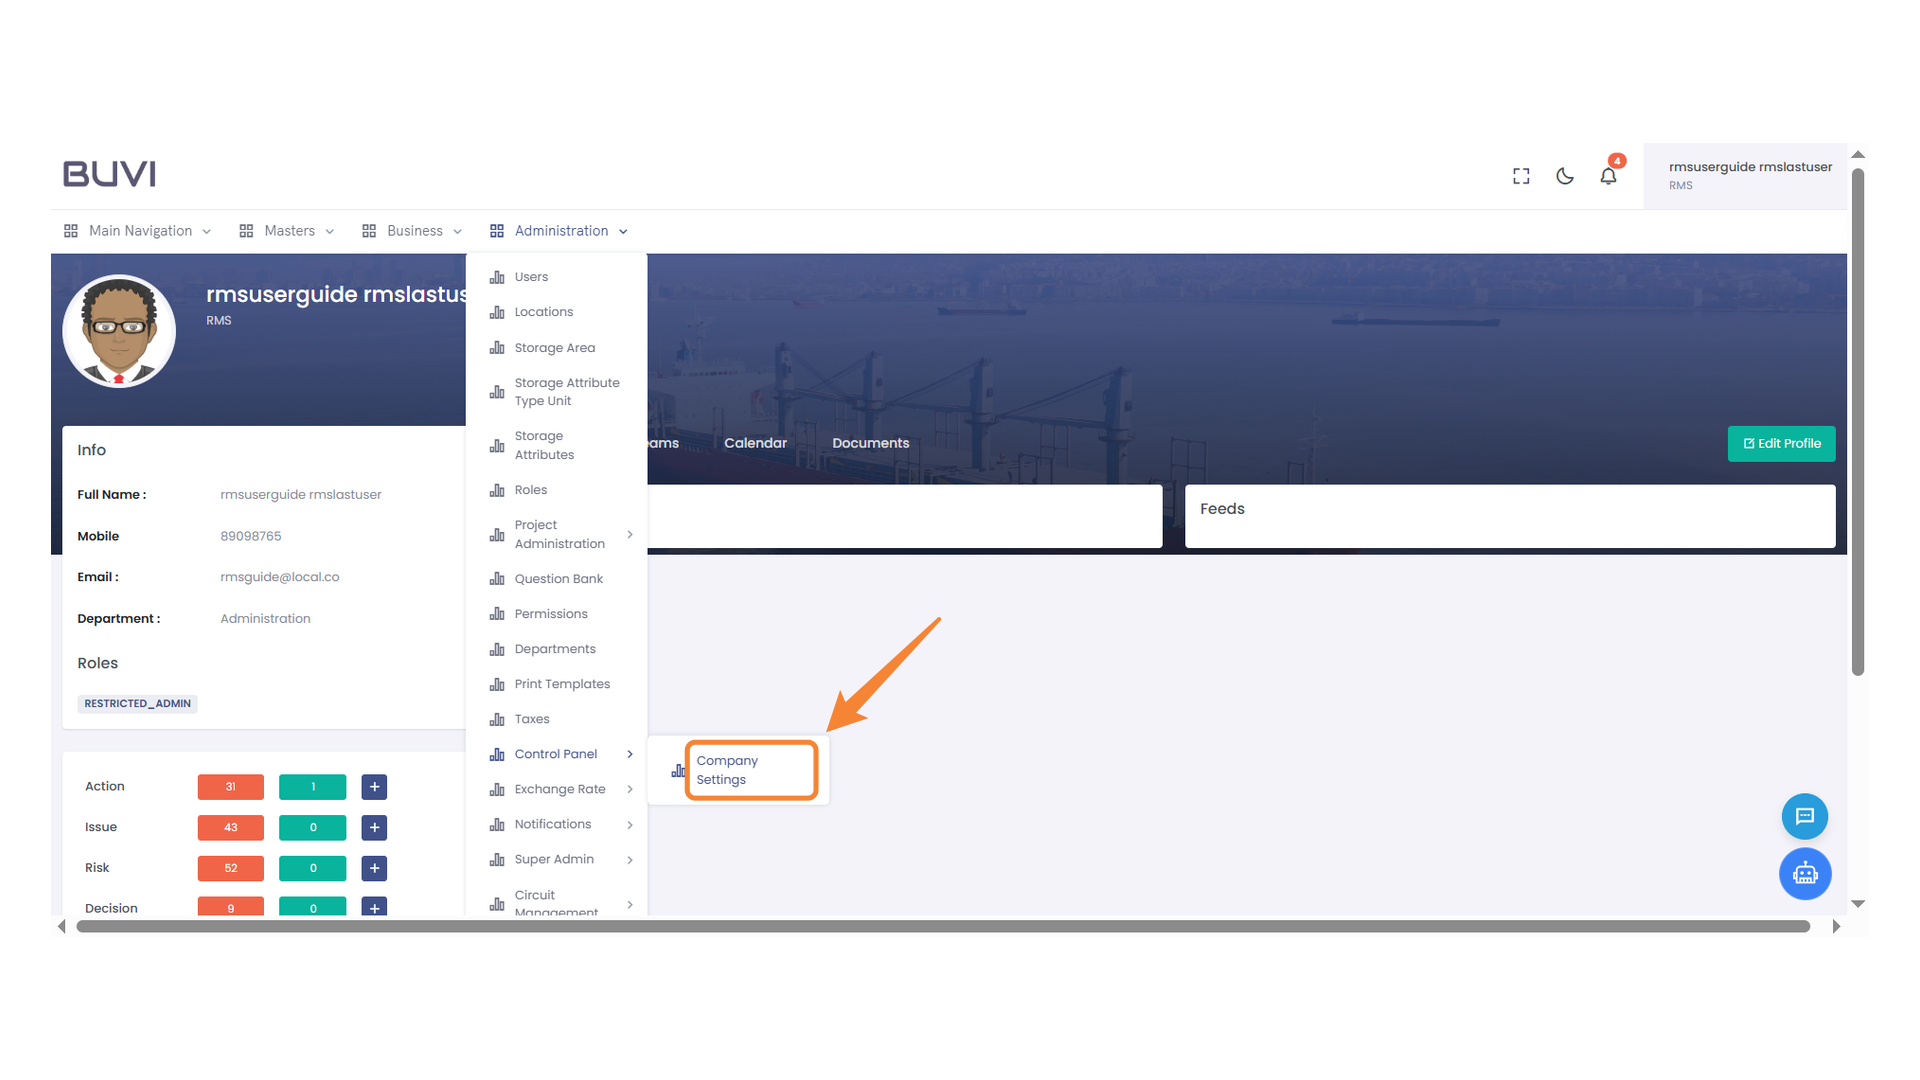
6. Company Settings Section
Navigate to Company Settings.
7. Bank Icon in Menu
Select the bank icon to access financial settings.

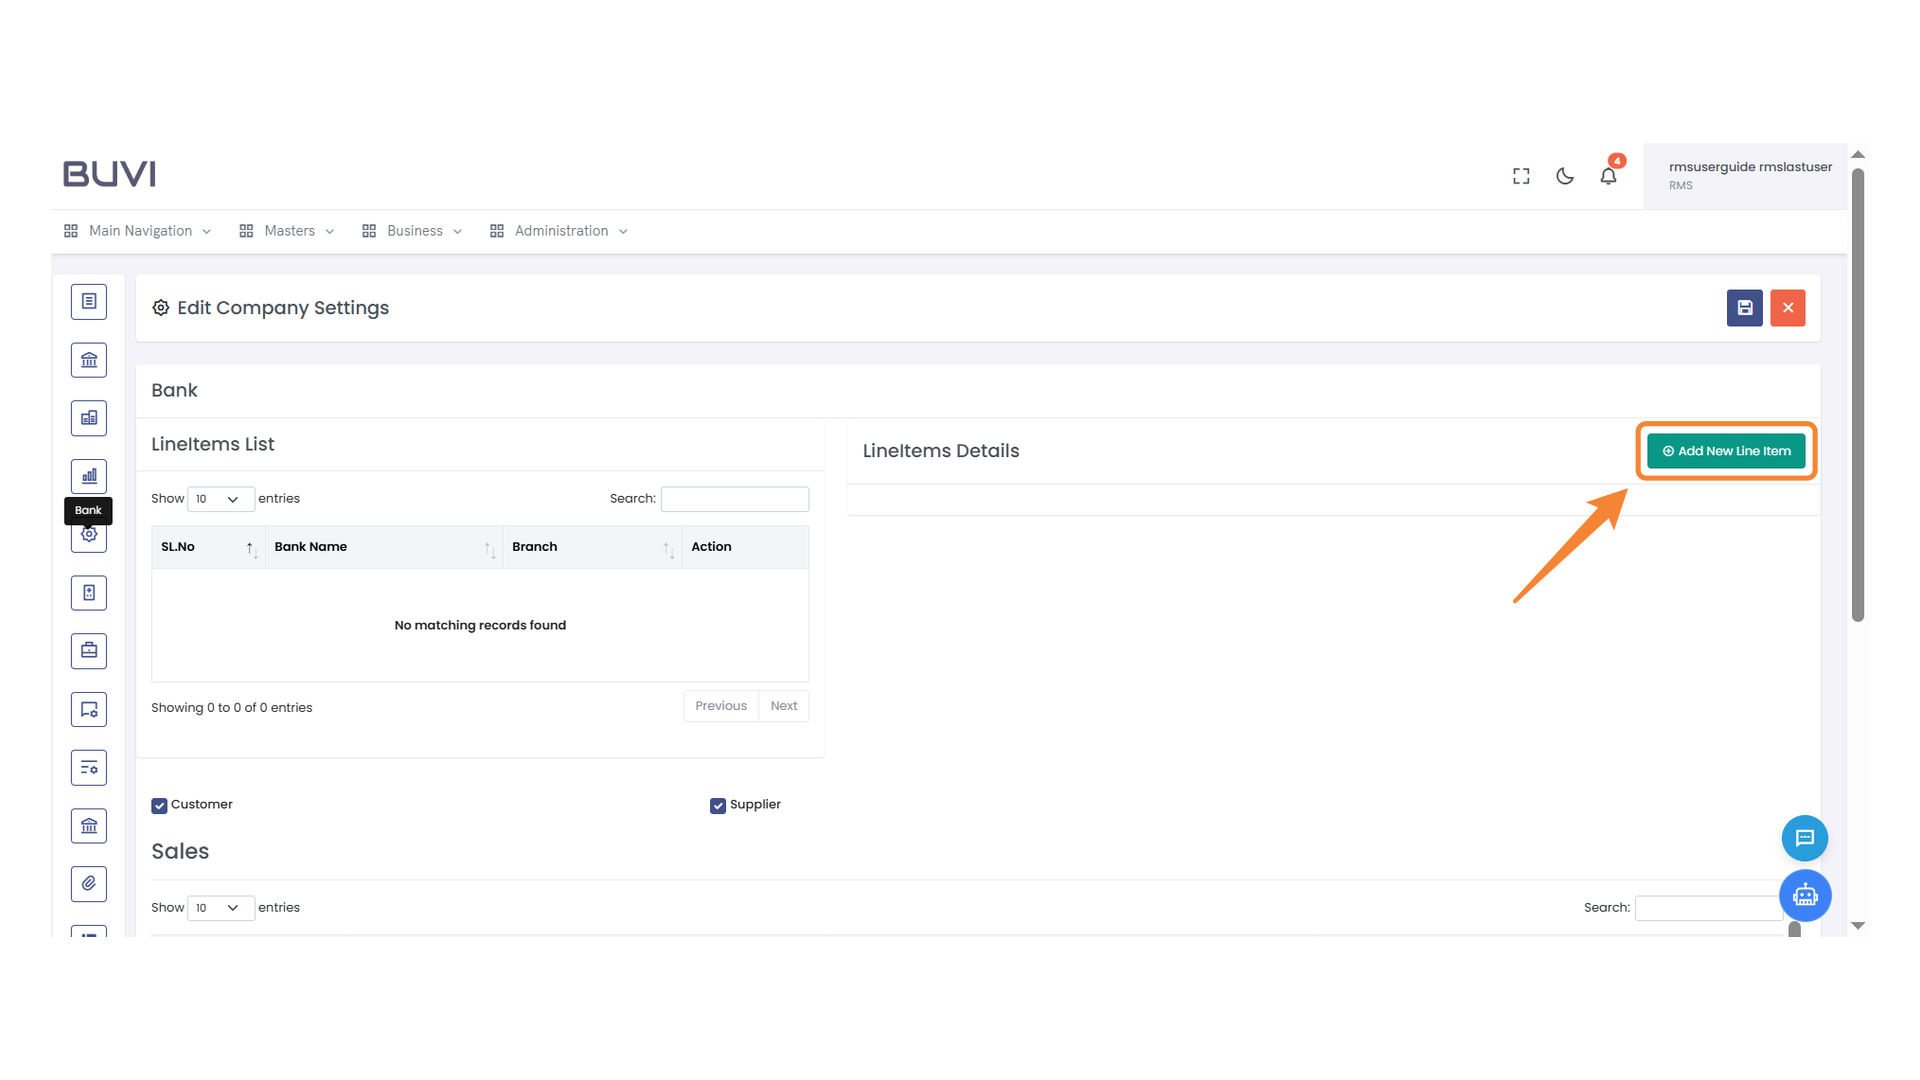
8. Add New Line Item Button
Click to add a new line item entry to the list.
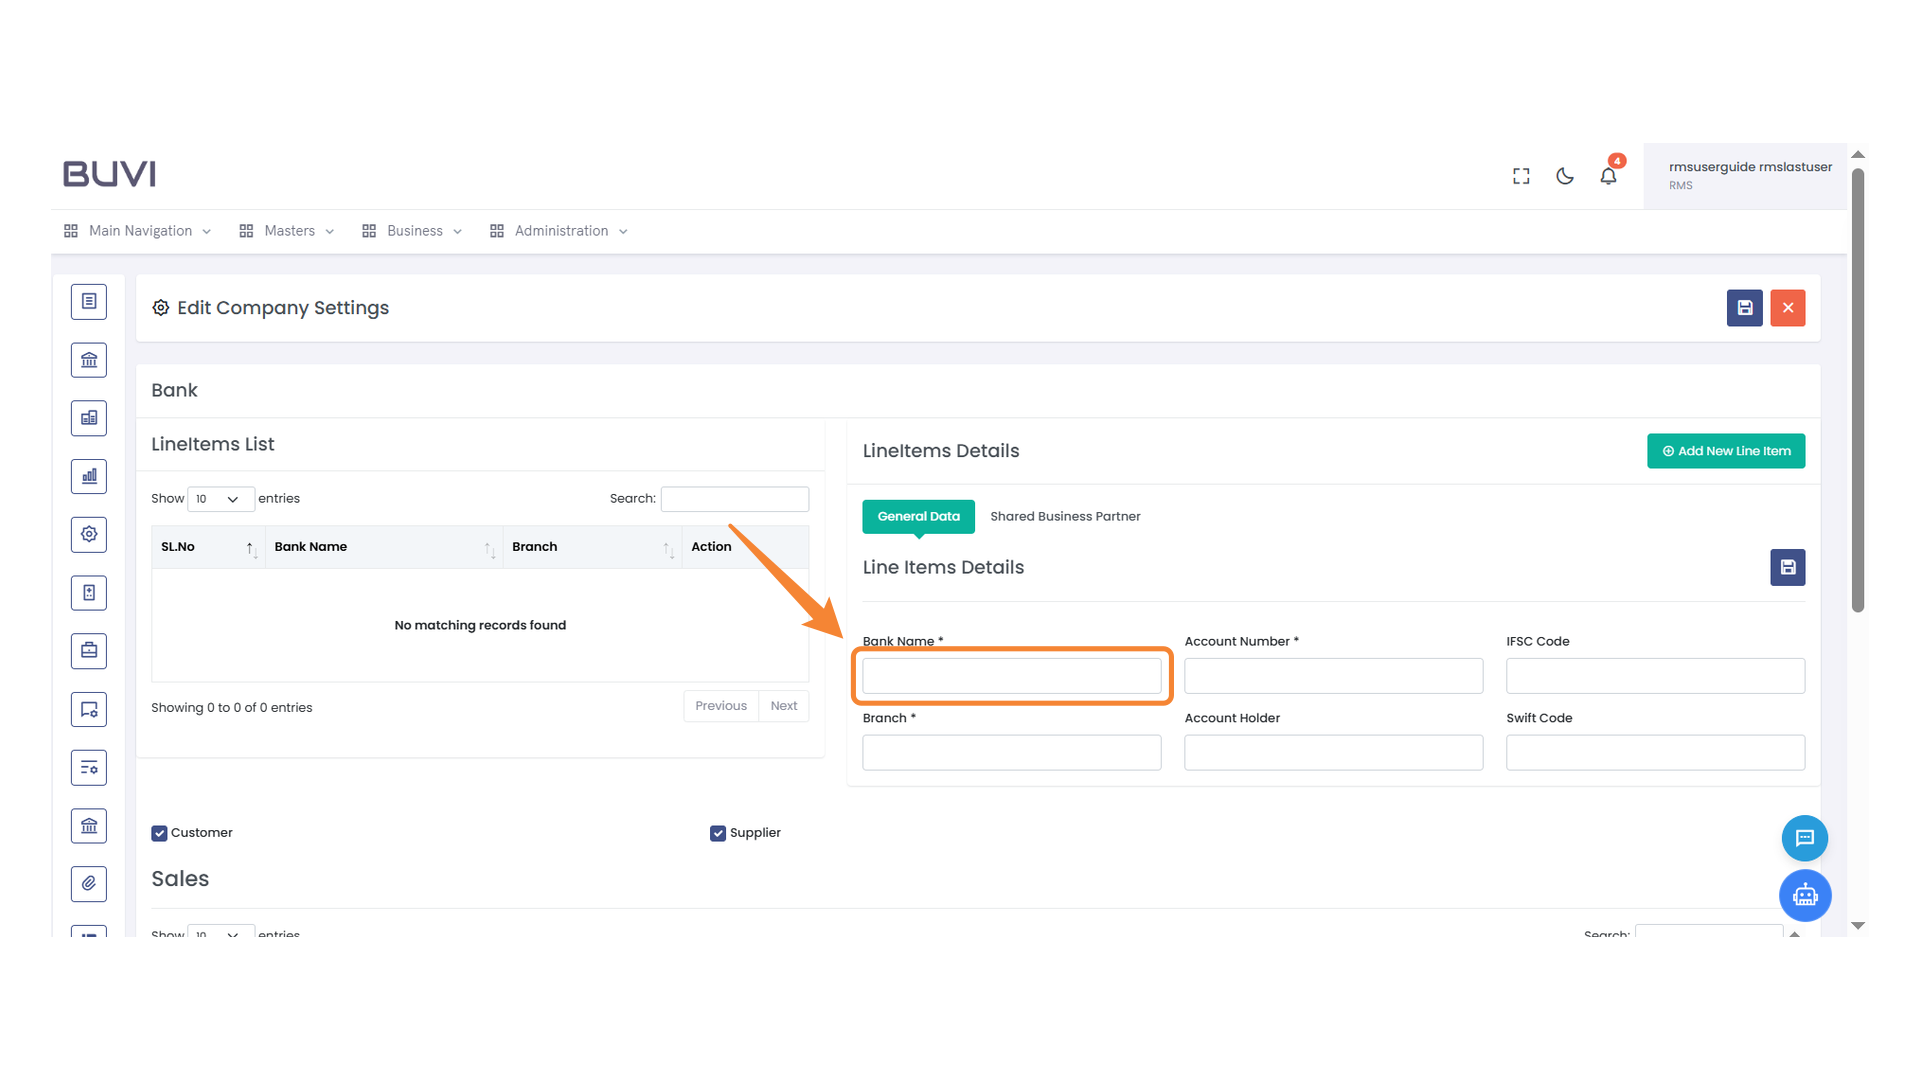
9. Bank Name Input Field
Enter the bank name in the provided input field.
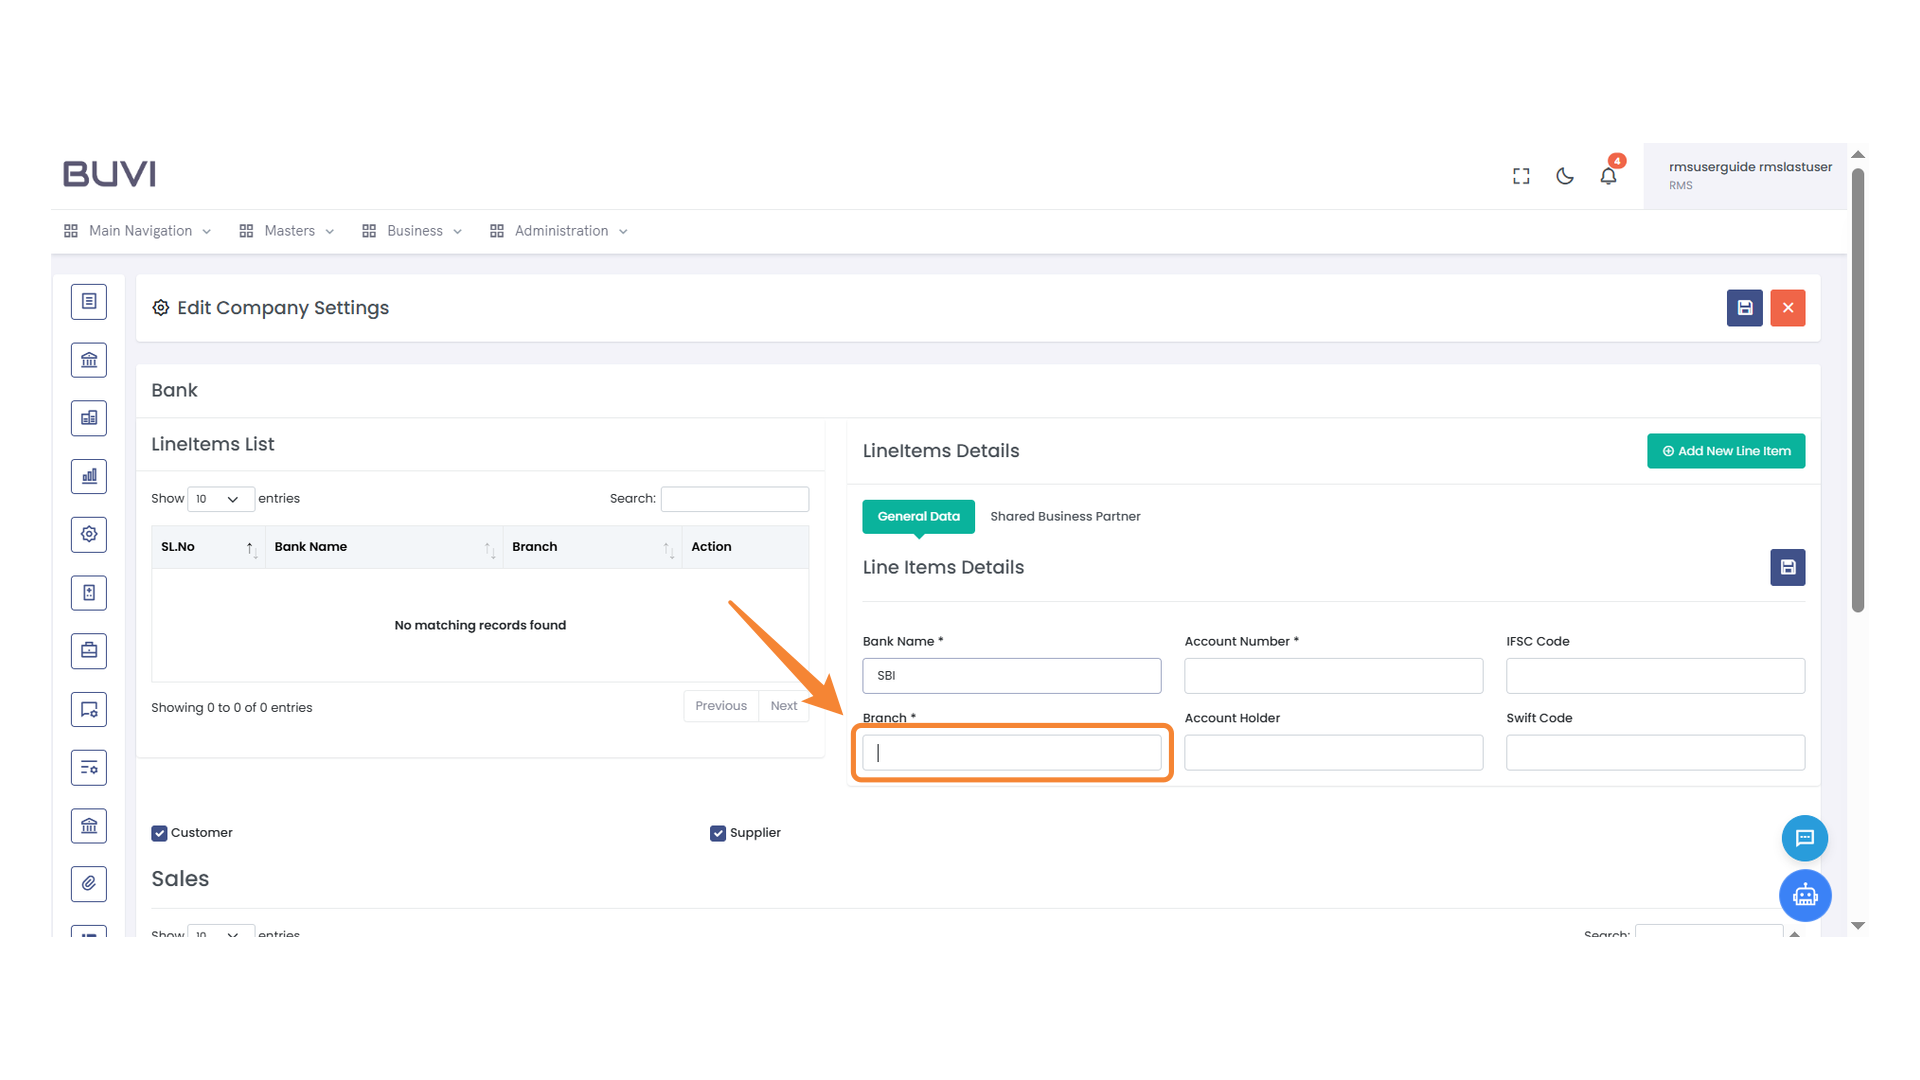
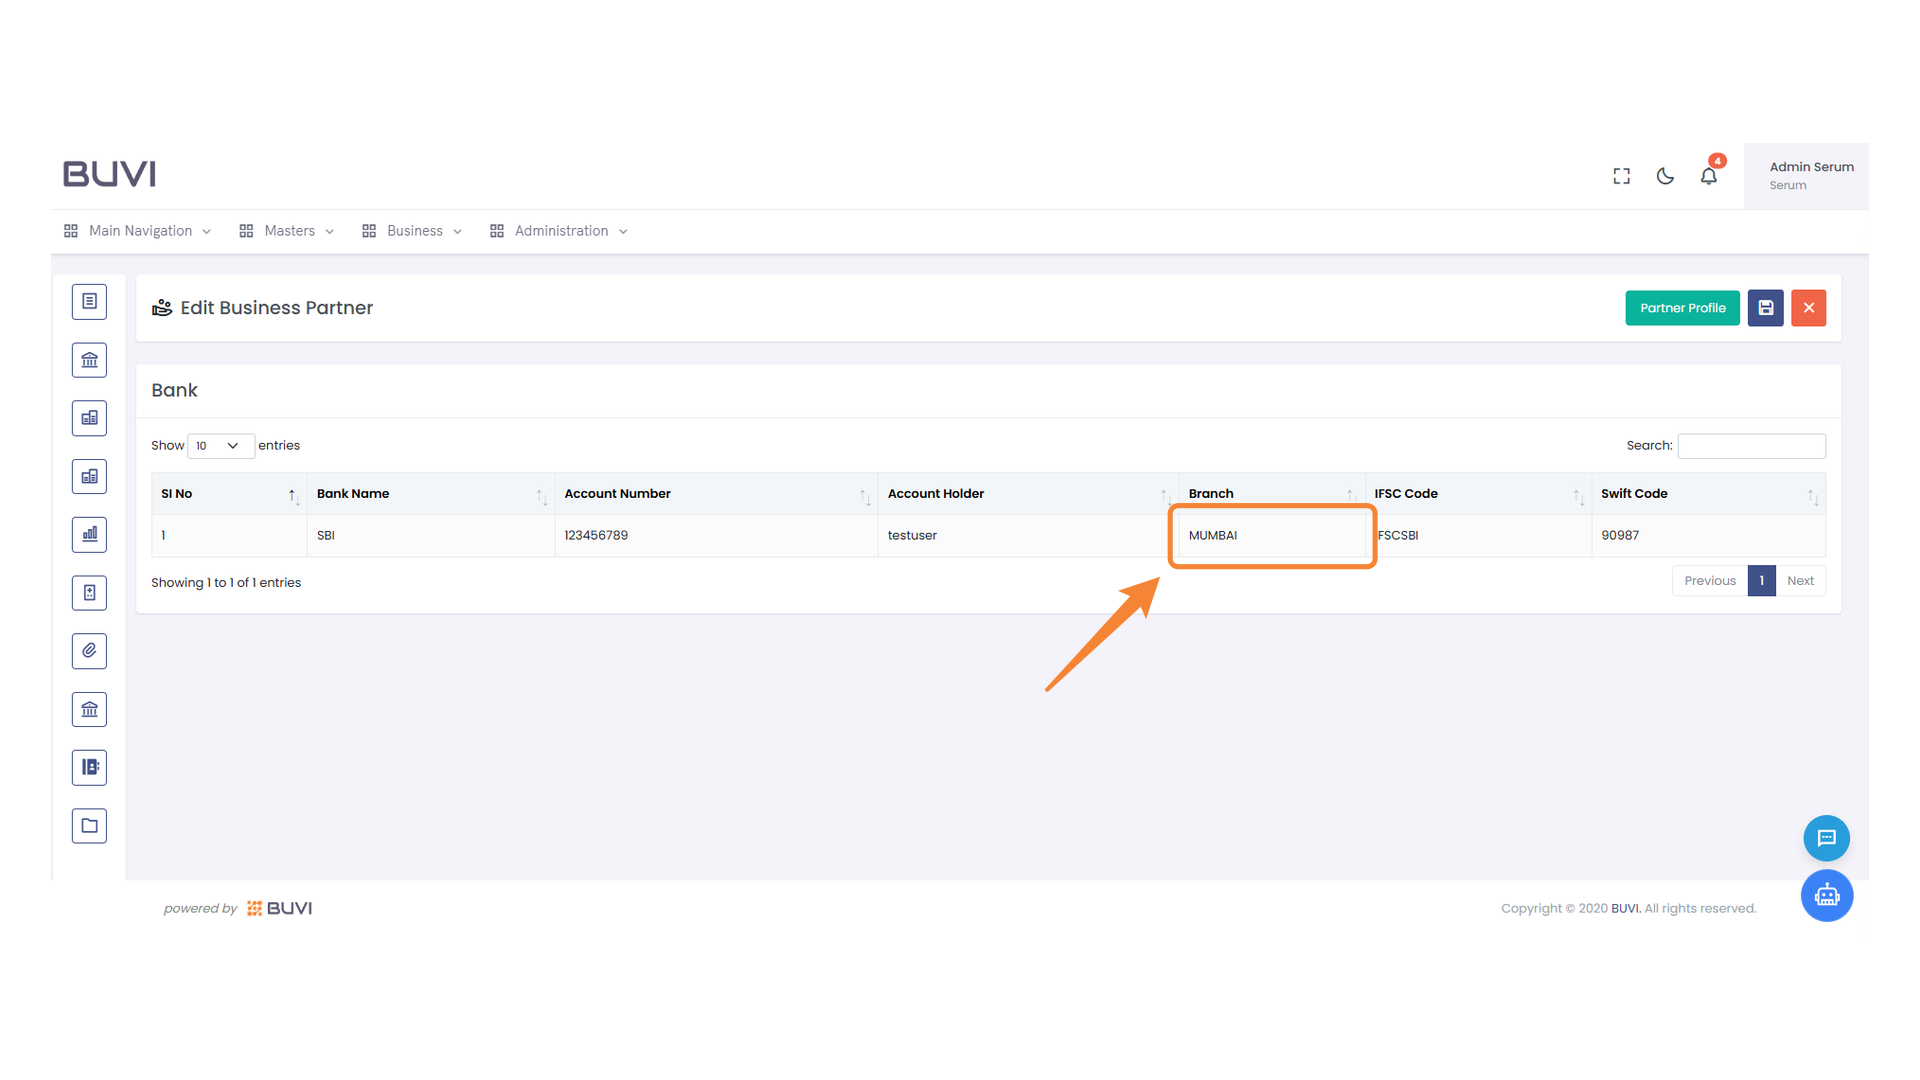
10. Branch Input Field
Enter the branch name in the designated input field.
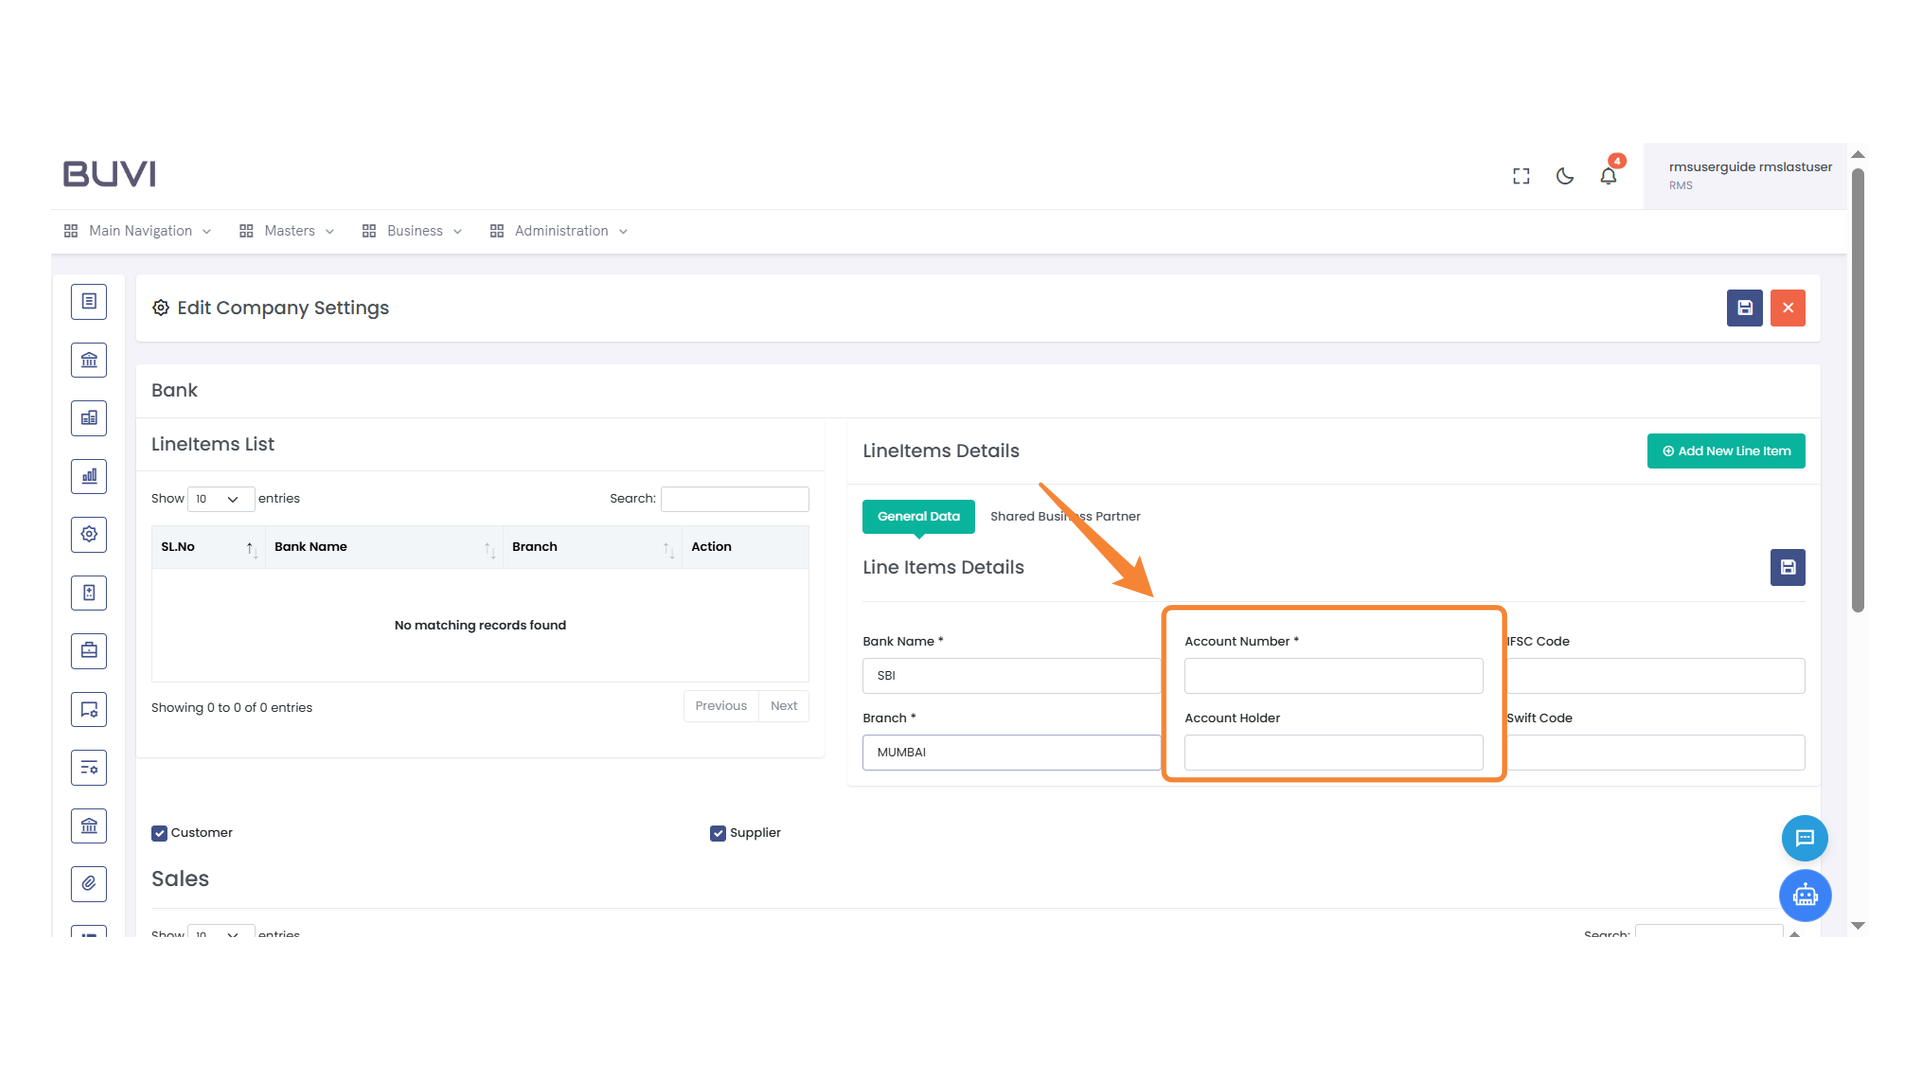
11. Account Information Entry
Enter the account number and account holder's name in the designated fields.
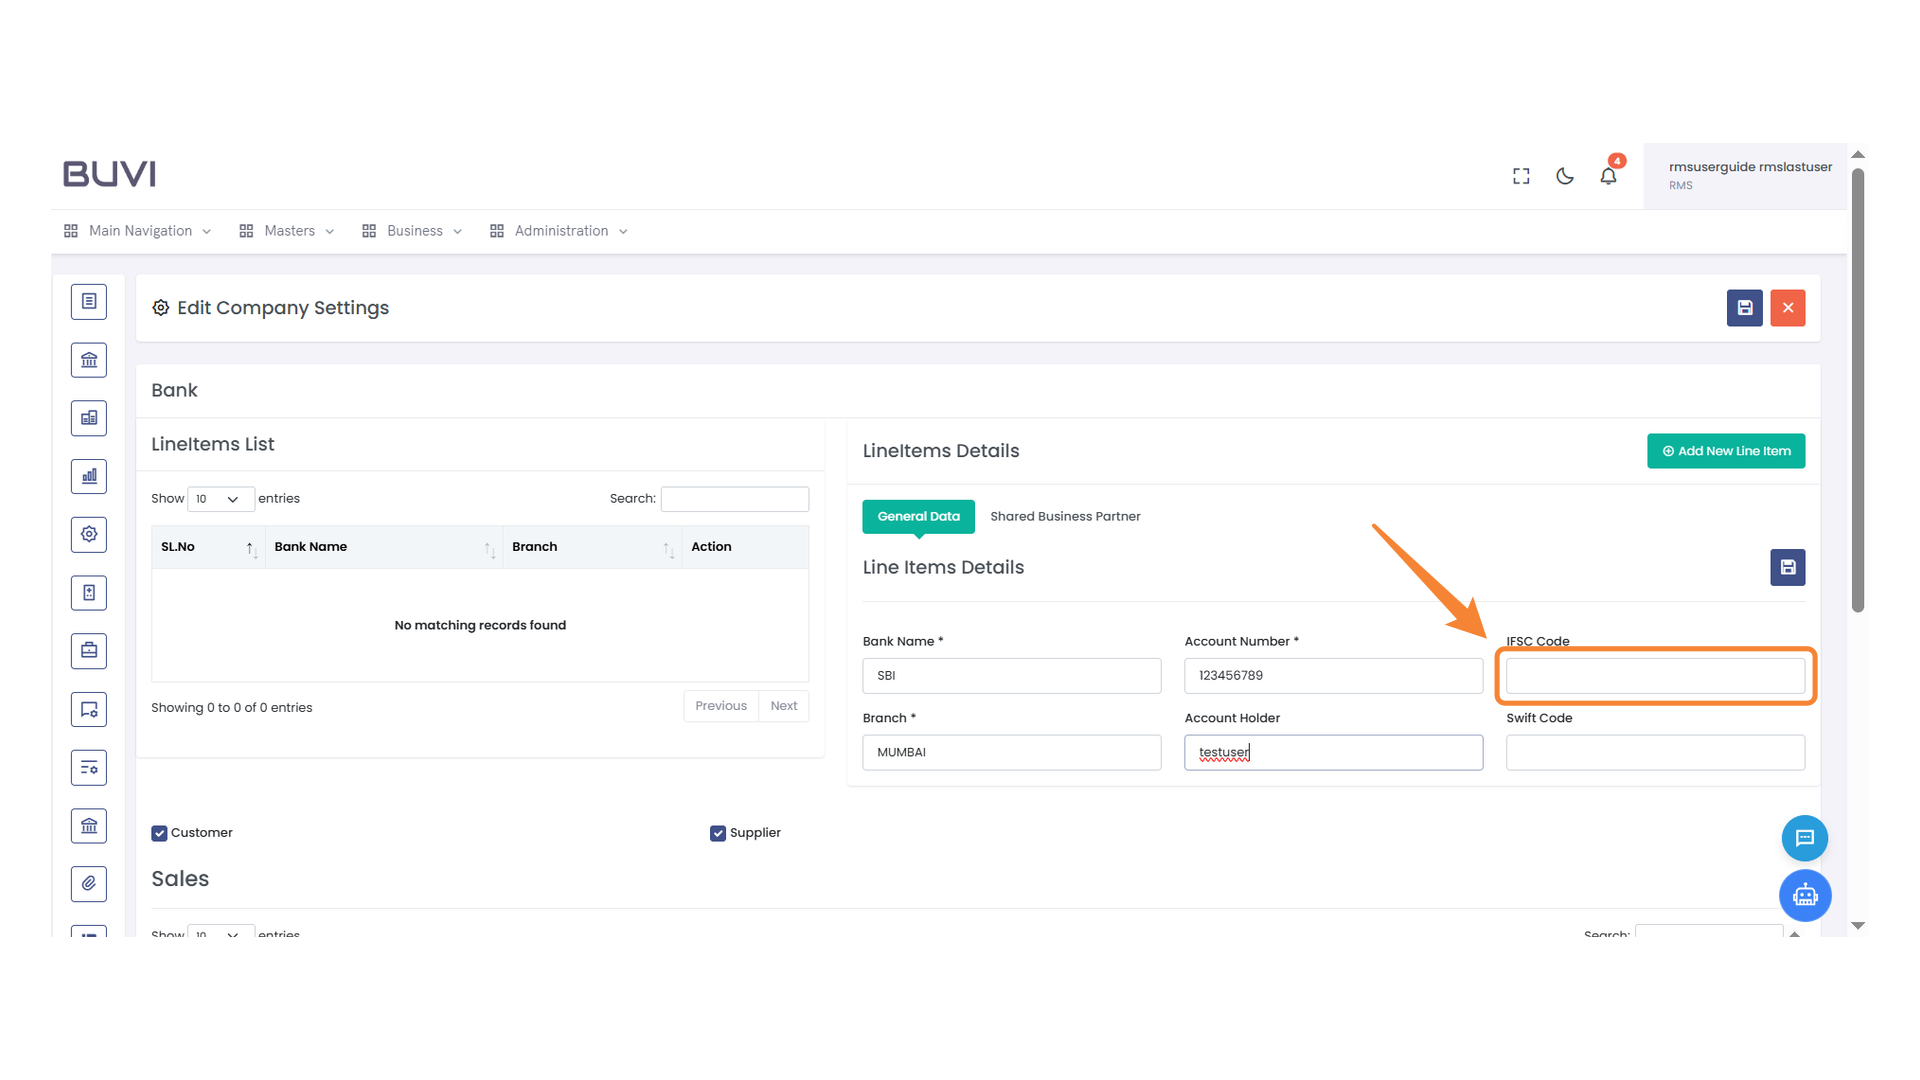
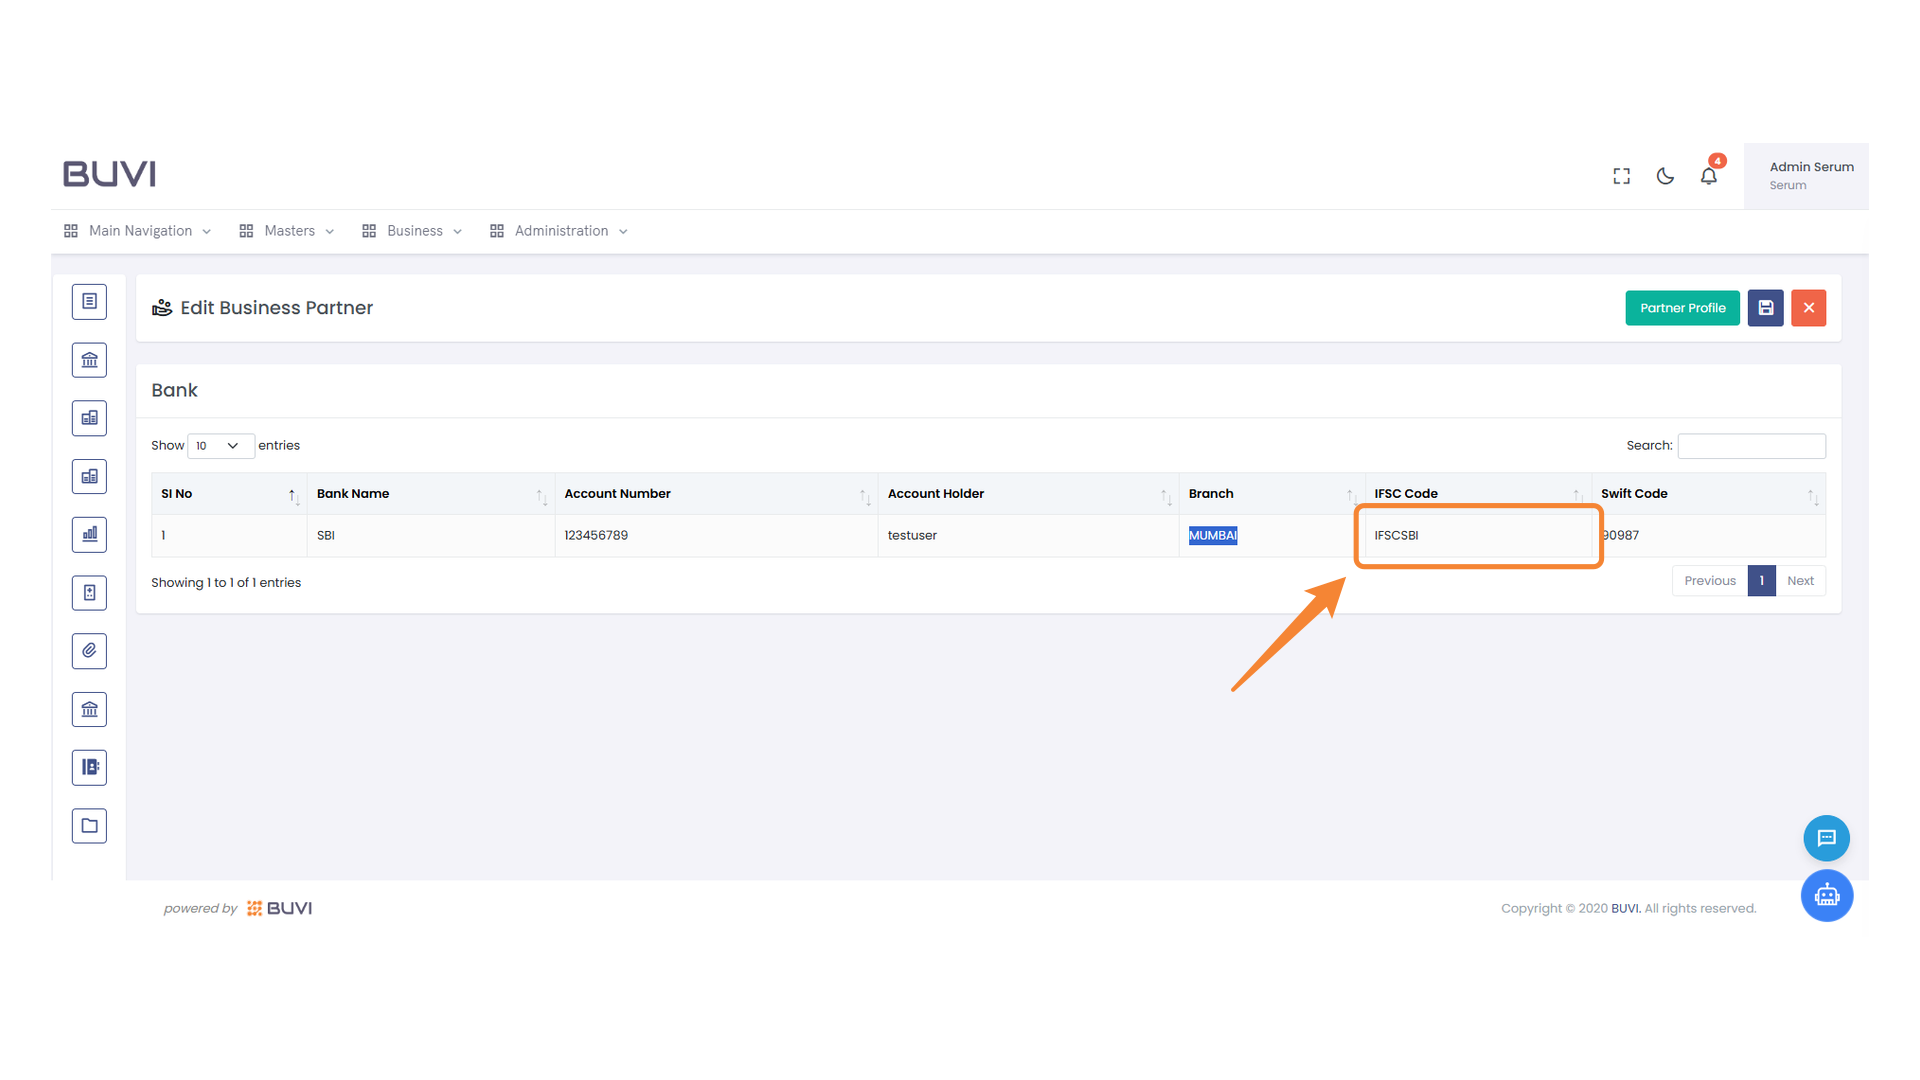
12. IFSC Code Input Field
Enter the IFSC code for the specified bank account.
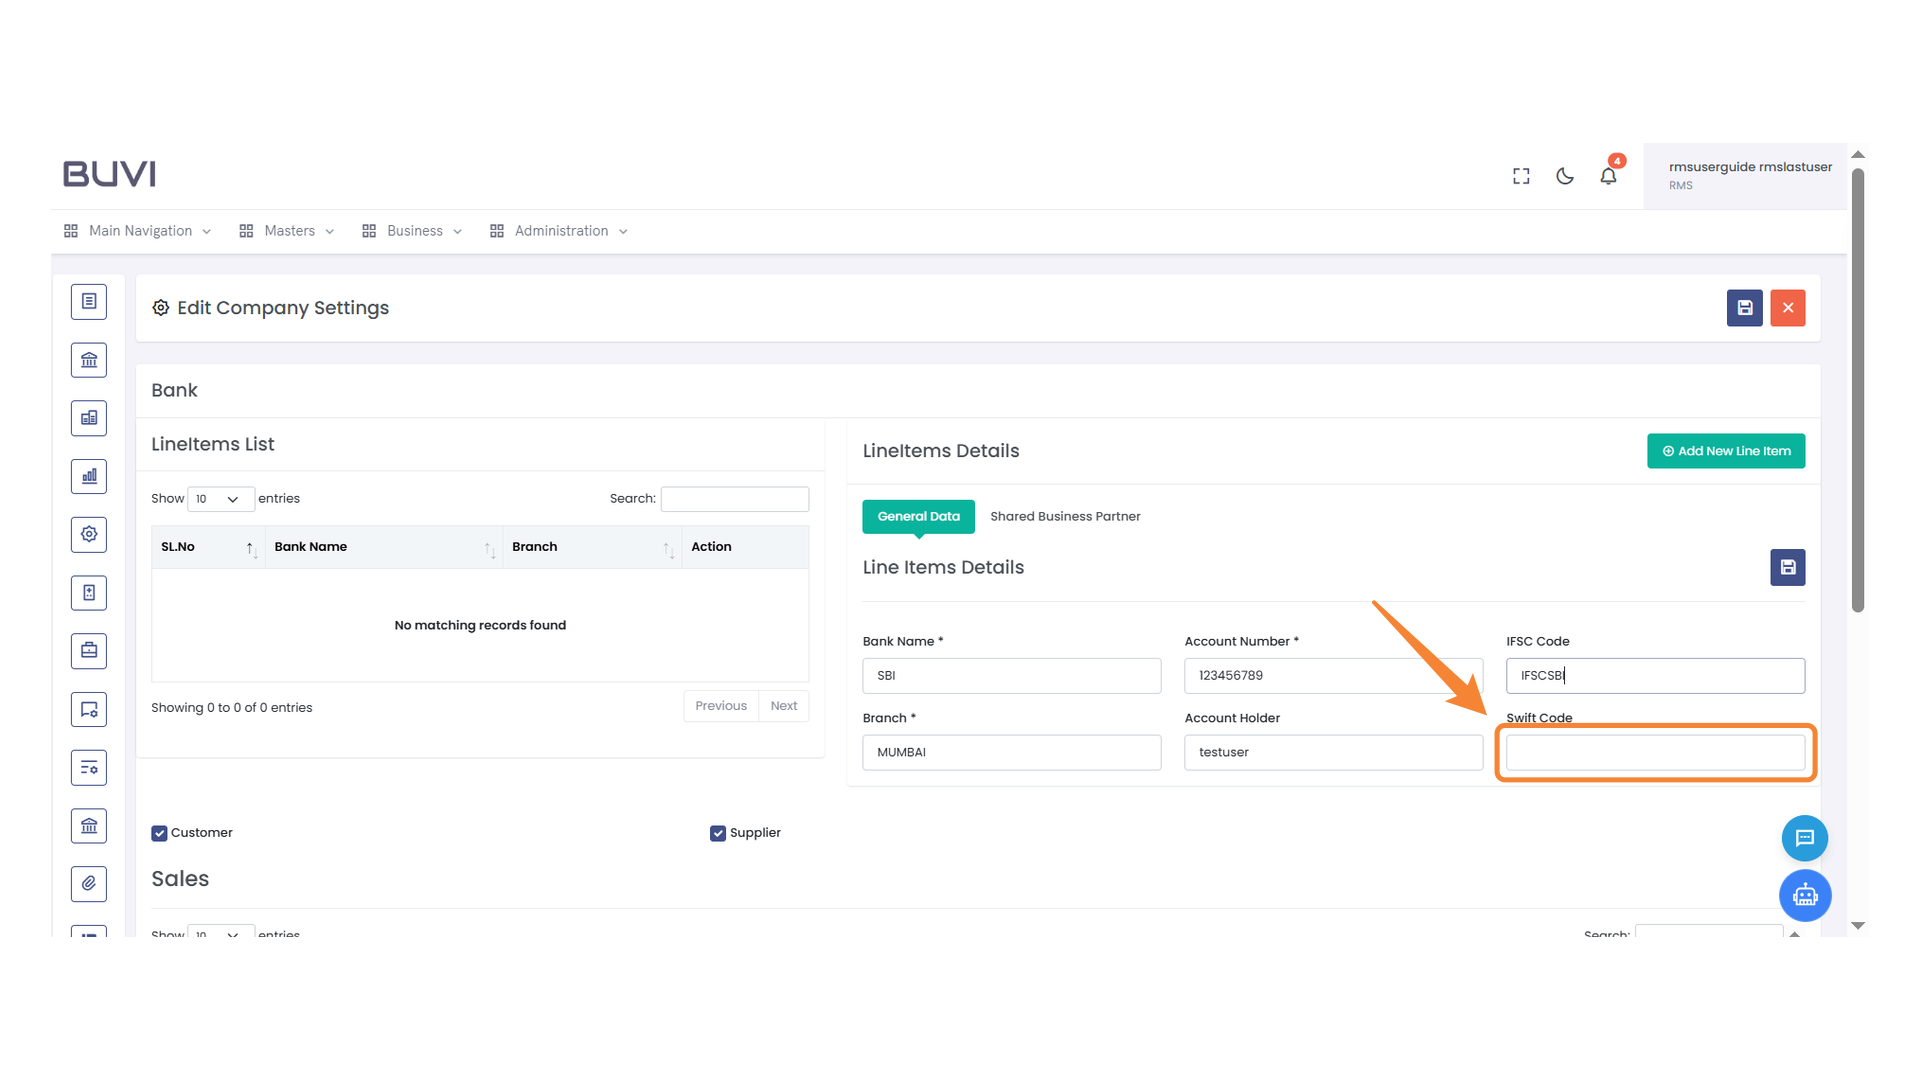
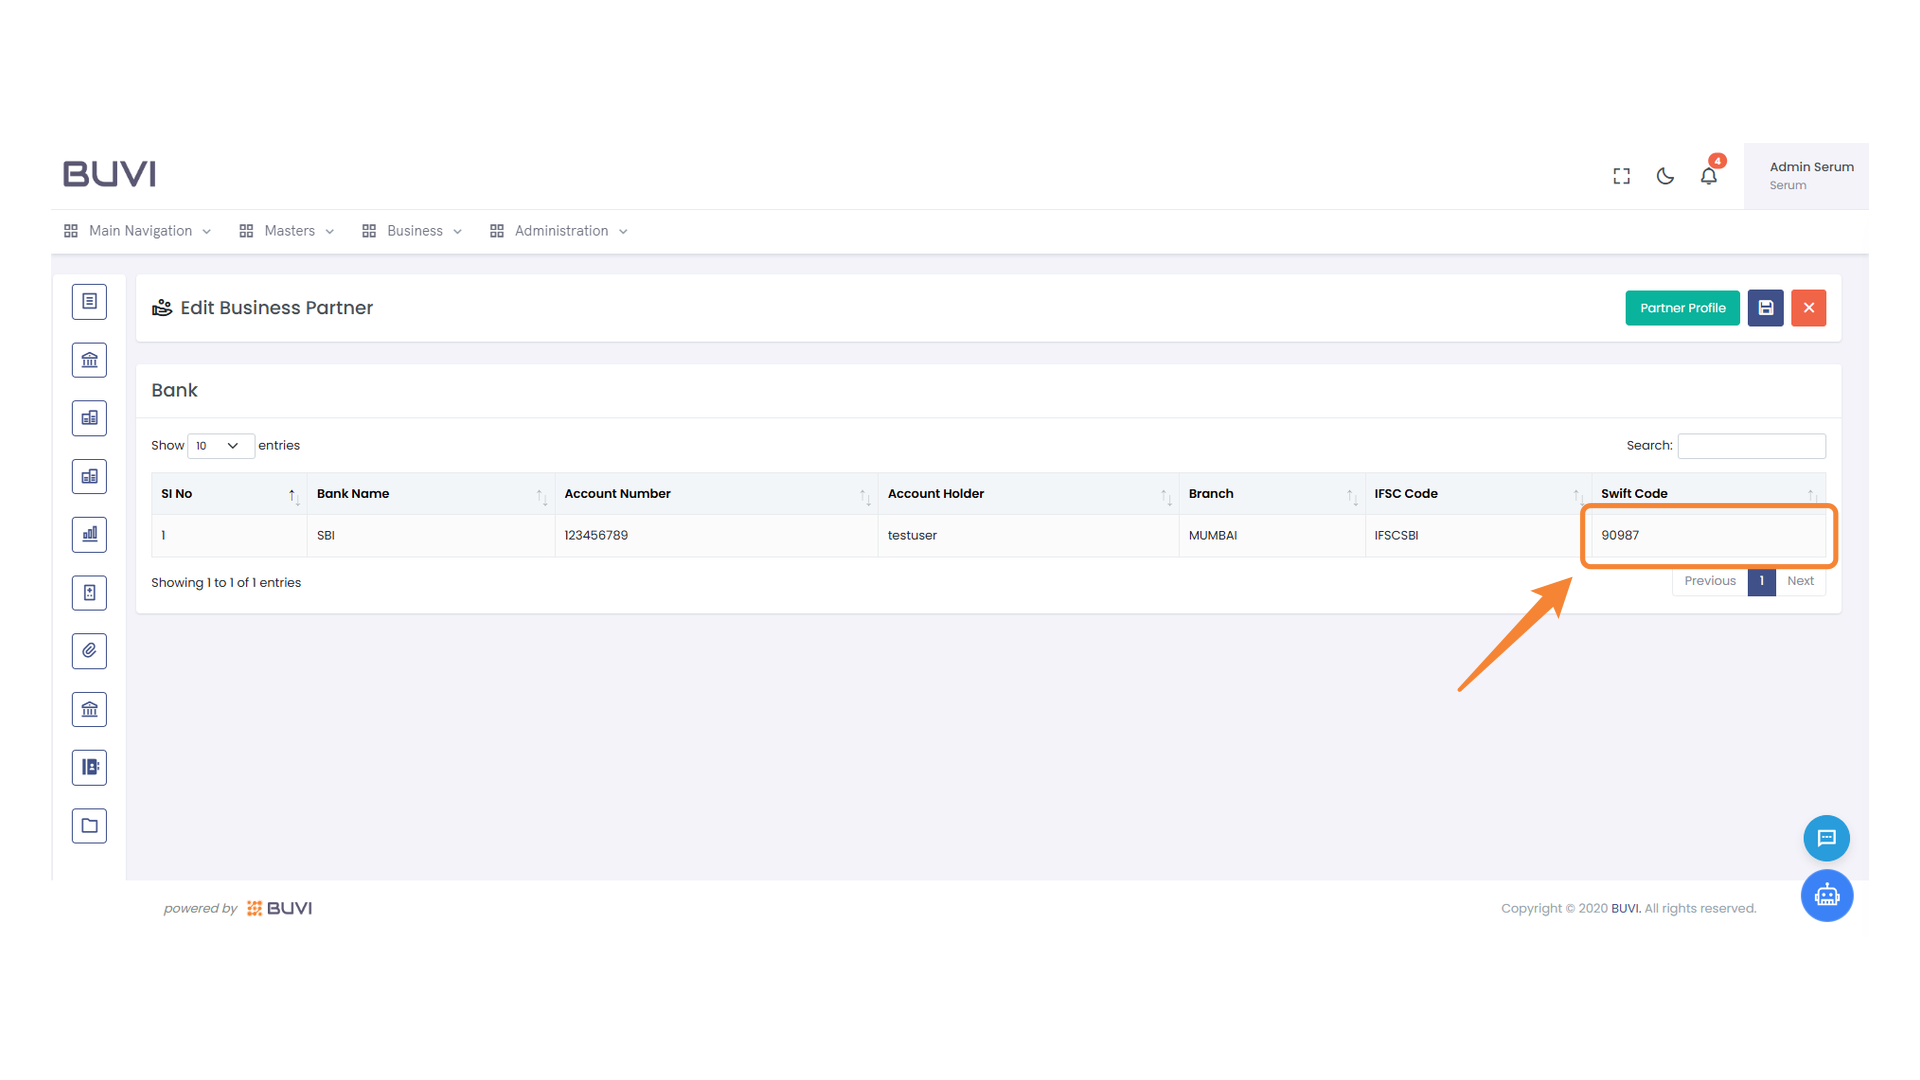
13. Swift Code Entry
Enter the correct Swift code in the provided field.
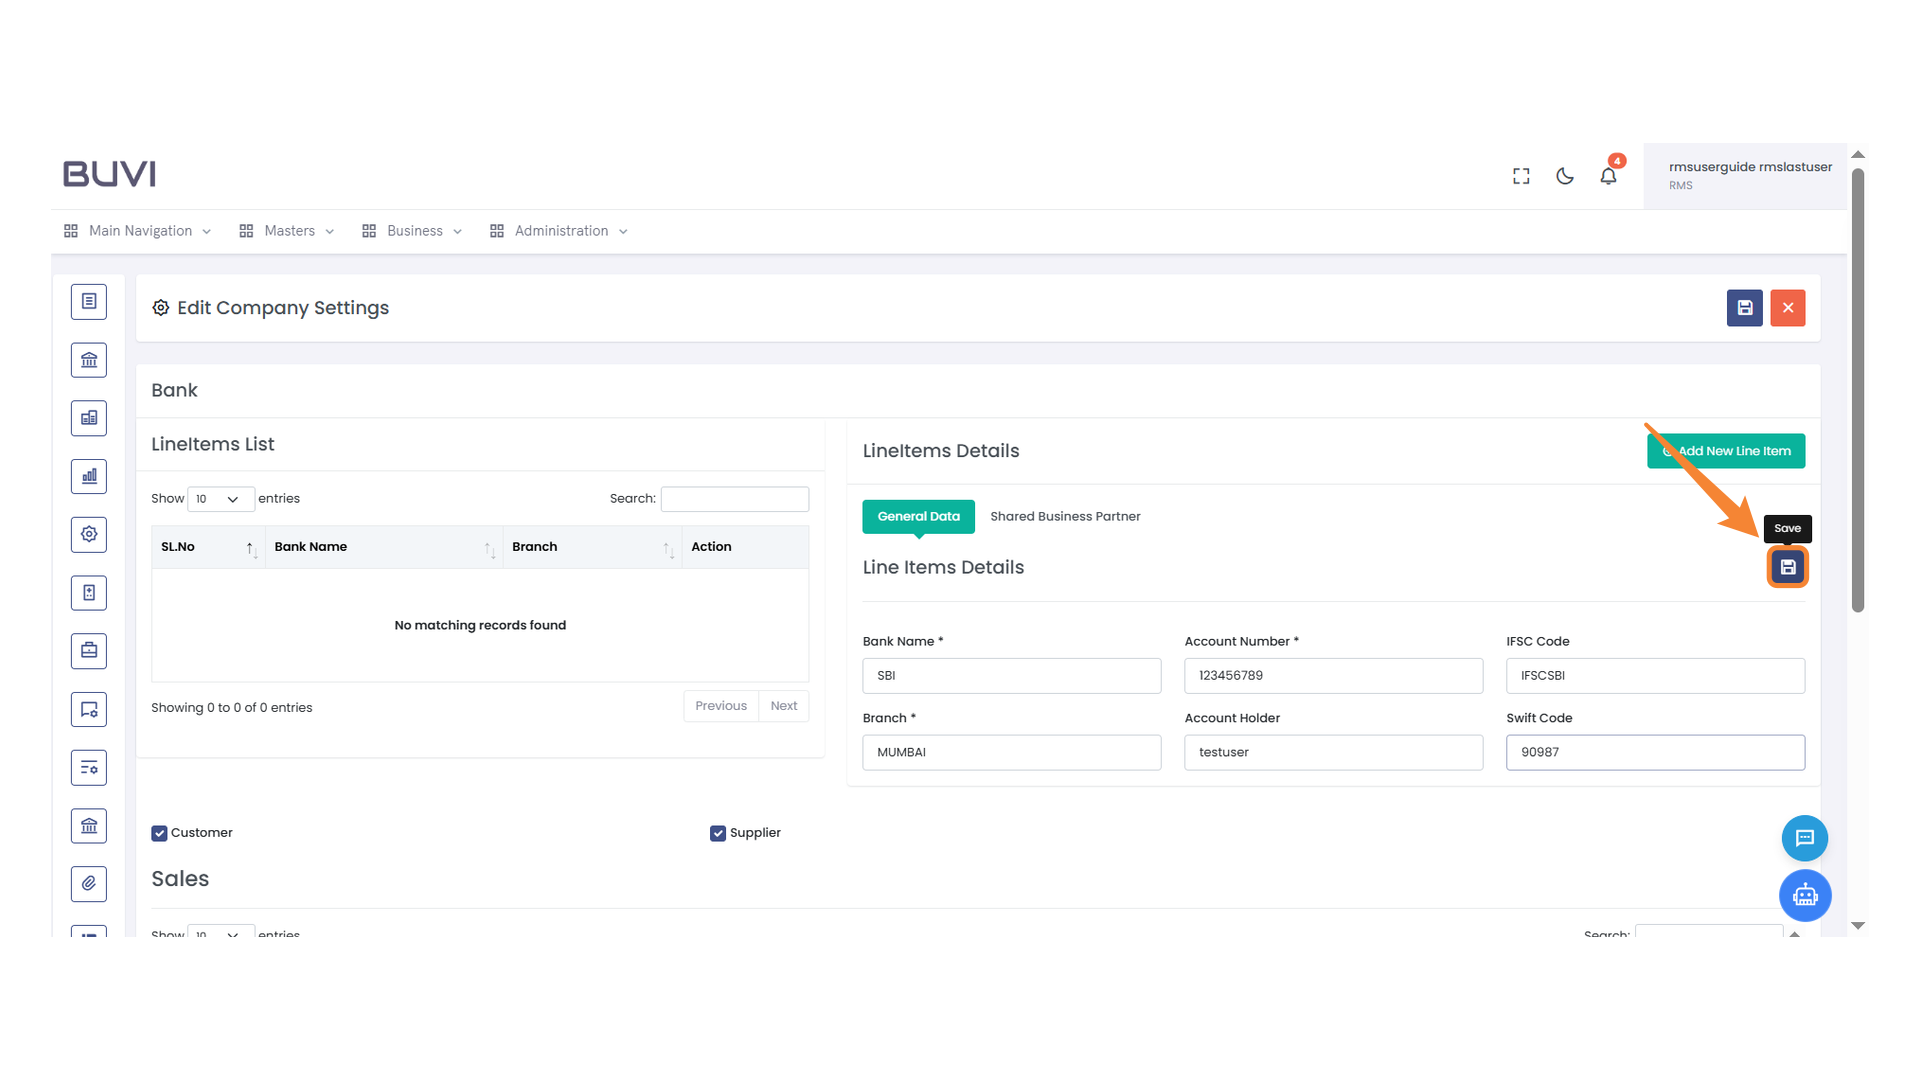
14. Save Button
Press to save the current settings.
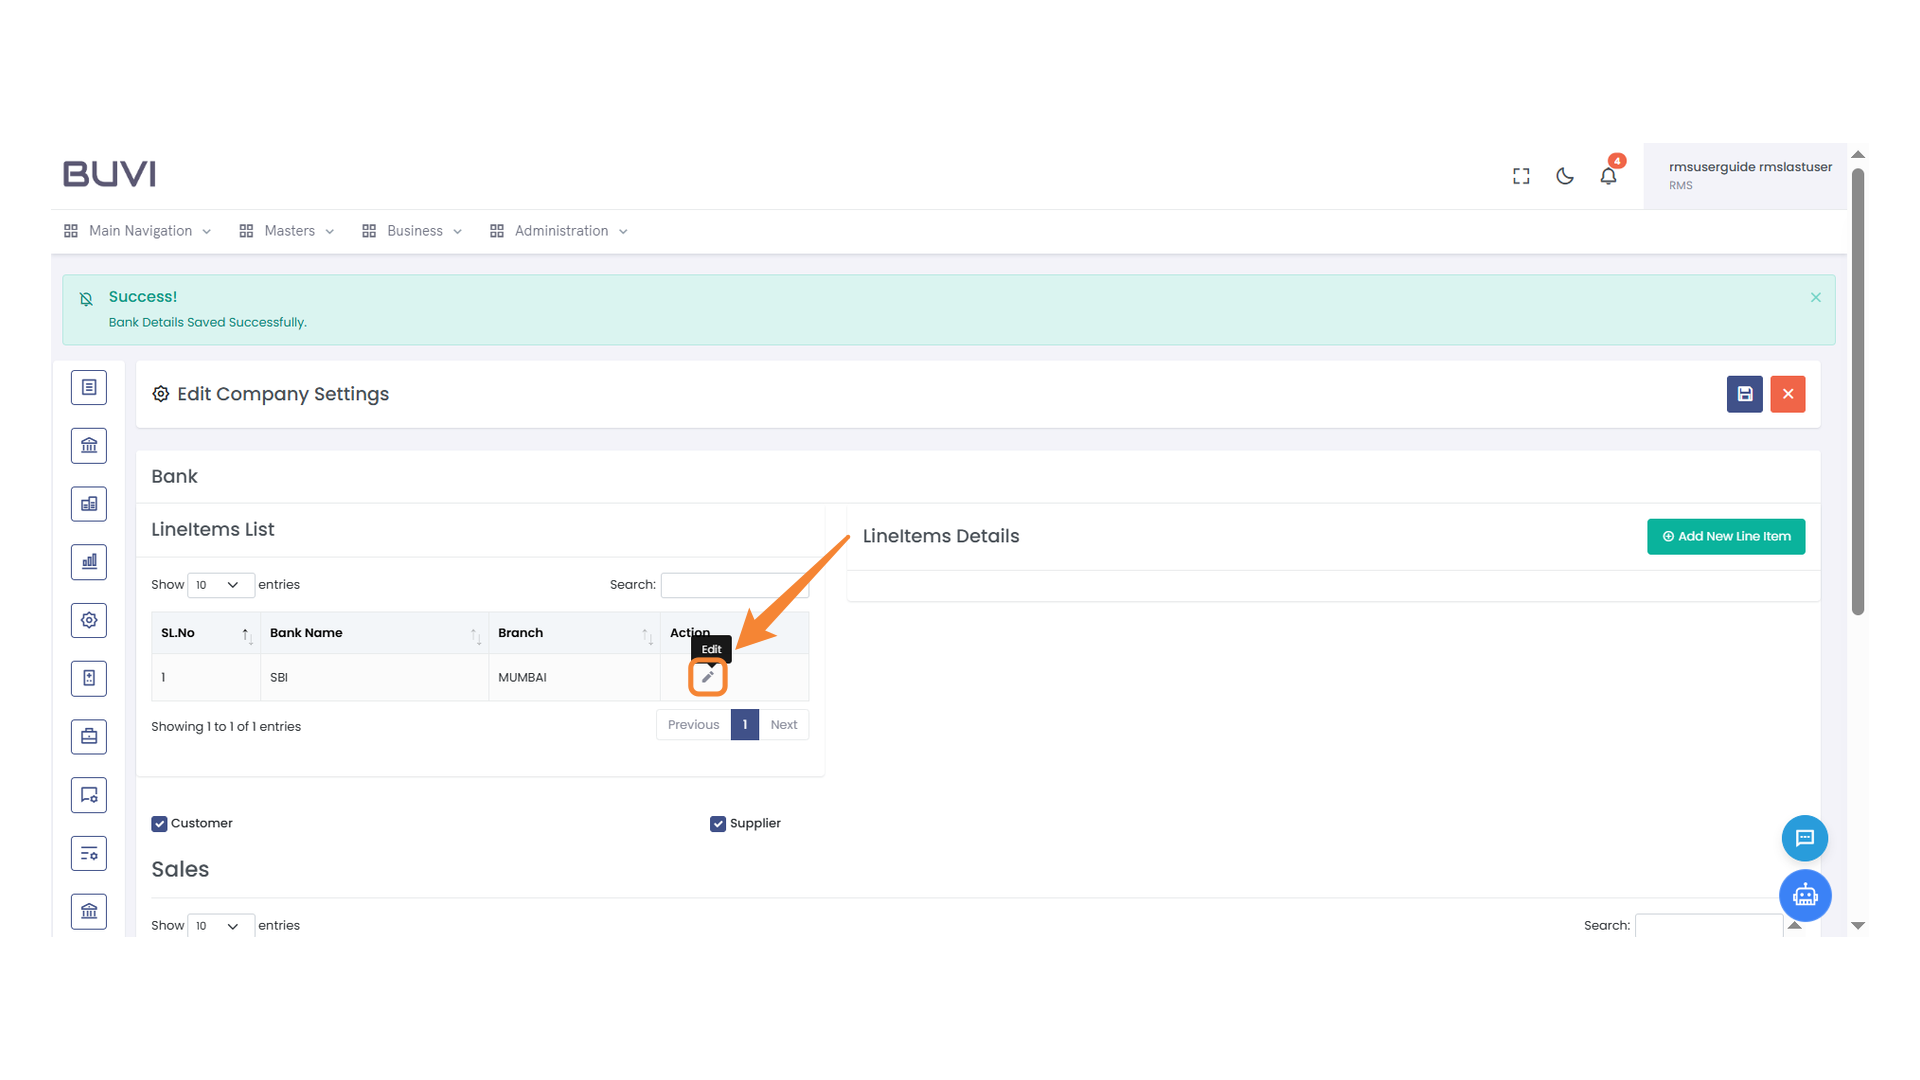
15. Edit Action Icon
Tap the edit button to share your bank details with the buyer.
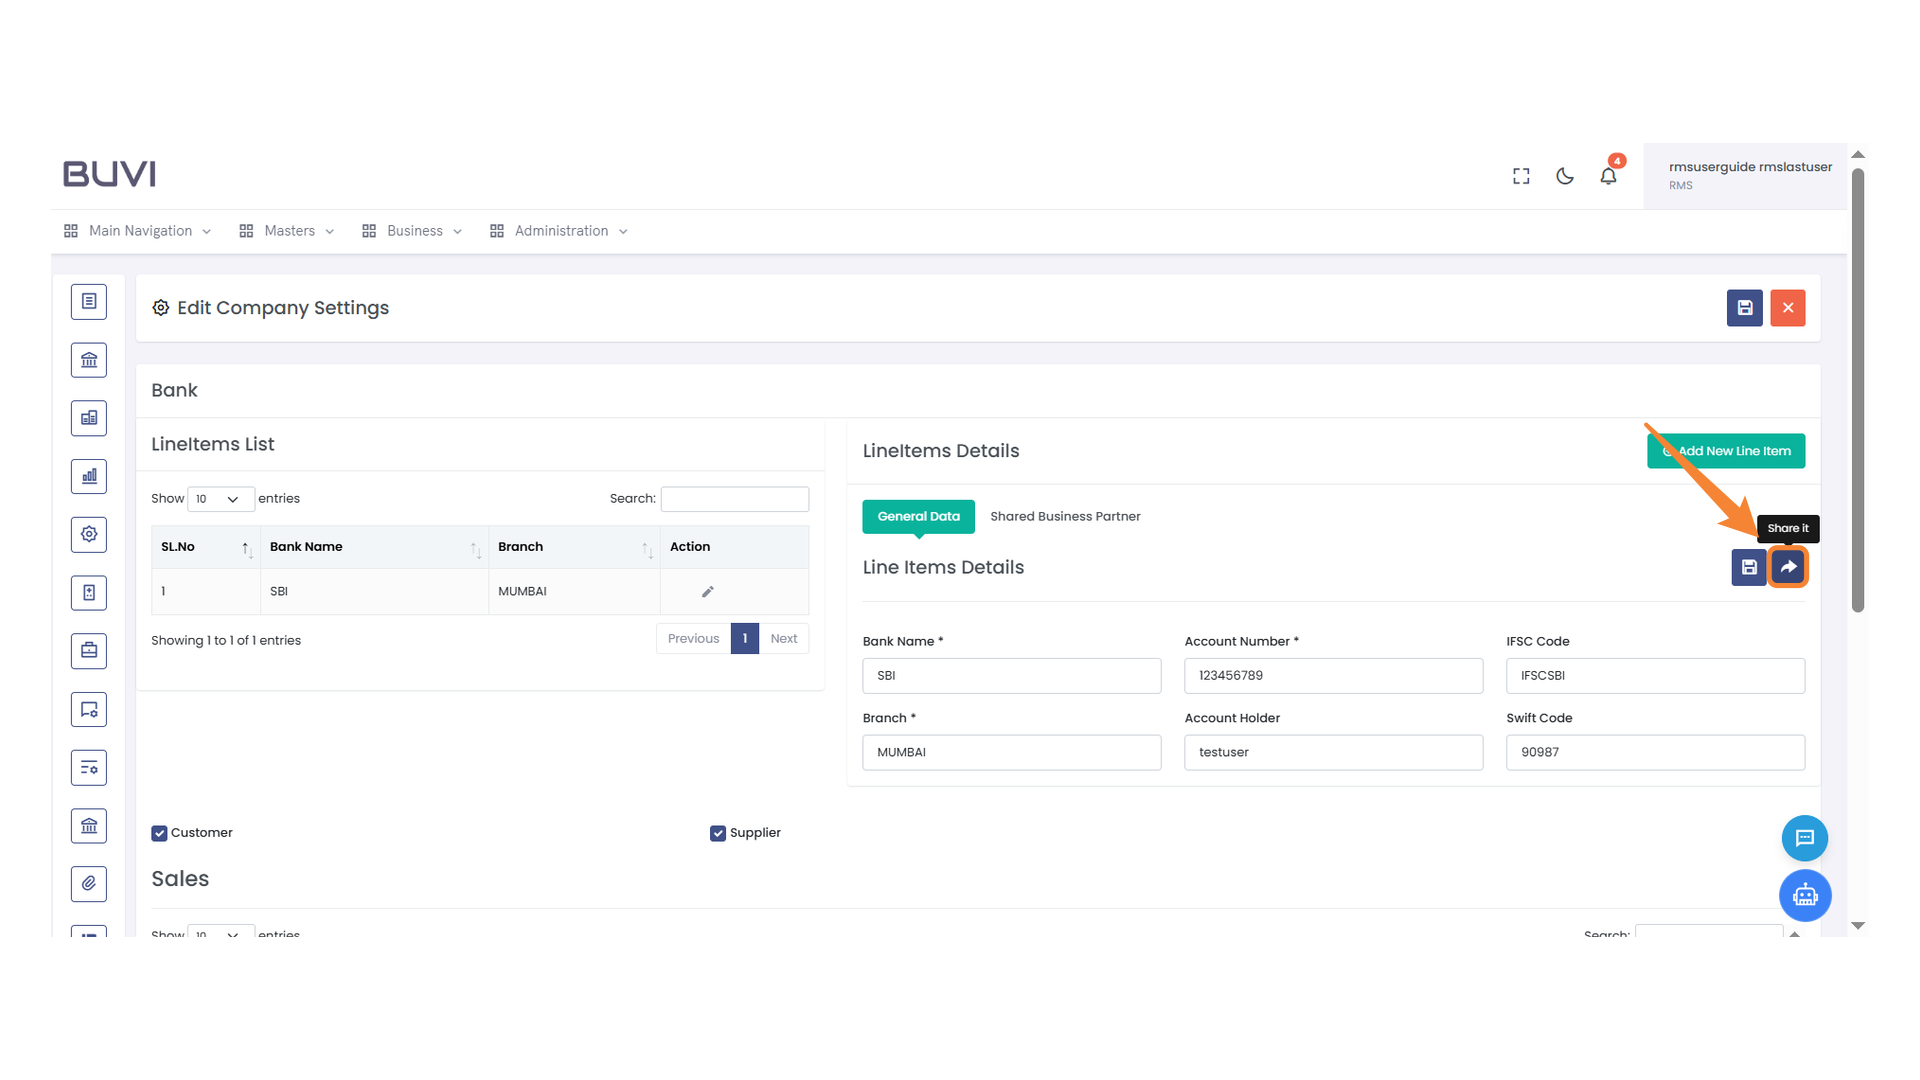
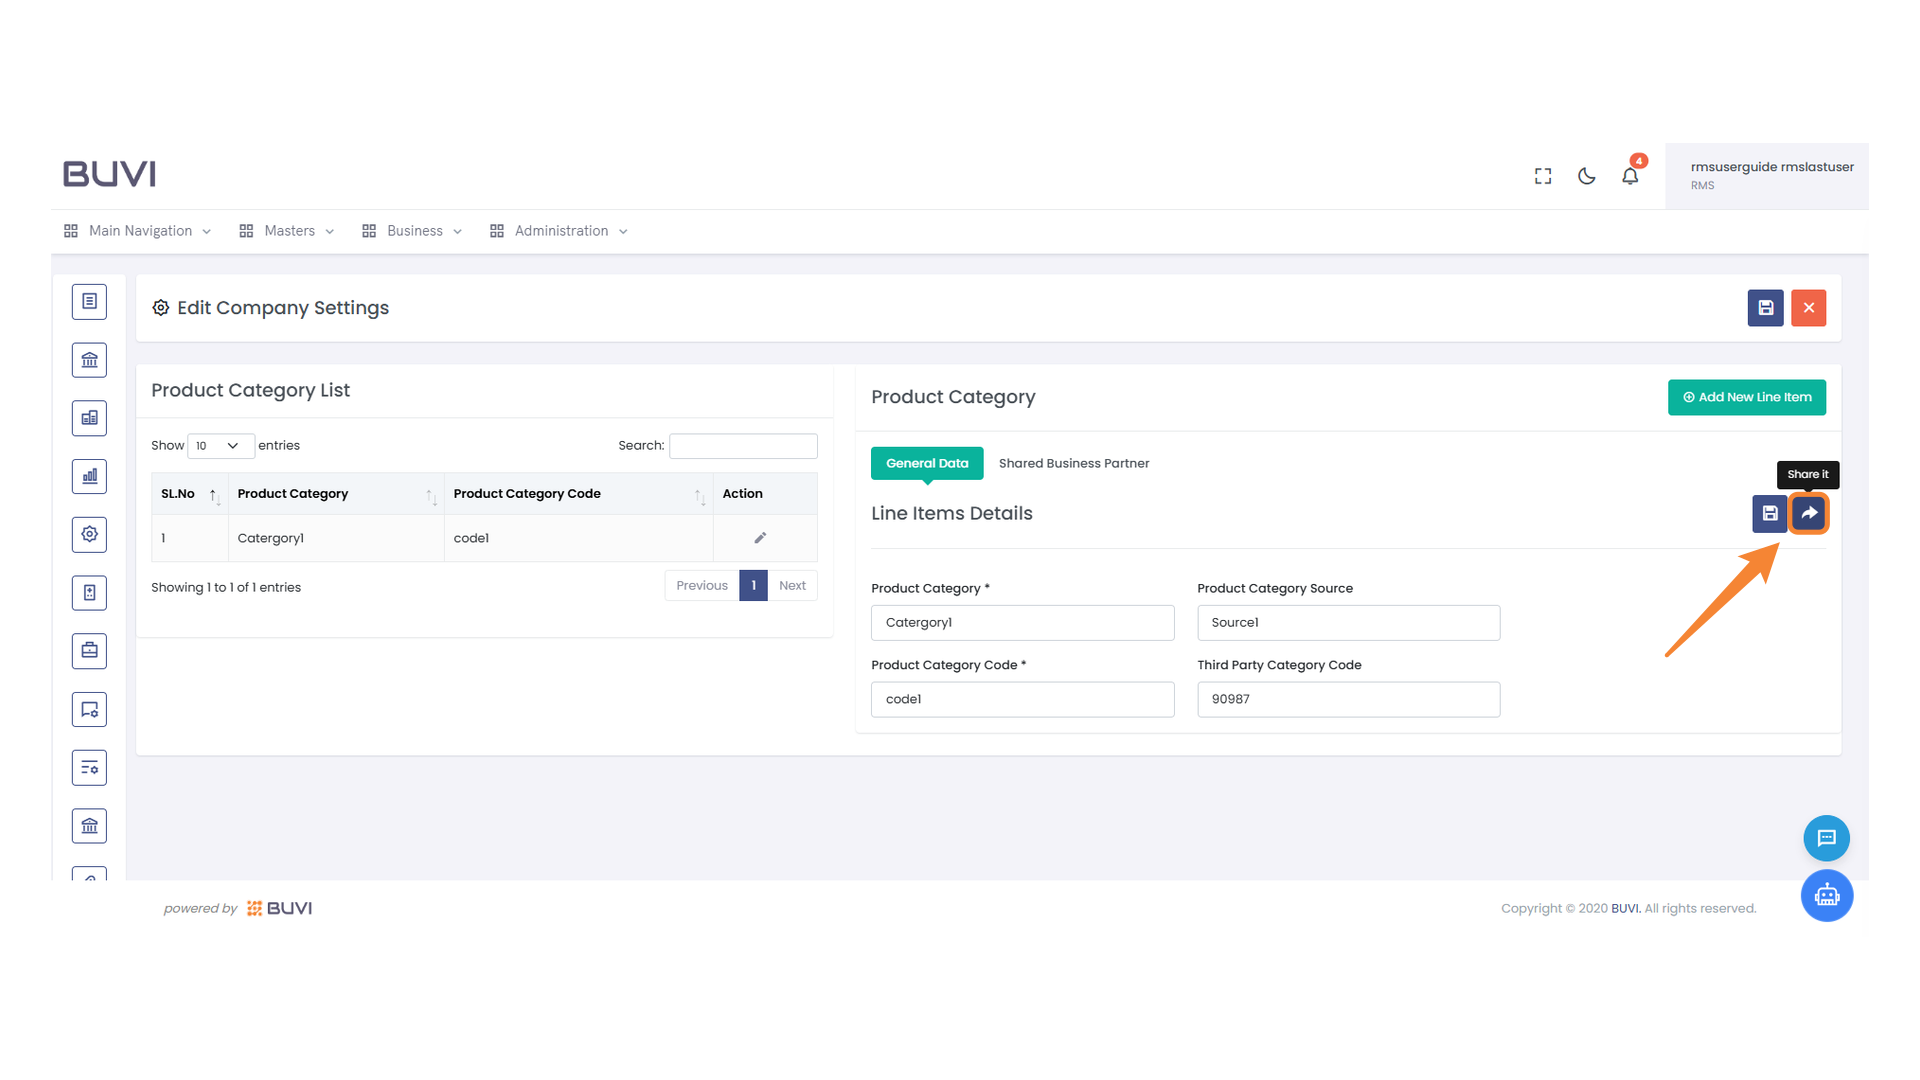
16. Share Button
Tap the share icon to send the bank details to the Vendor.
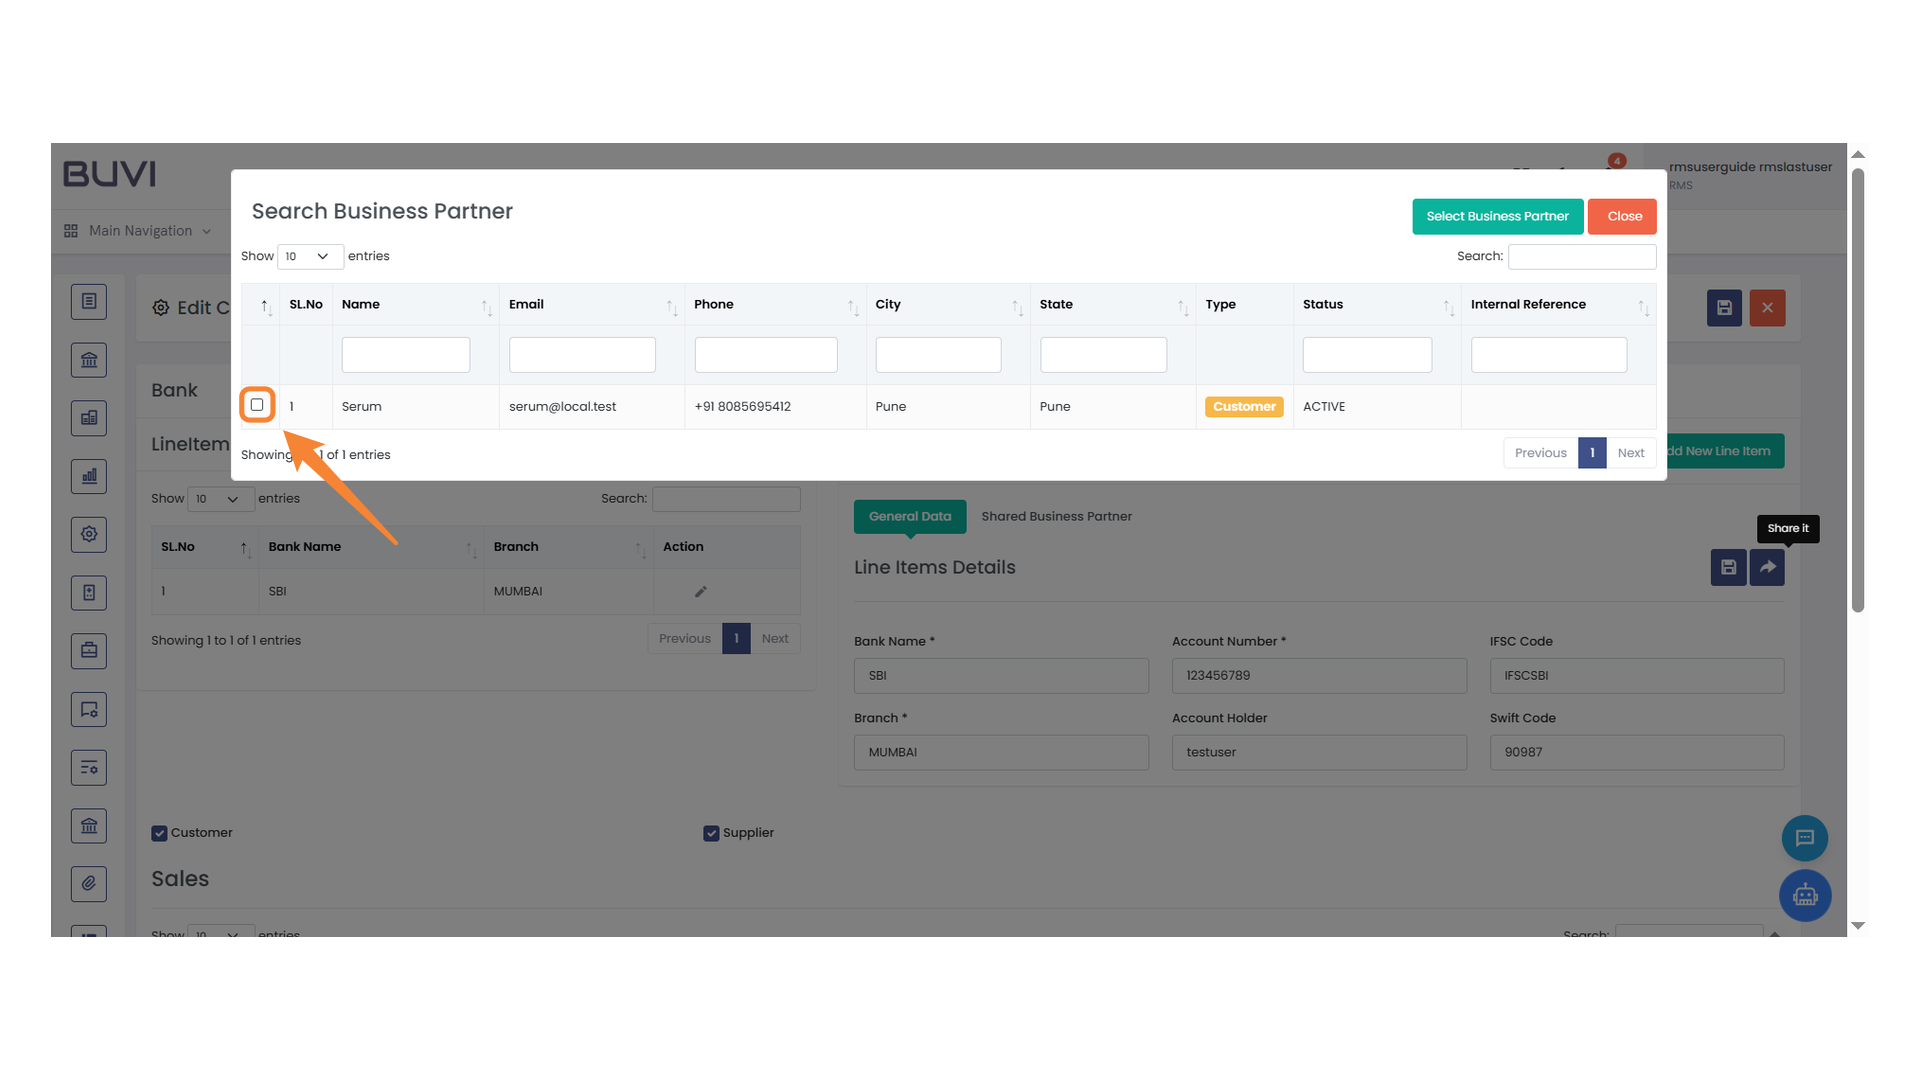
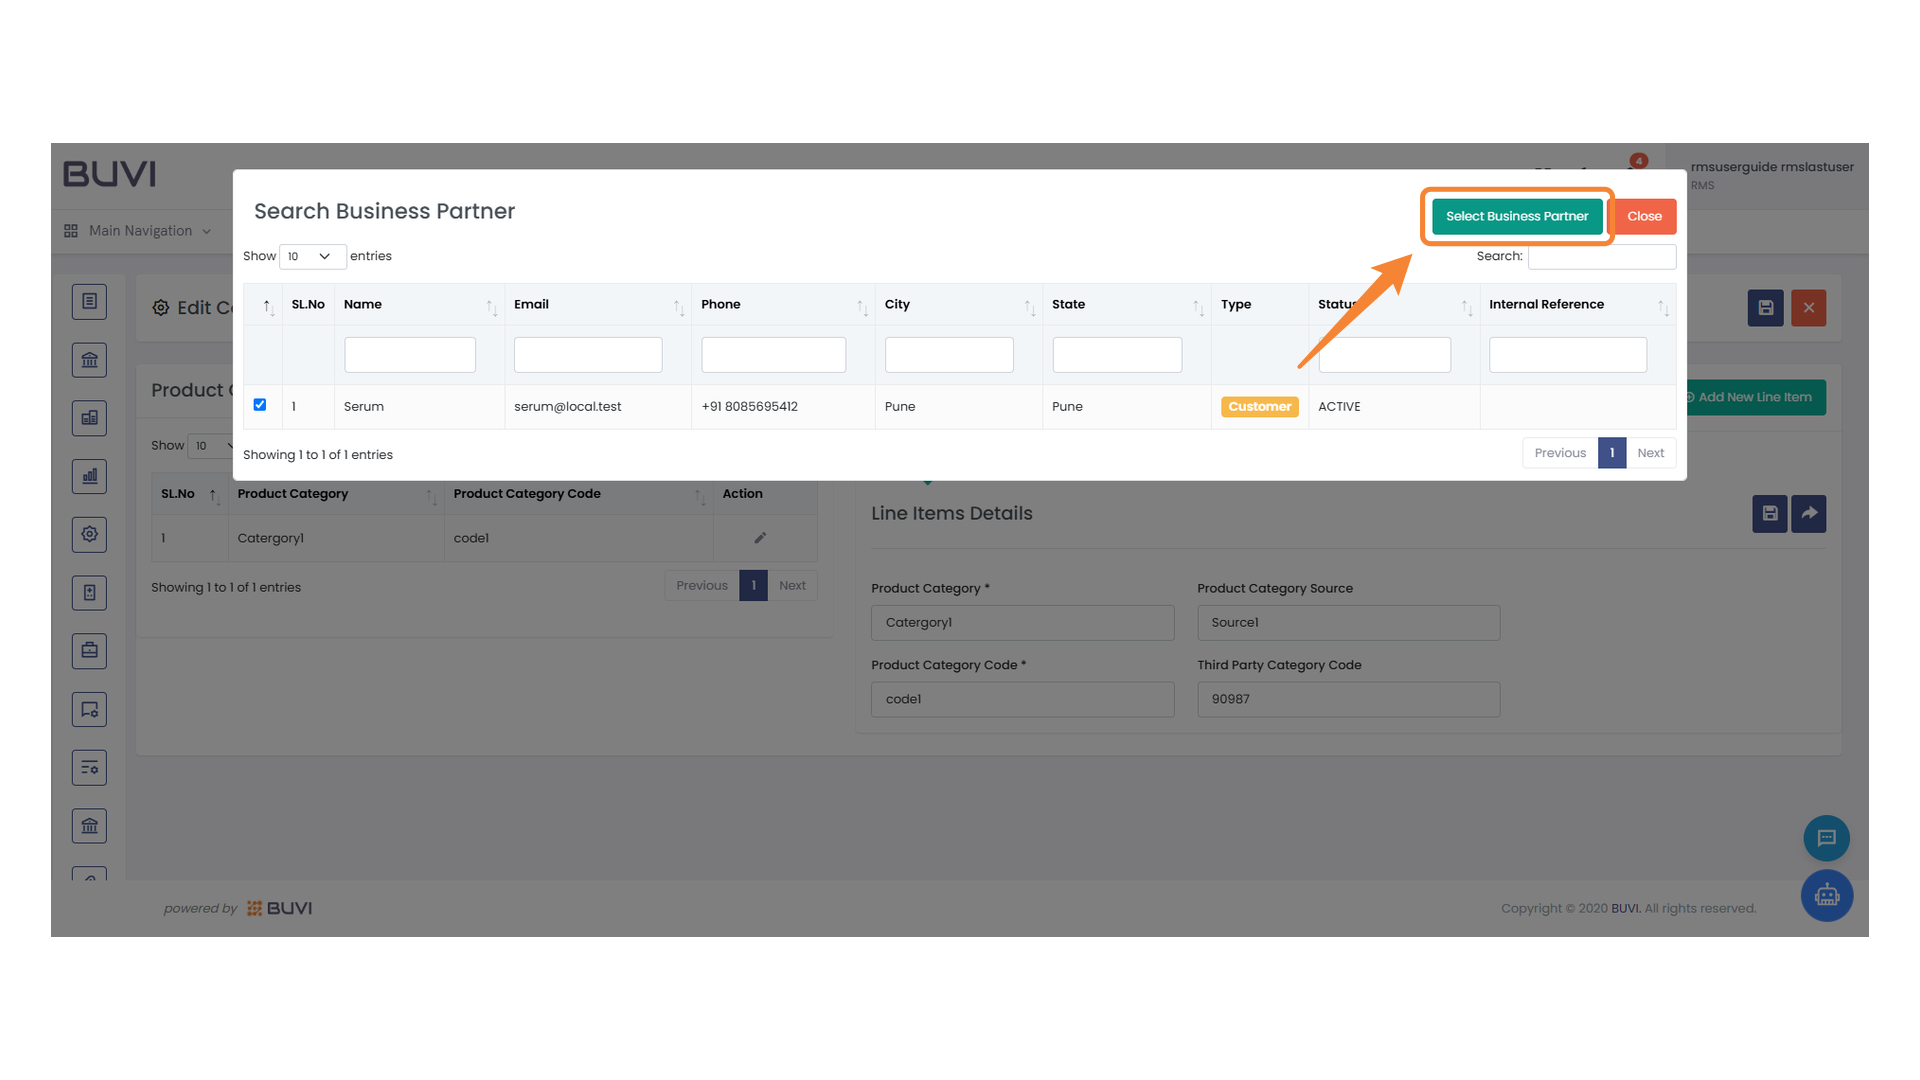
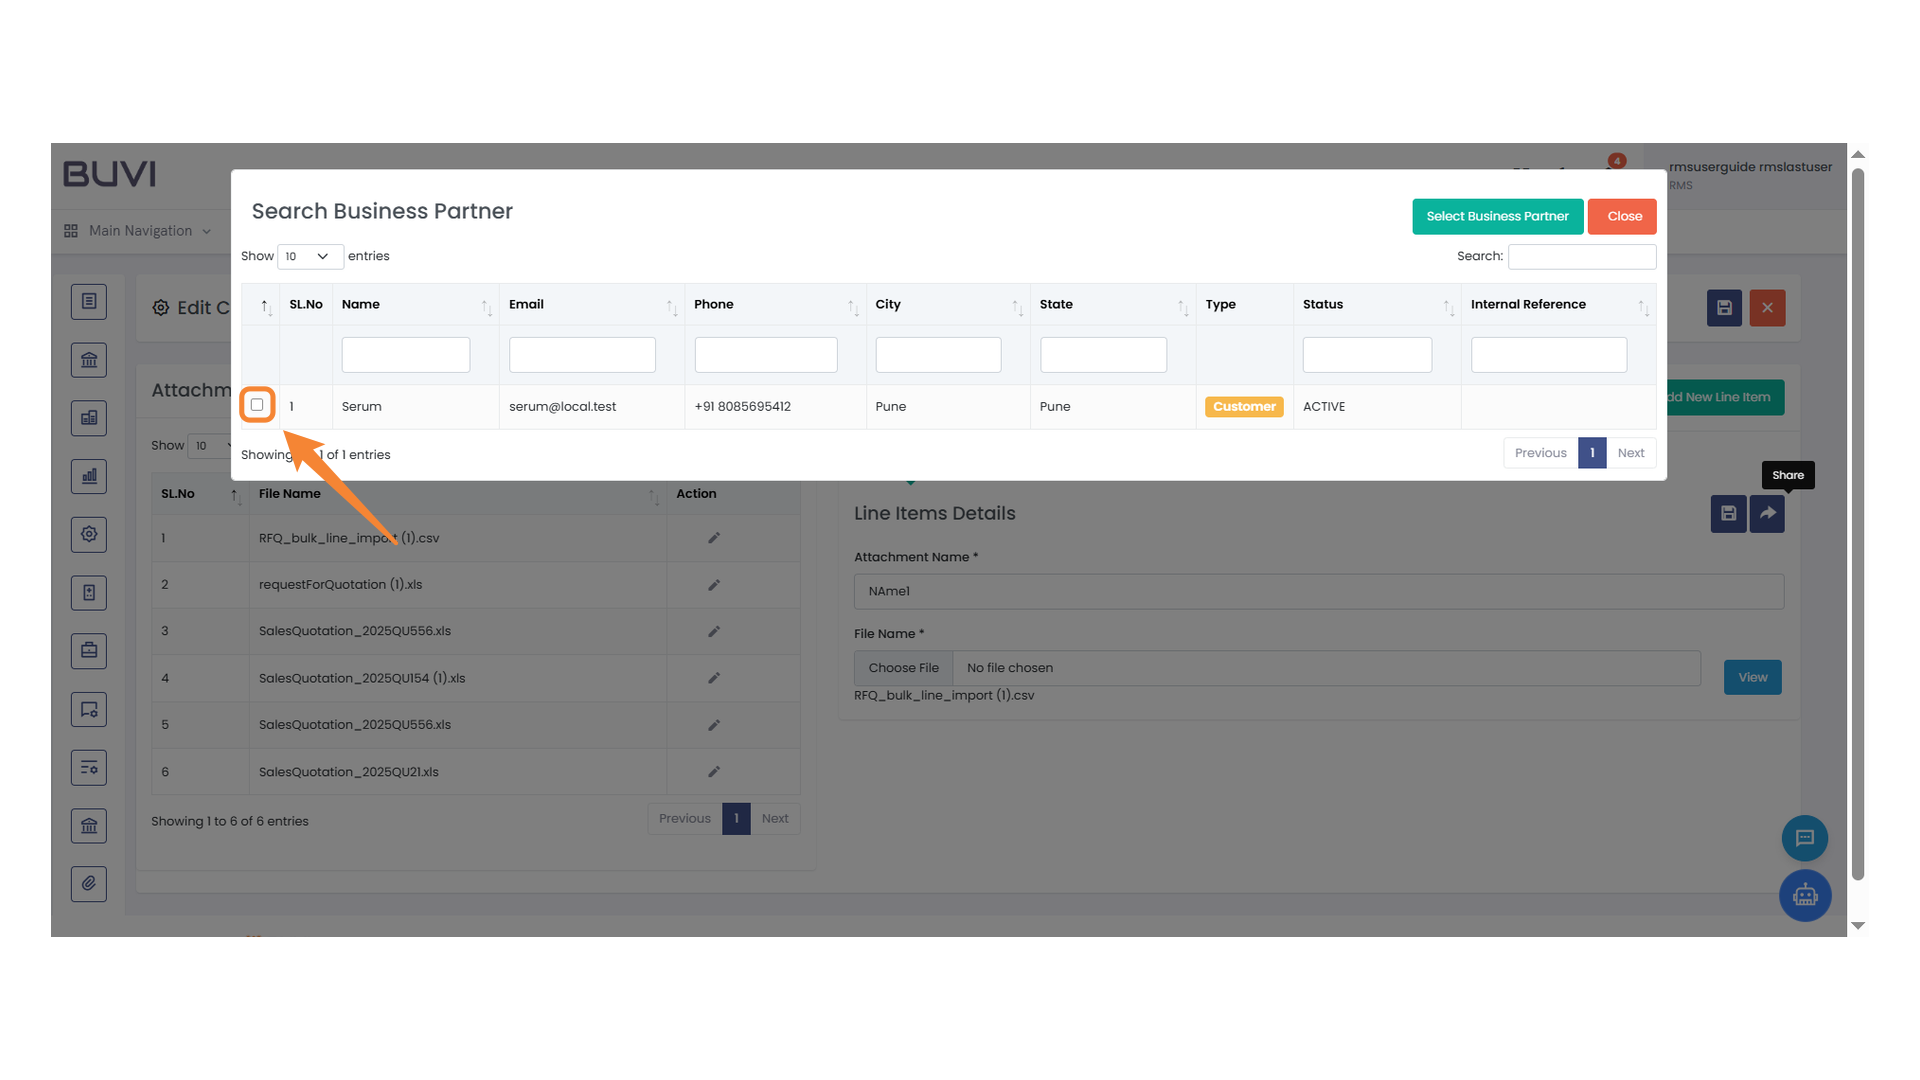
17. Select Business Partner Checkbox
Check the box to select a business partner from the list.
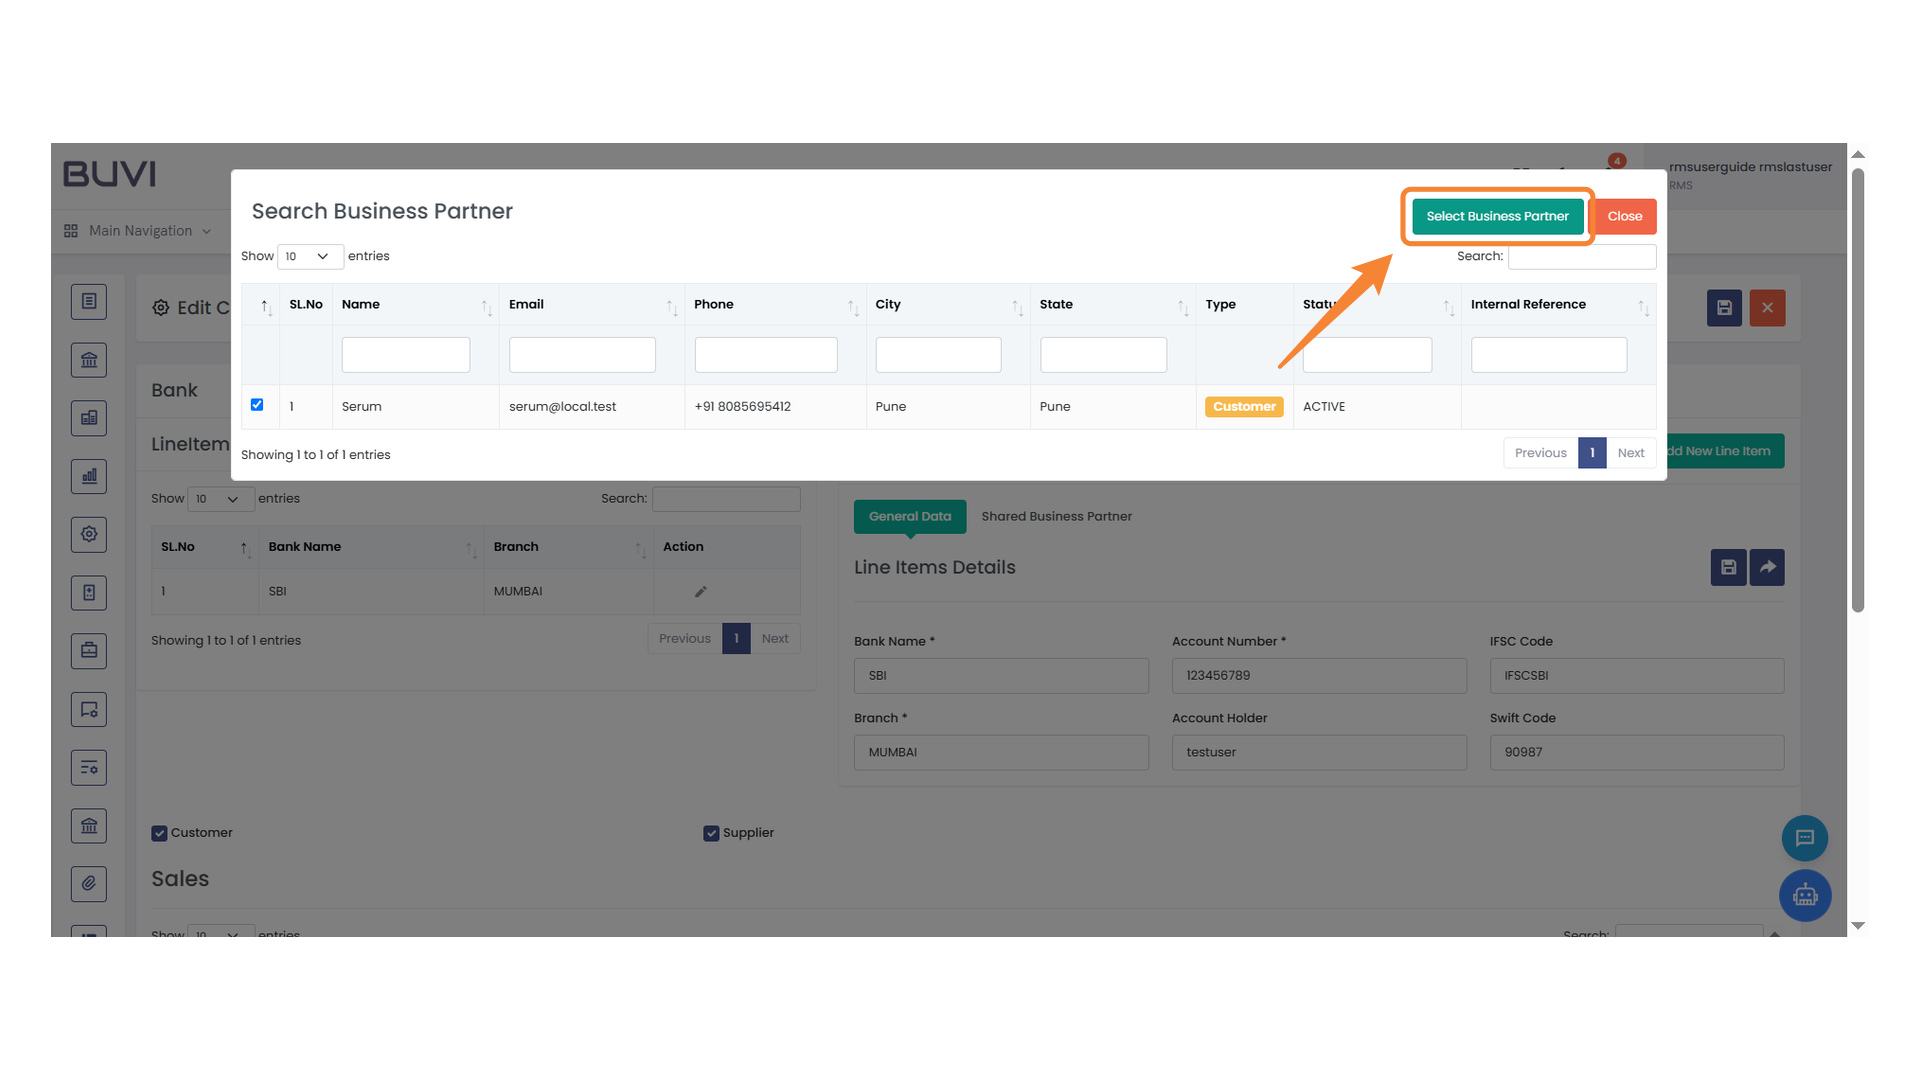
18. Select Business Partner Button
Click this button to select a business partner from the list.
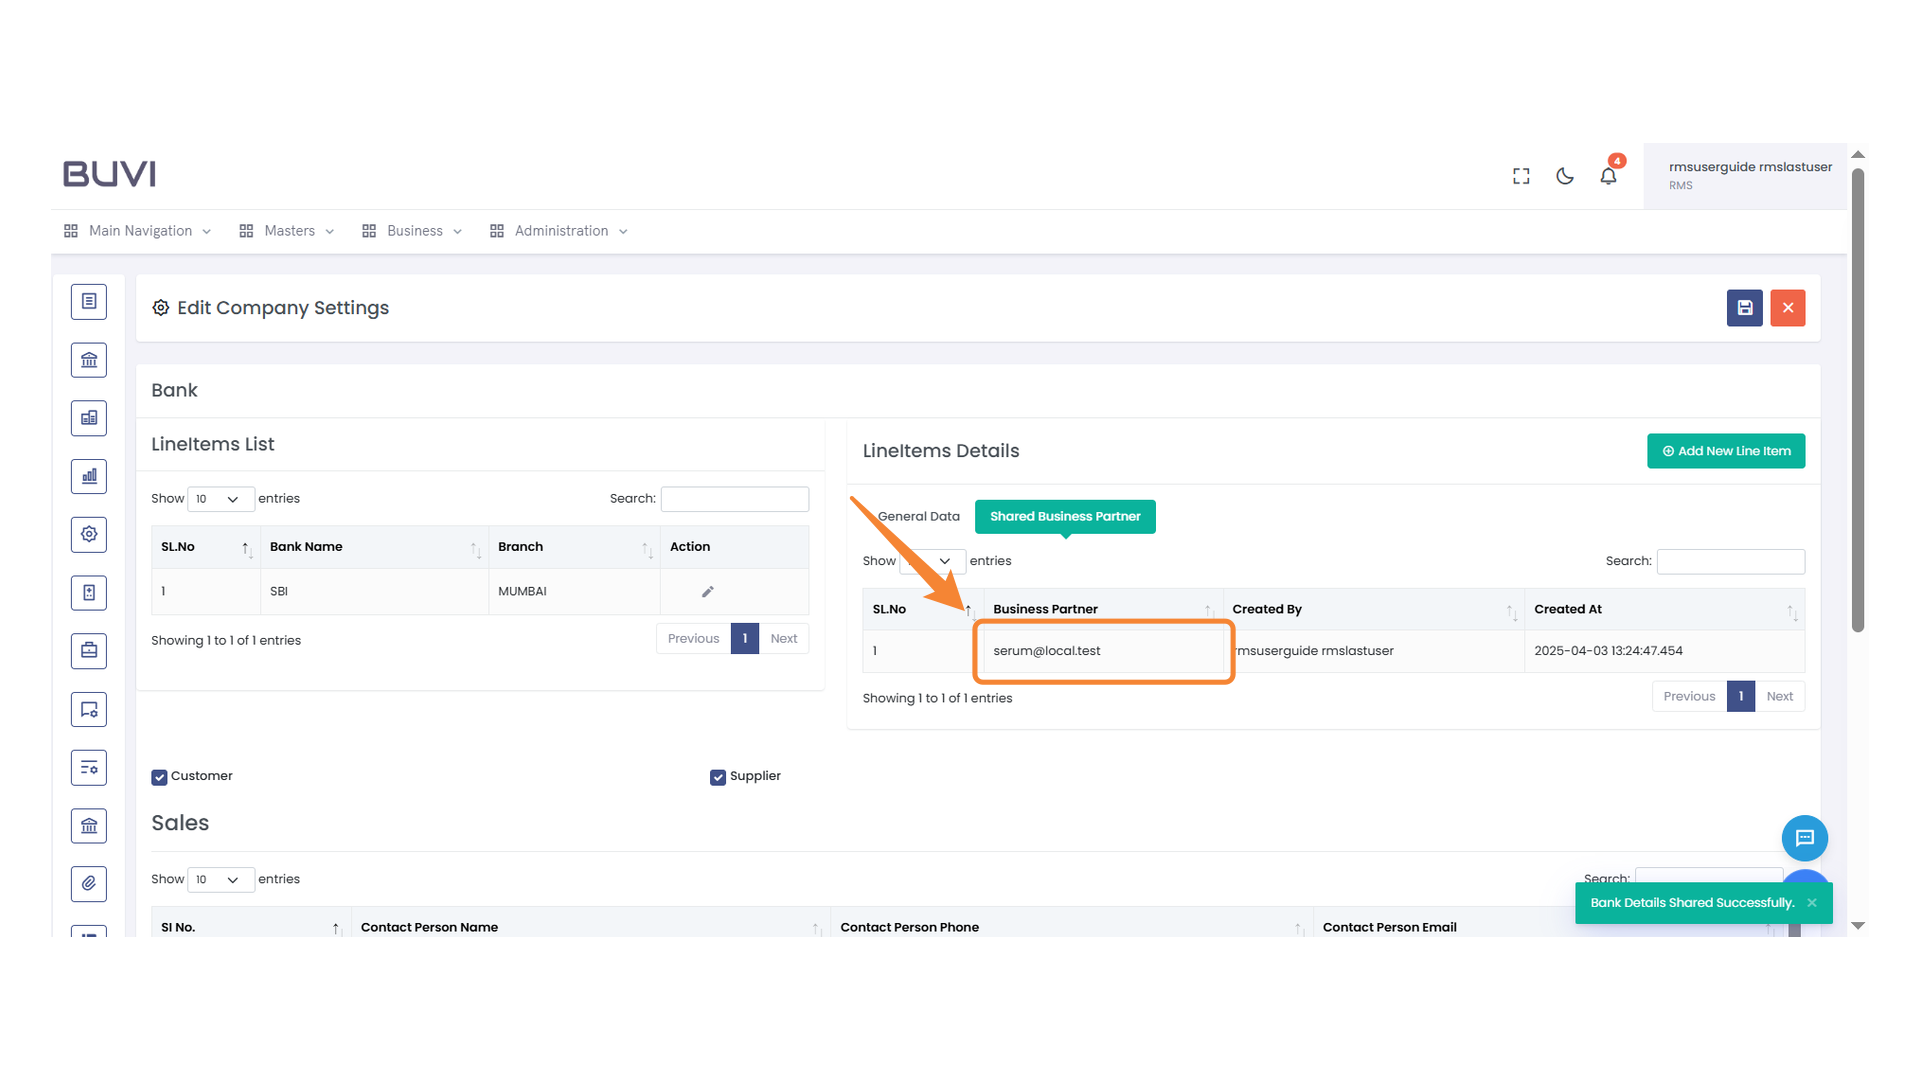
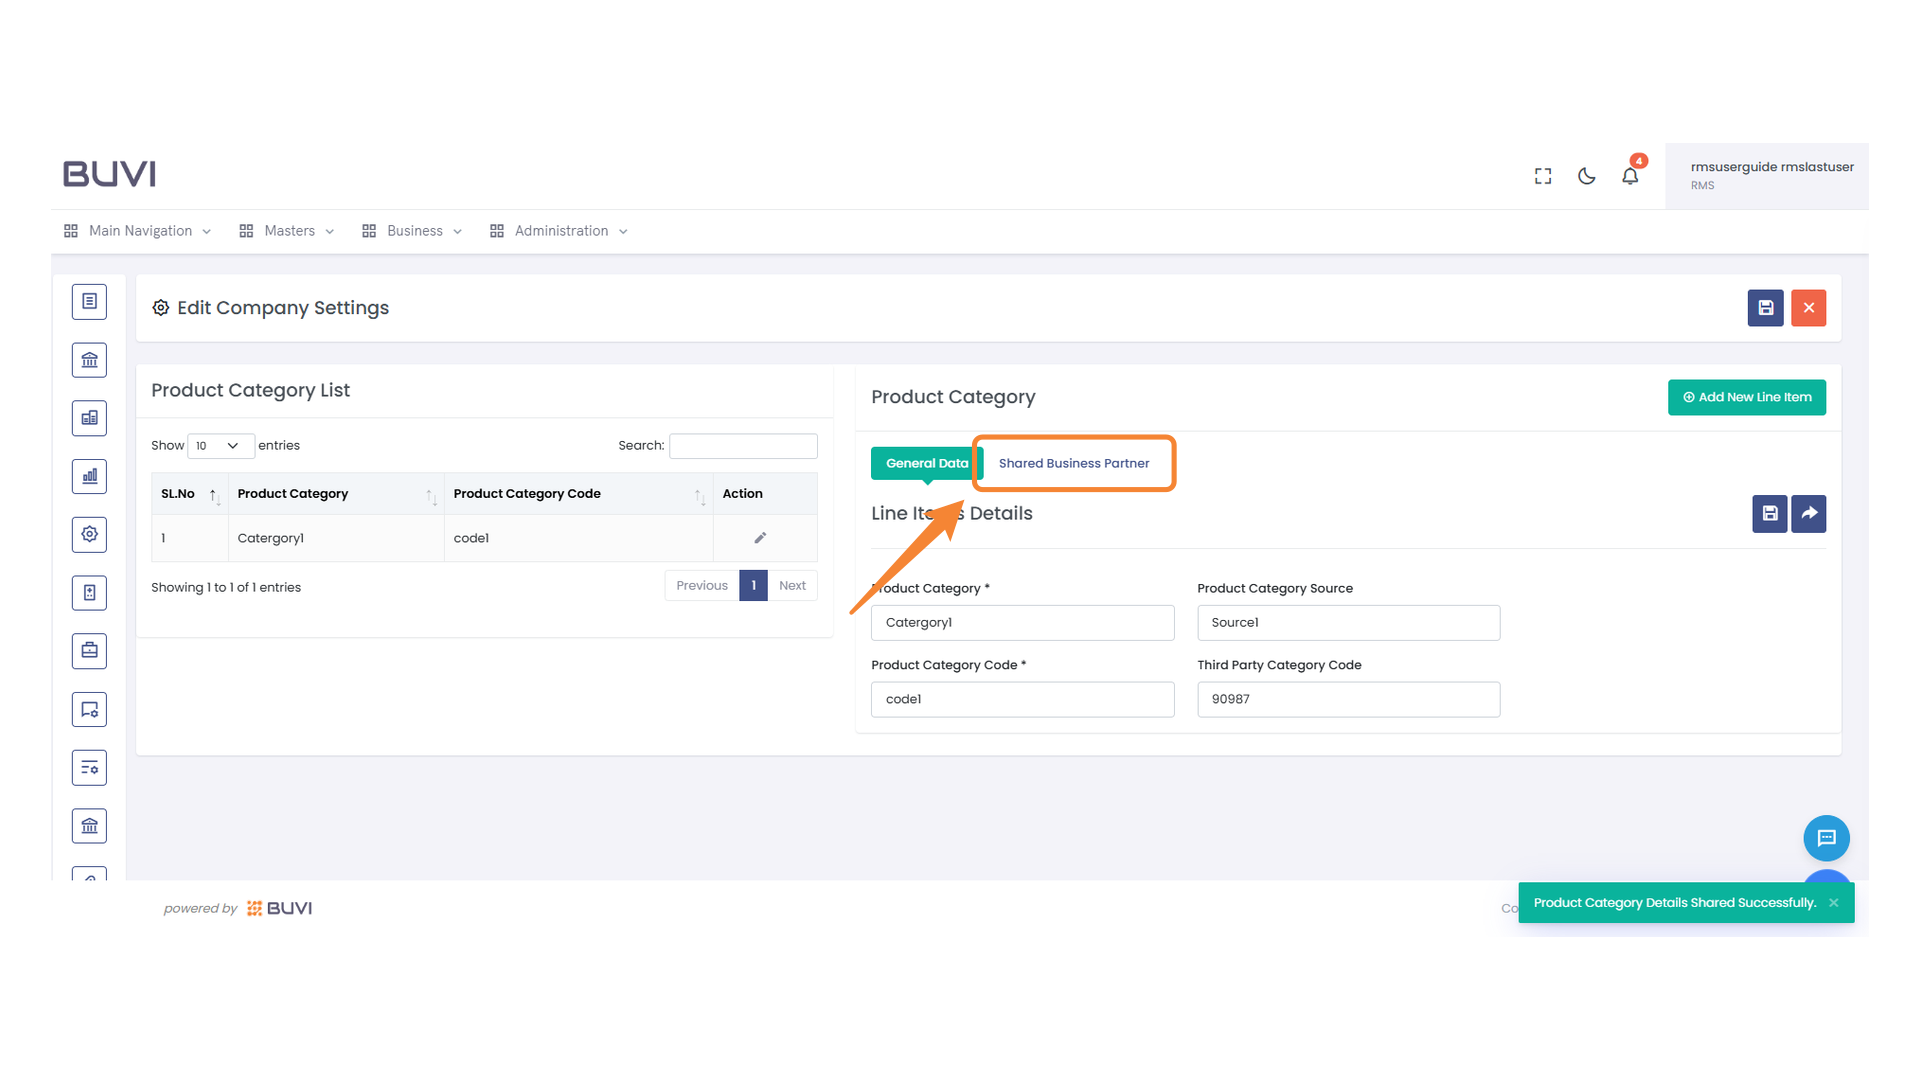
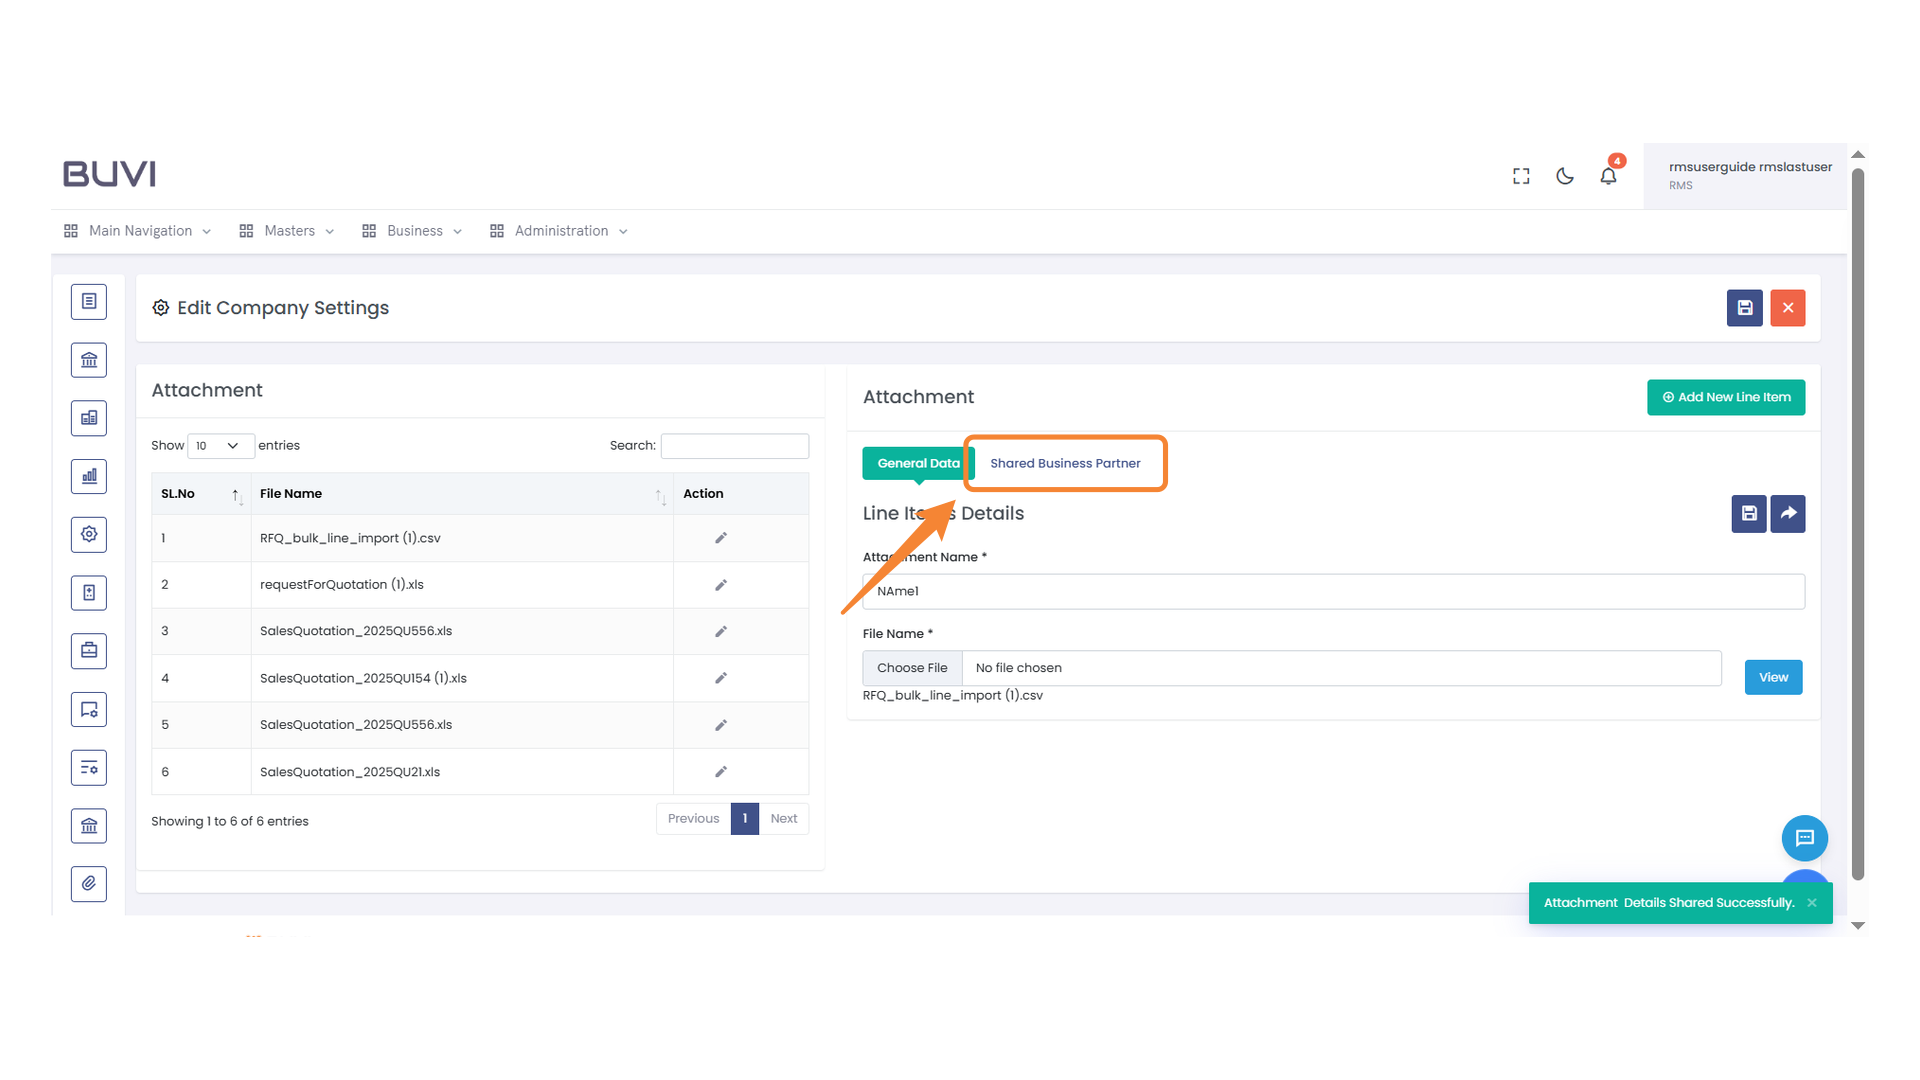
19. Shared Business Partner Tab
Click to view details related to shared business partners.

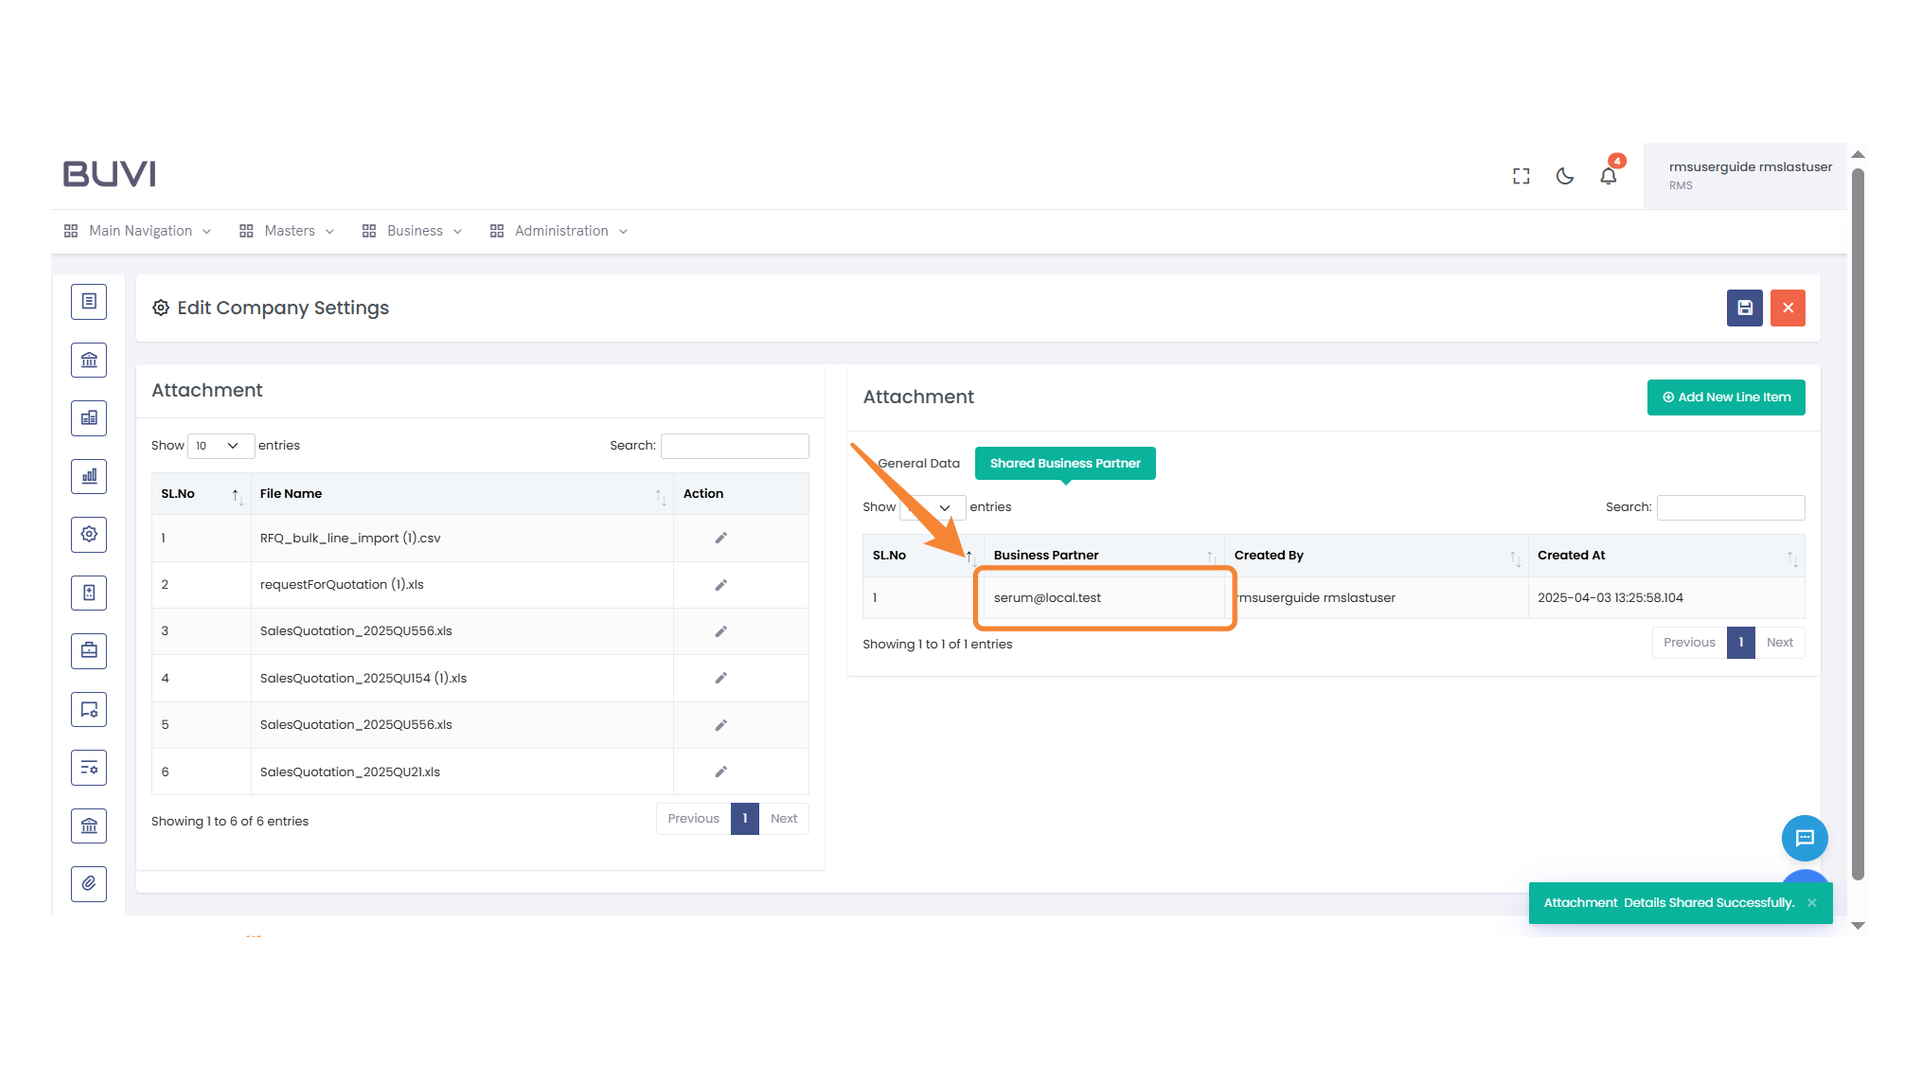
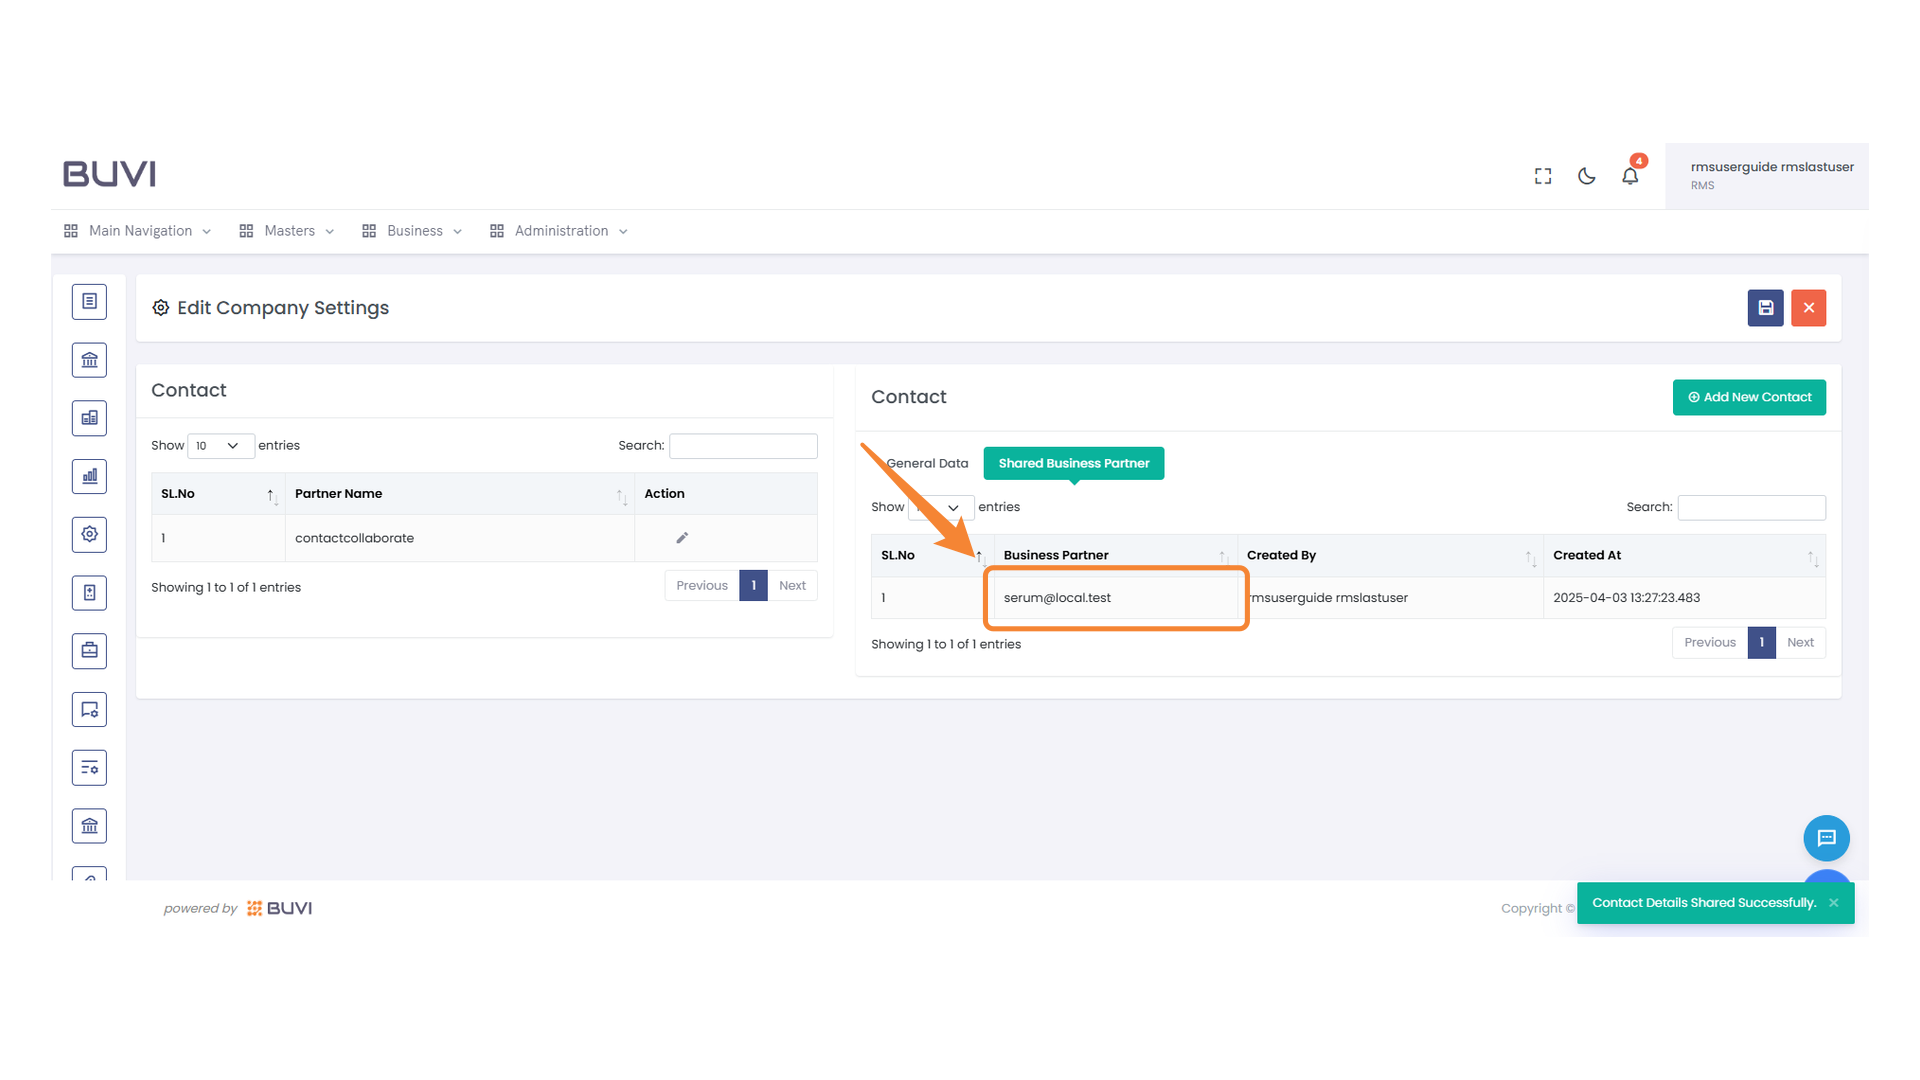
20. Business Partner Email Highlighted
Observe the email address displayed under the 'Business Partner' column.
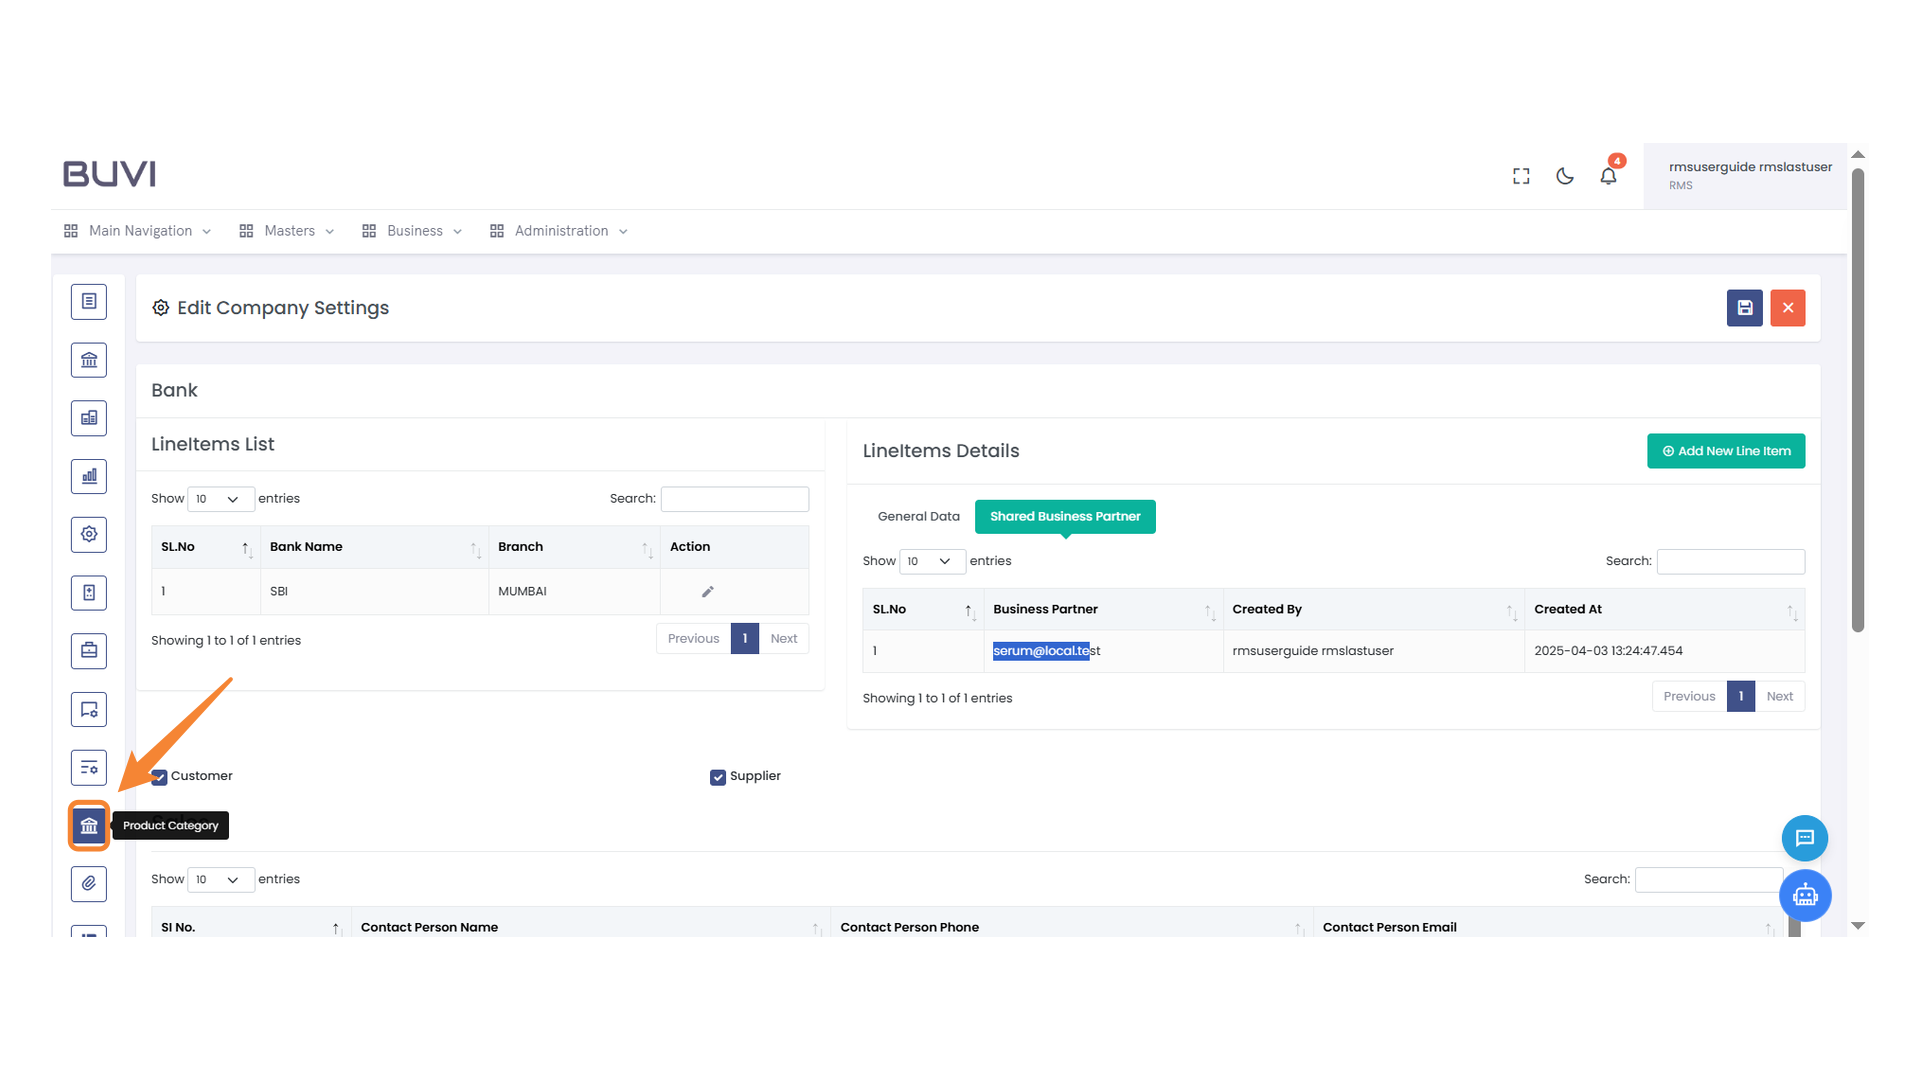
21. Product Category Button
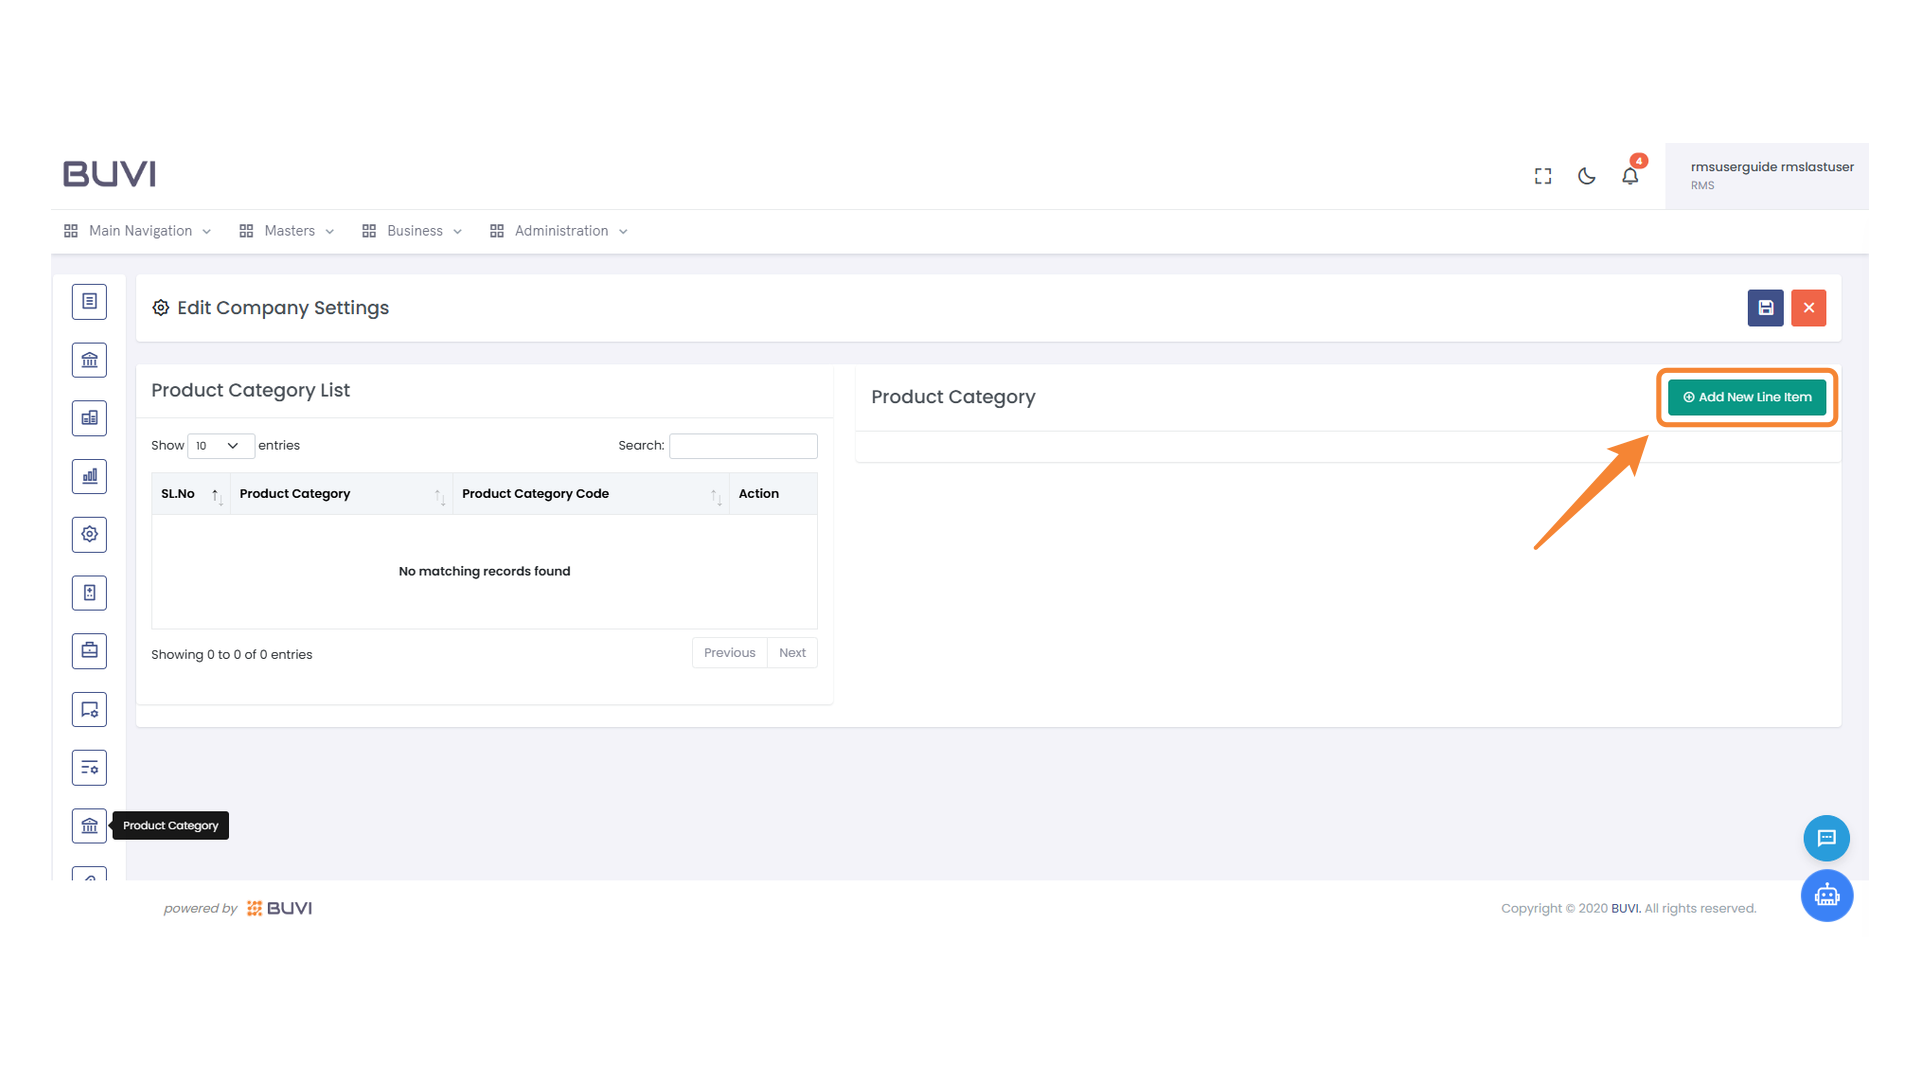
Next, click product category button to share the product categories.
22. Add New Line Item Button
Click to add a new line item to the list.
23. Product Category Input Field
Enter the product category name in the provided field.
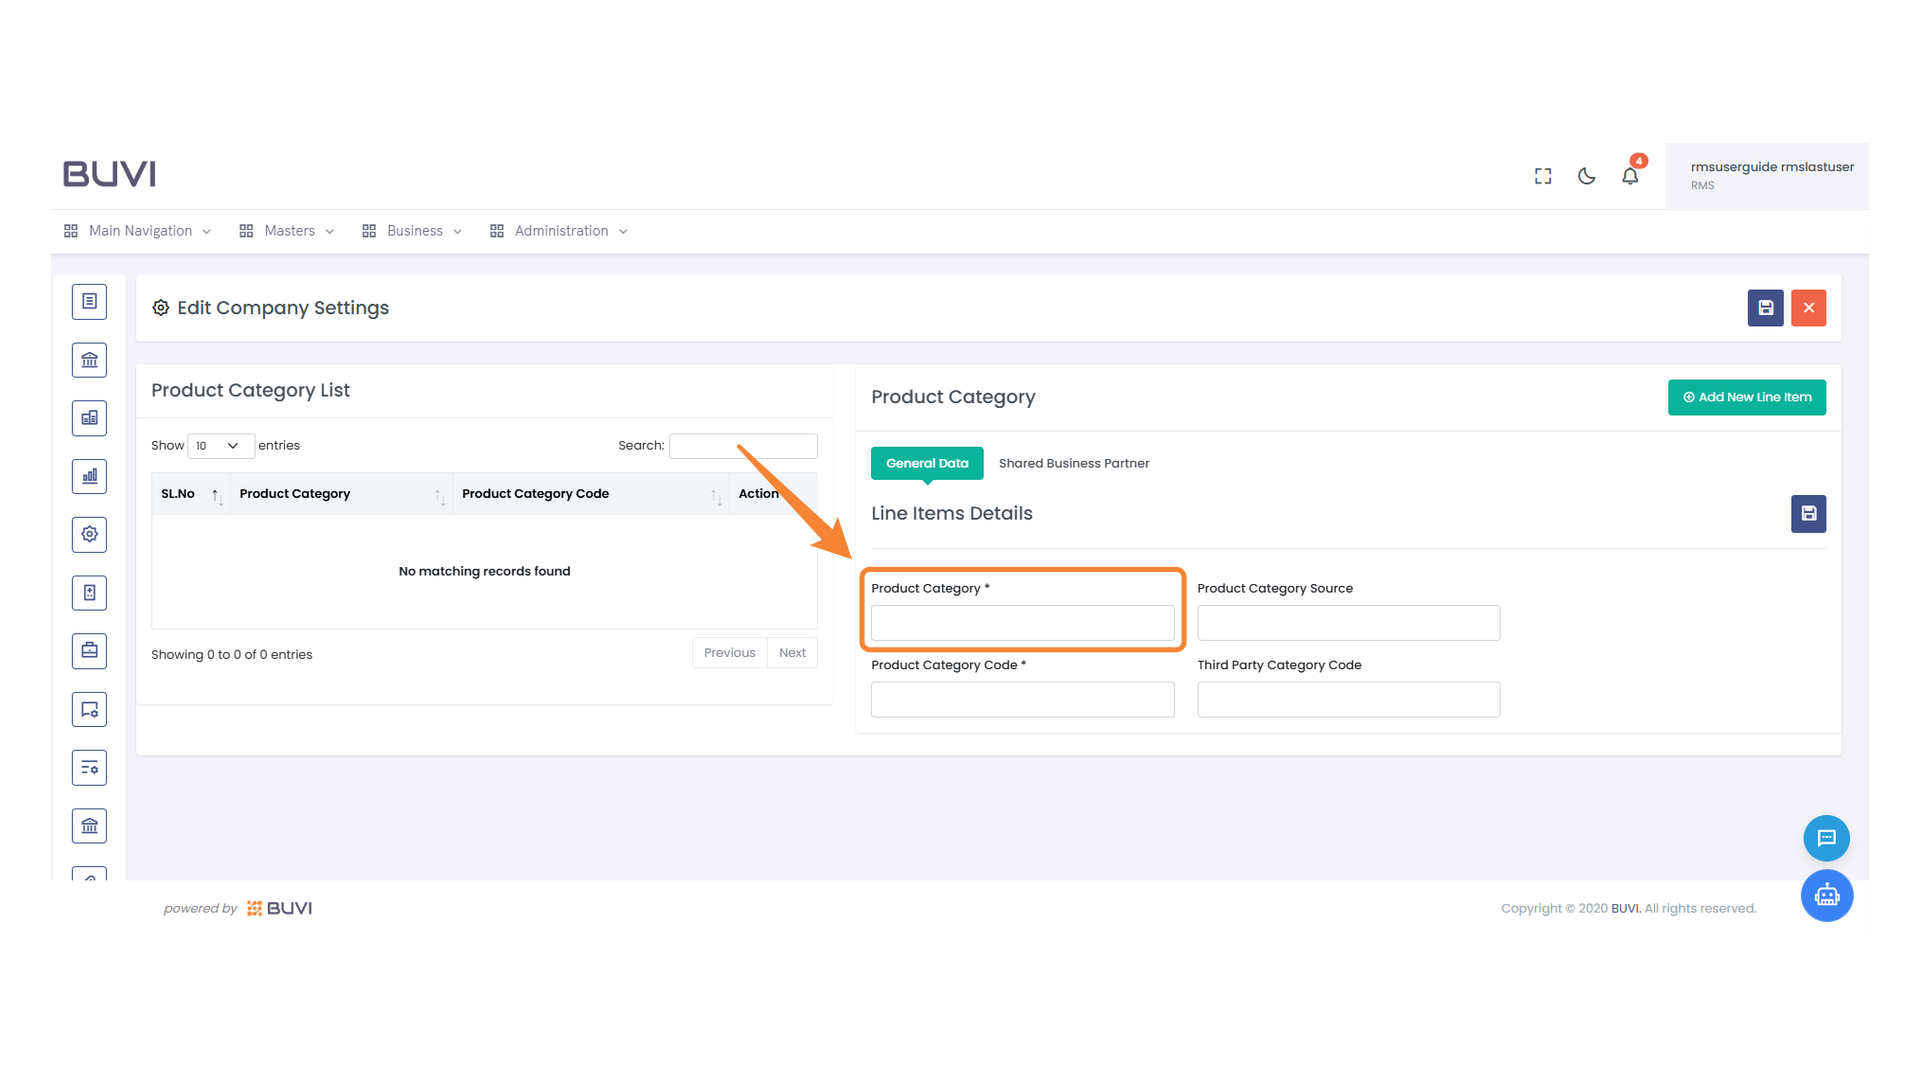
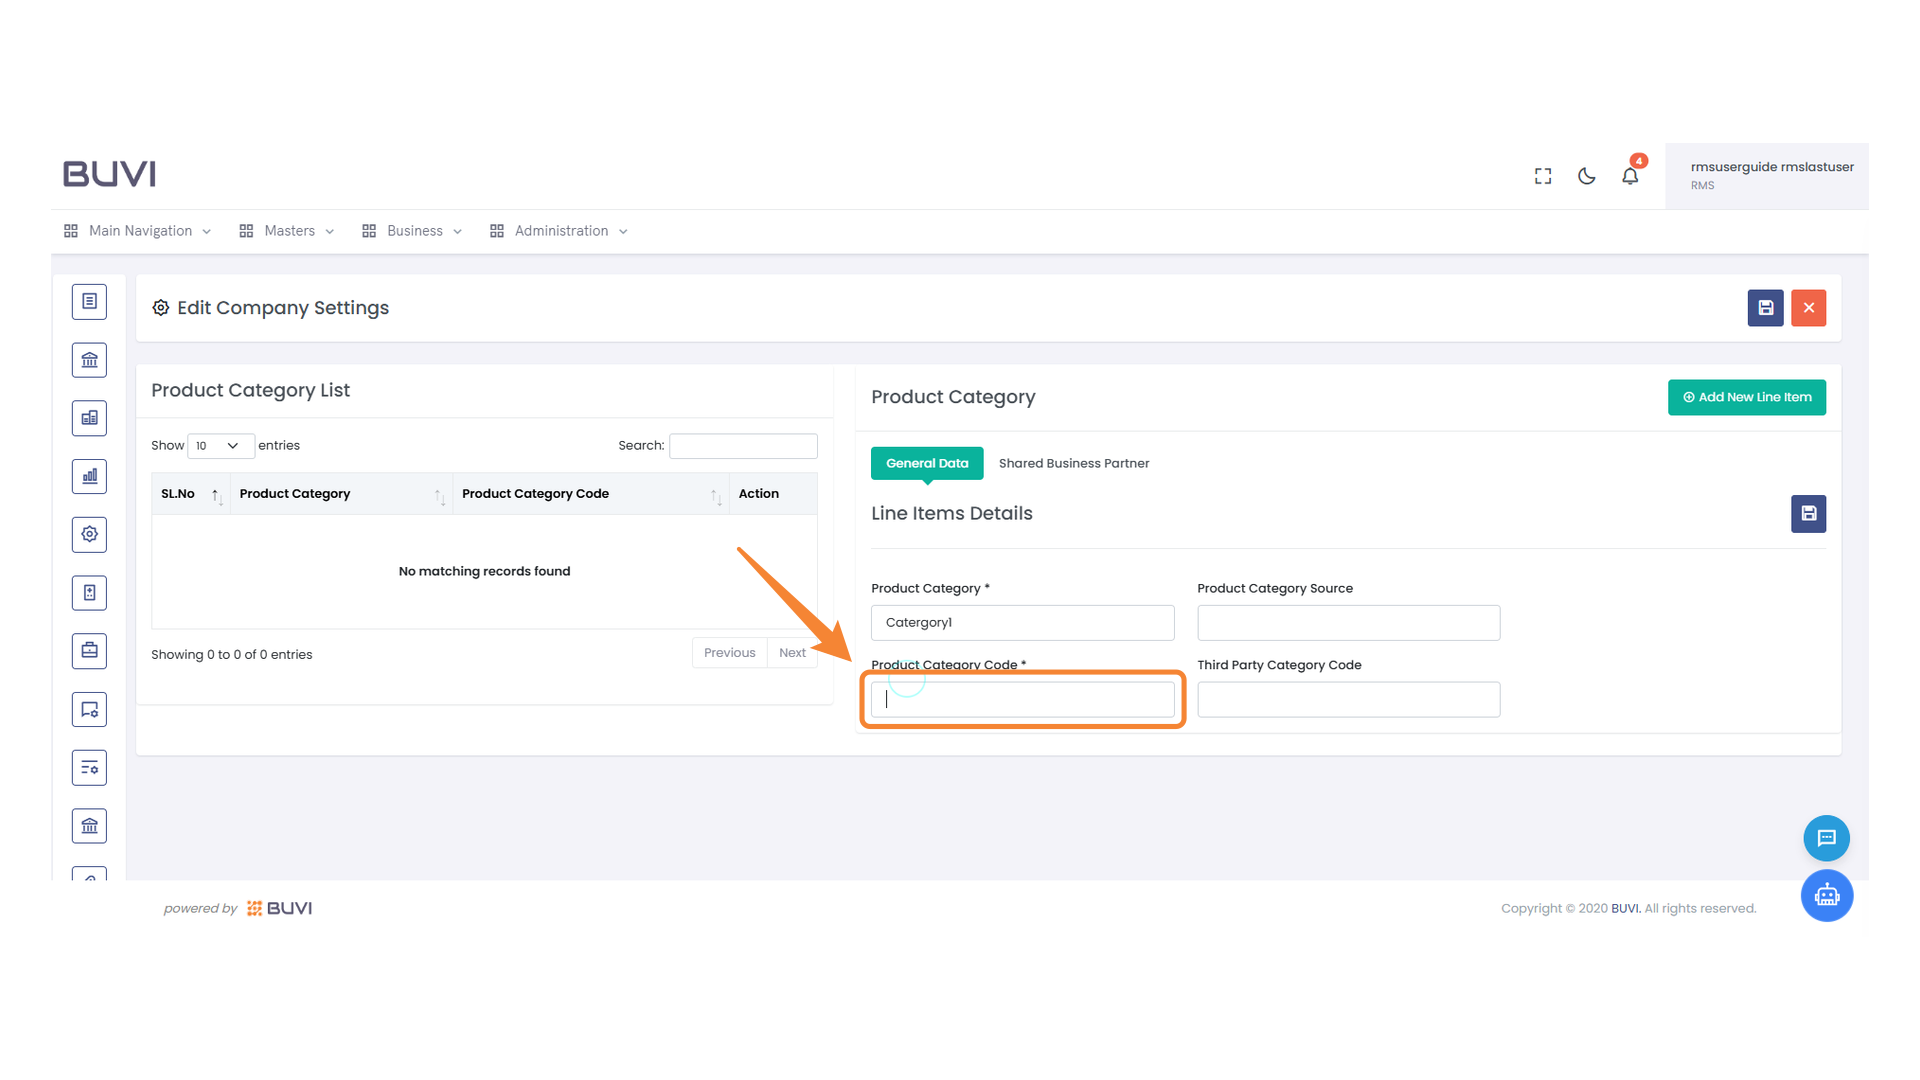
24. Product Category Code Input
Enter the product category code into the provided field.
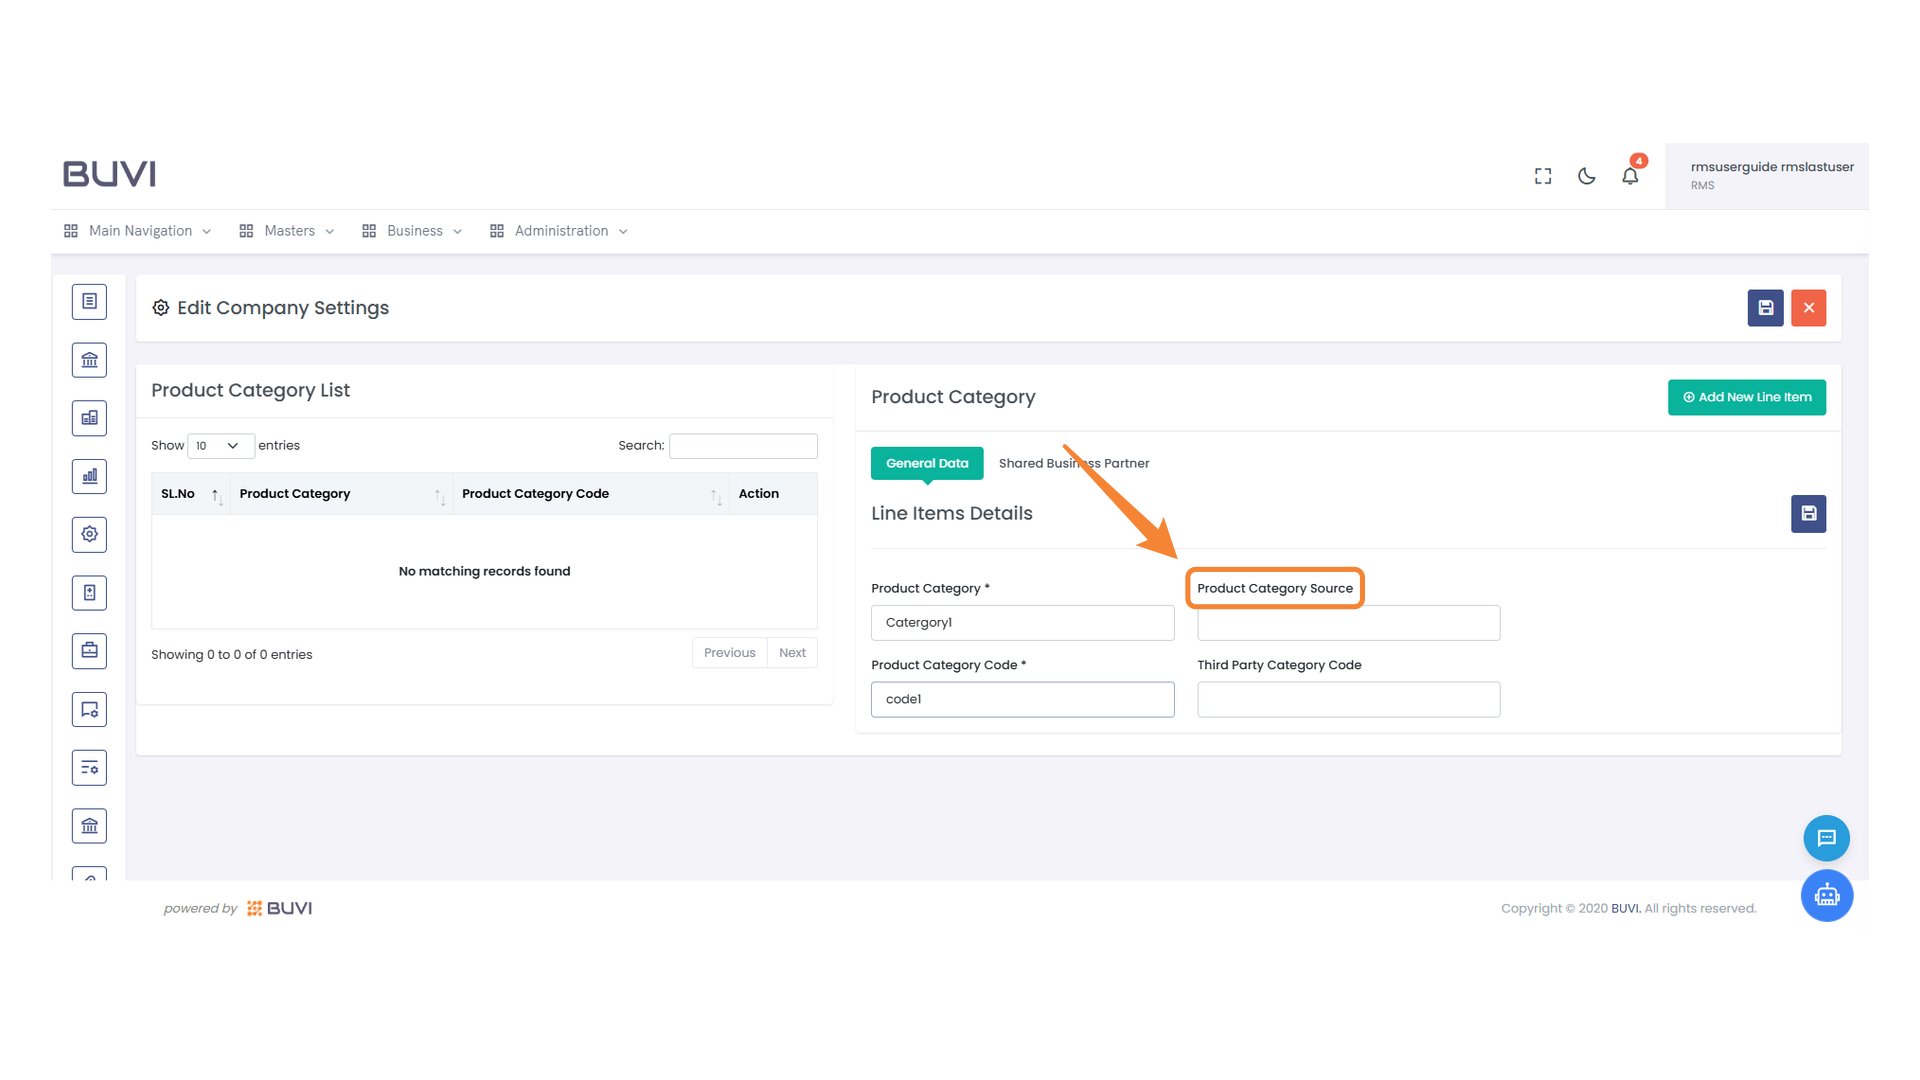
25. Product Category Source Field
Enter the source details for the product category in this section.
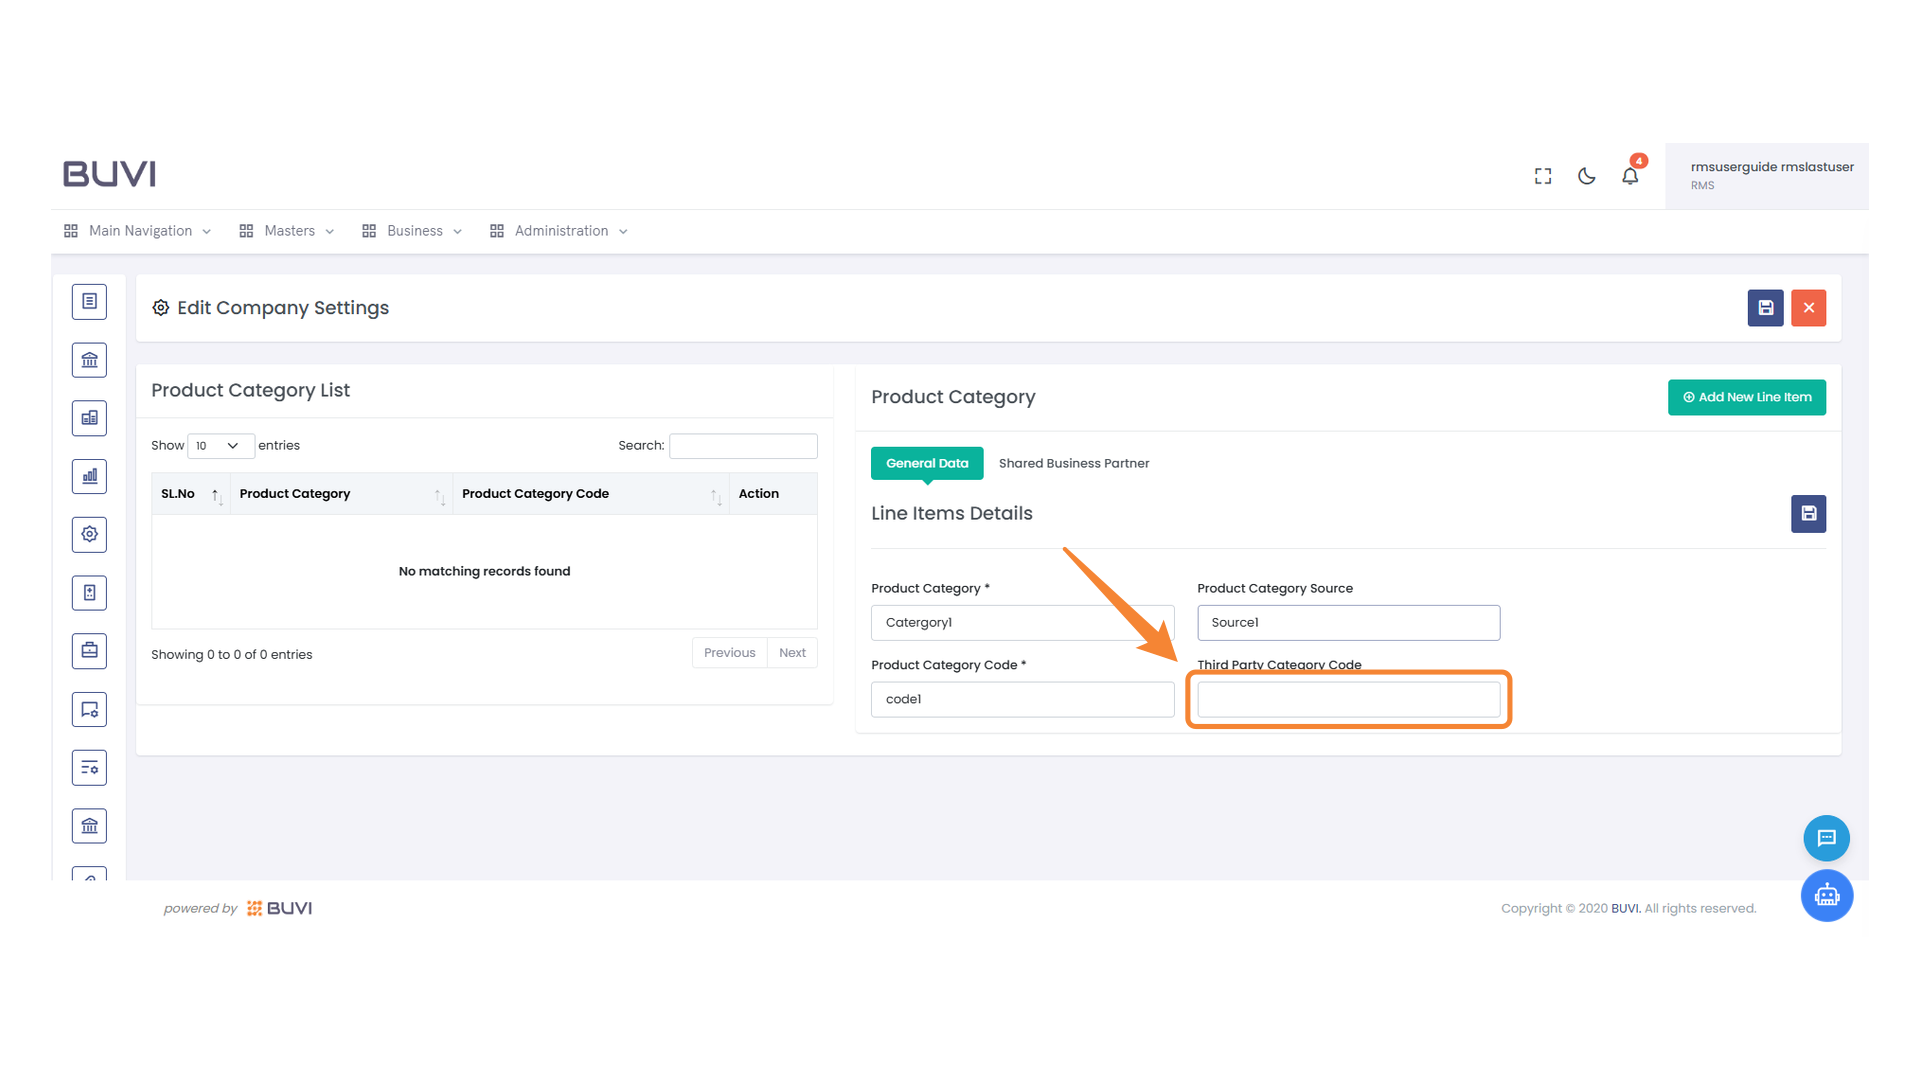
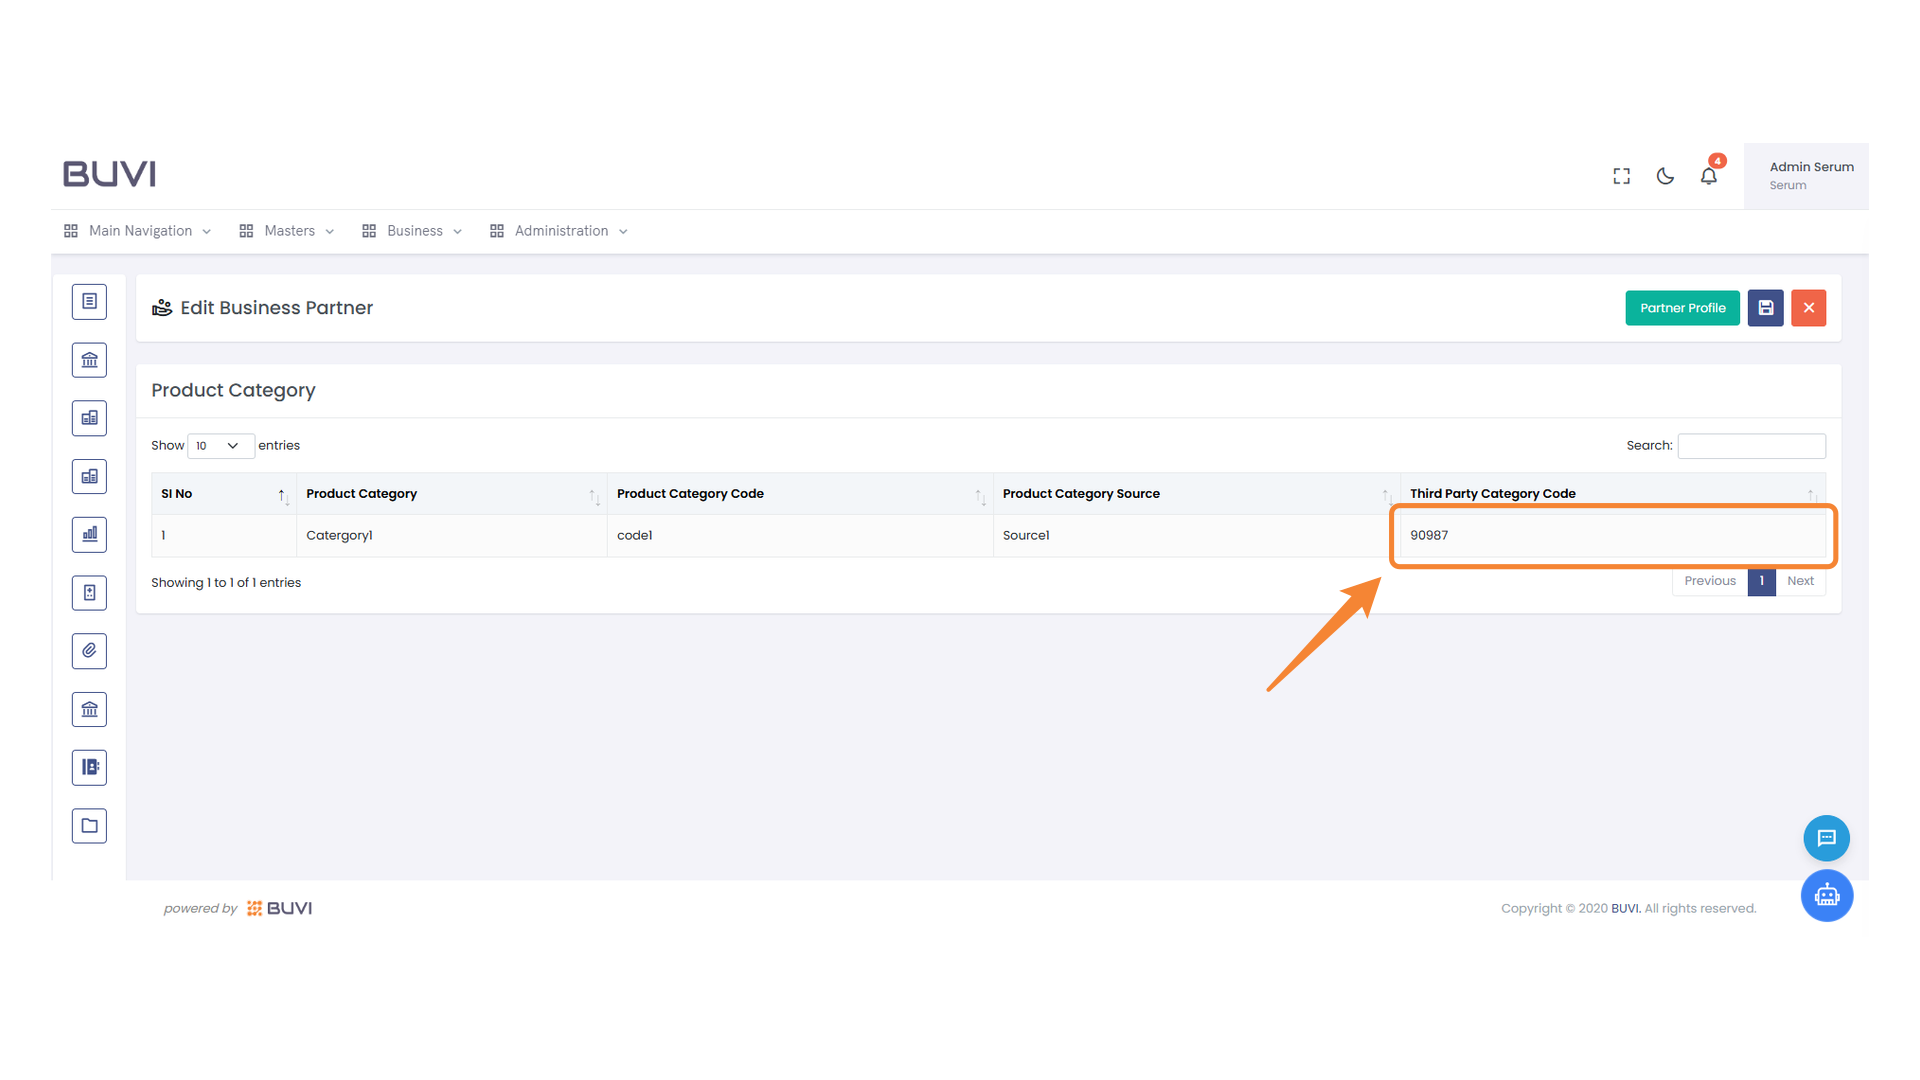
26. Third Party Category Code Input
Enter the code for the third party category in the provided field.
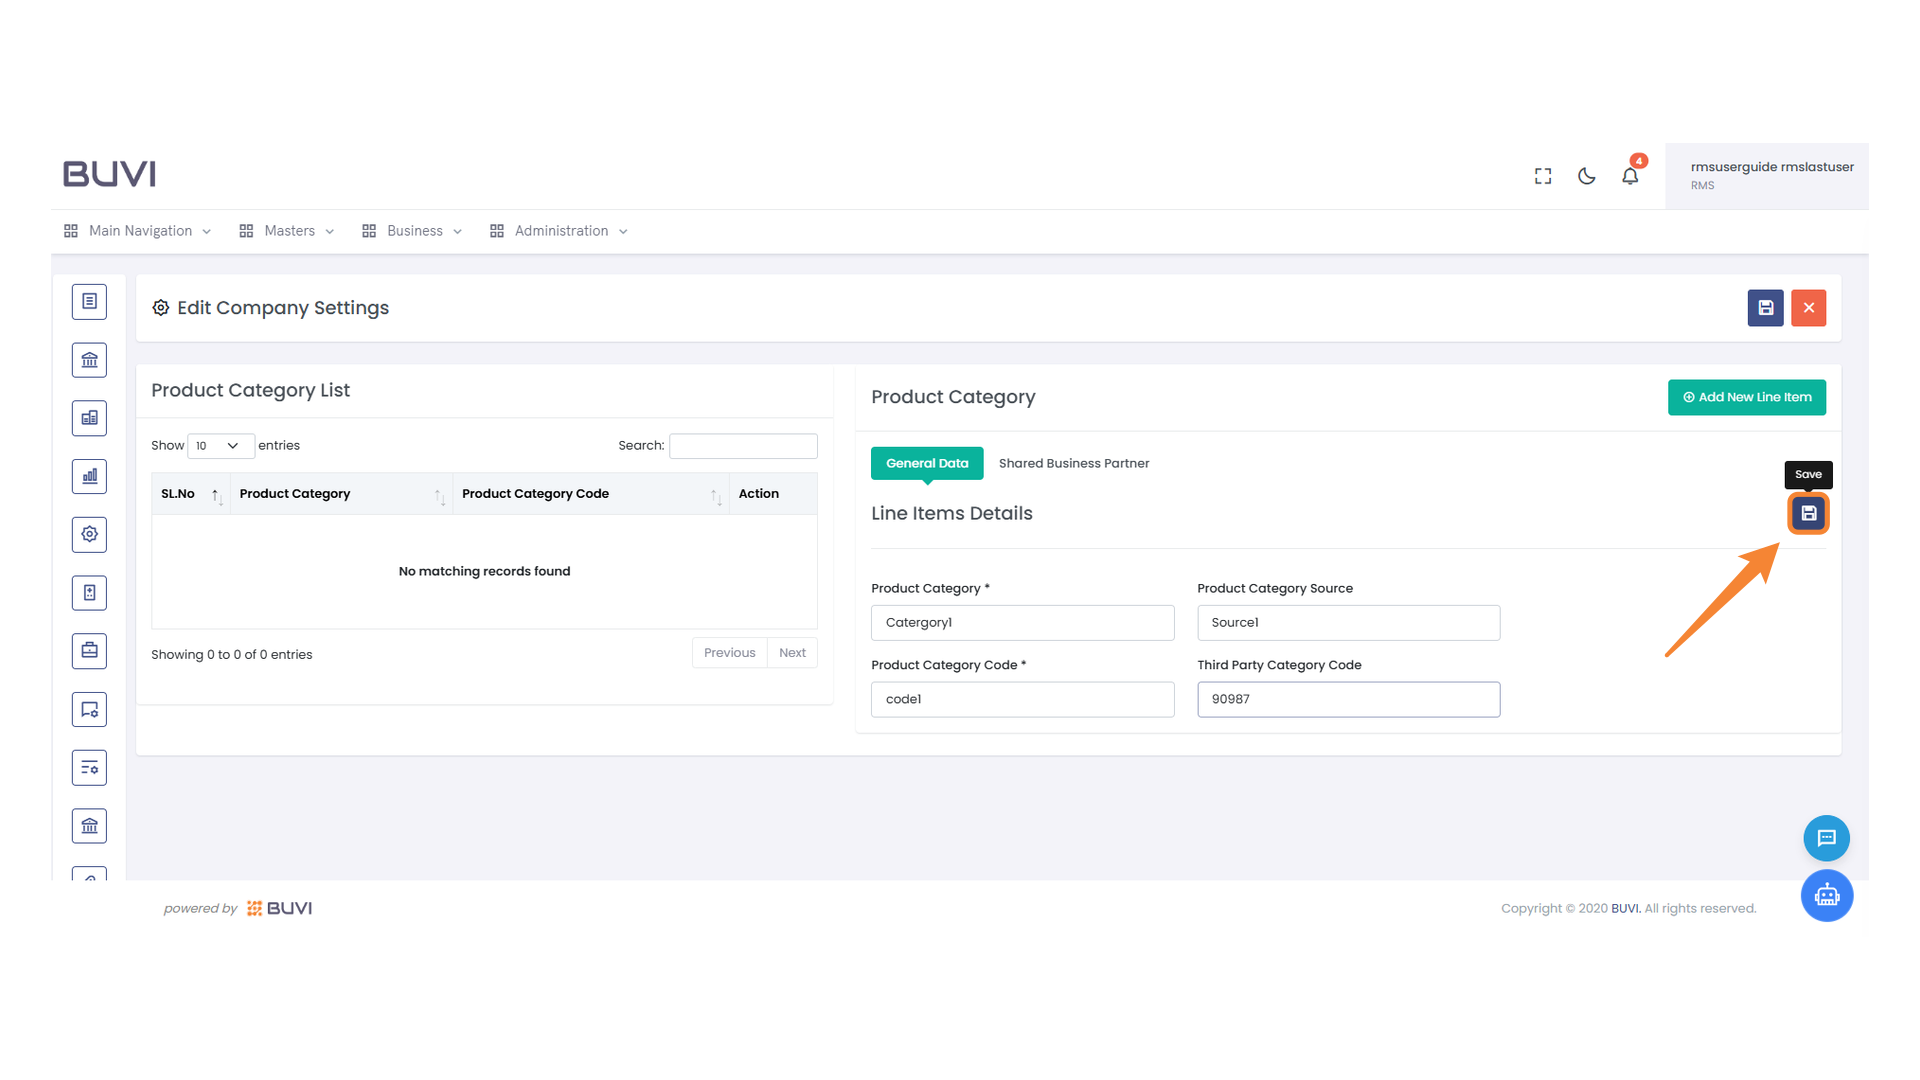
27. Save Button Icon
Click this icon to save your changes.
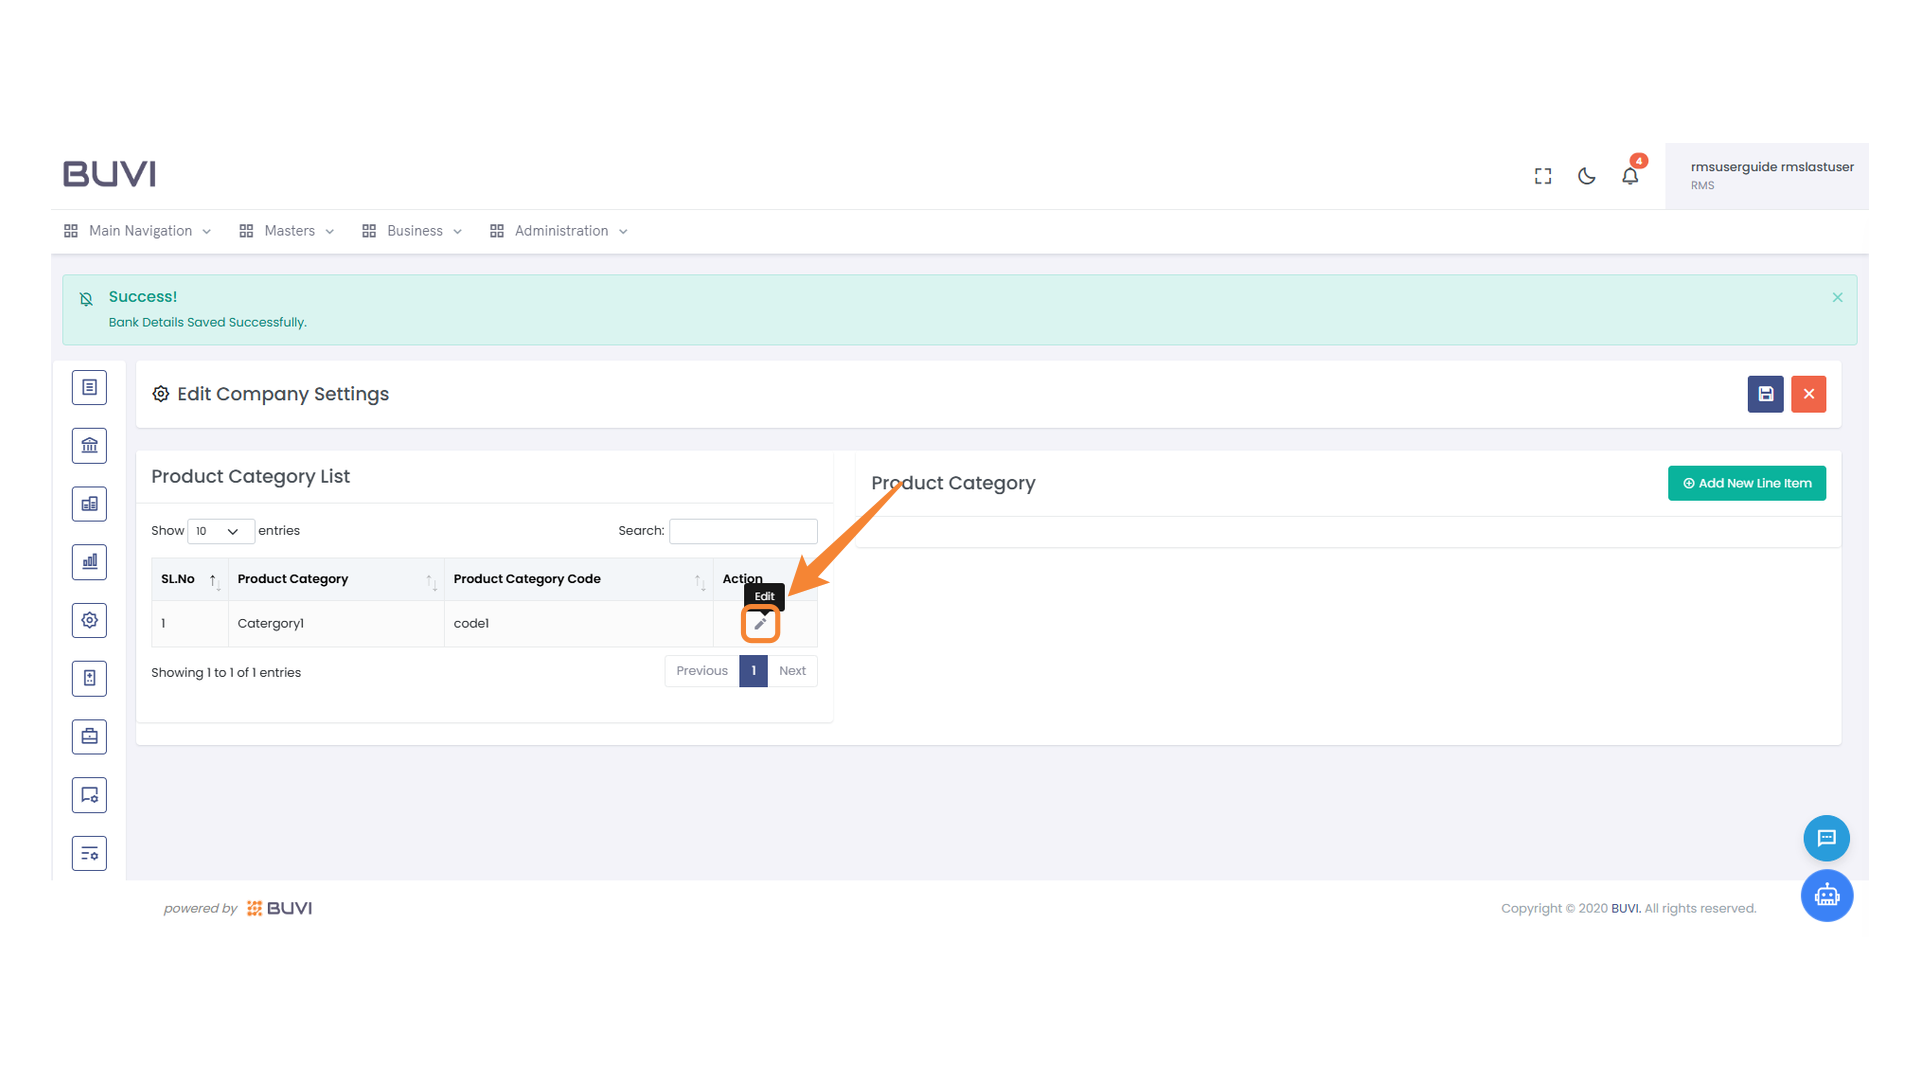
28. Edit Button
Press the button to edit the product category.
29. Share Button
Click to share the product category information with vendors.
30. Select Item Checkbox
Click the checkbox to select the desired item.

31. Select Business Partner Button
Click to choose a business partner from the list.
32. Shared Business Partner Tab
Select the 'Shared Business Partner' tab to manage collaboration details with your business partners.
33. Highlighted Business Partner Email
Review the business partner email address displayed in the list for accuracy.

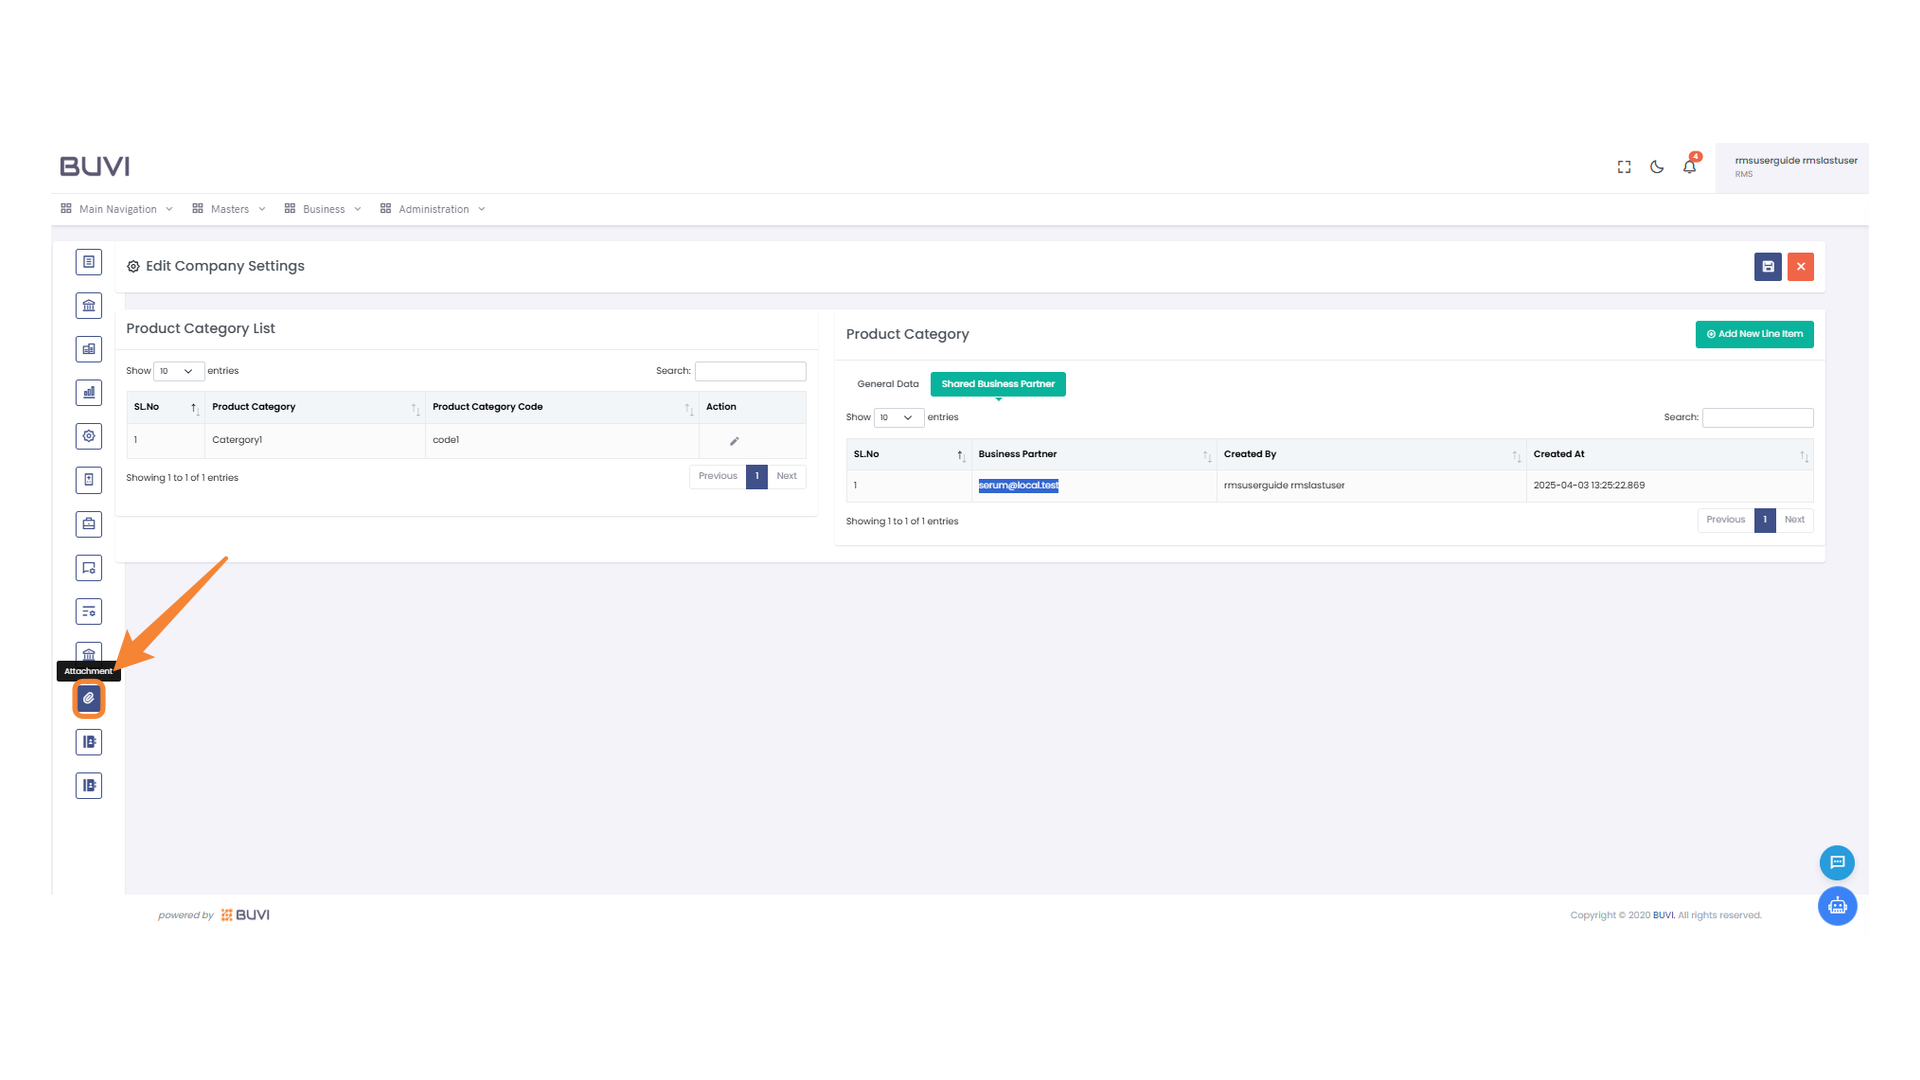
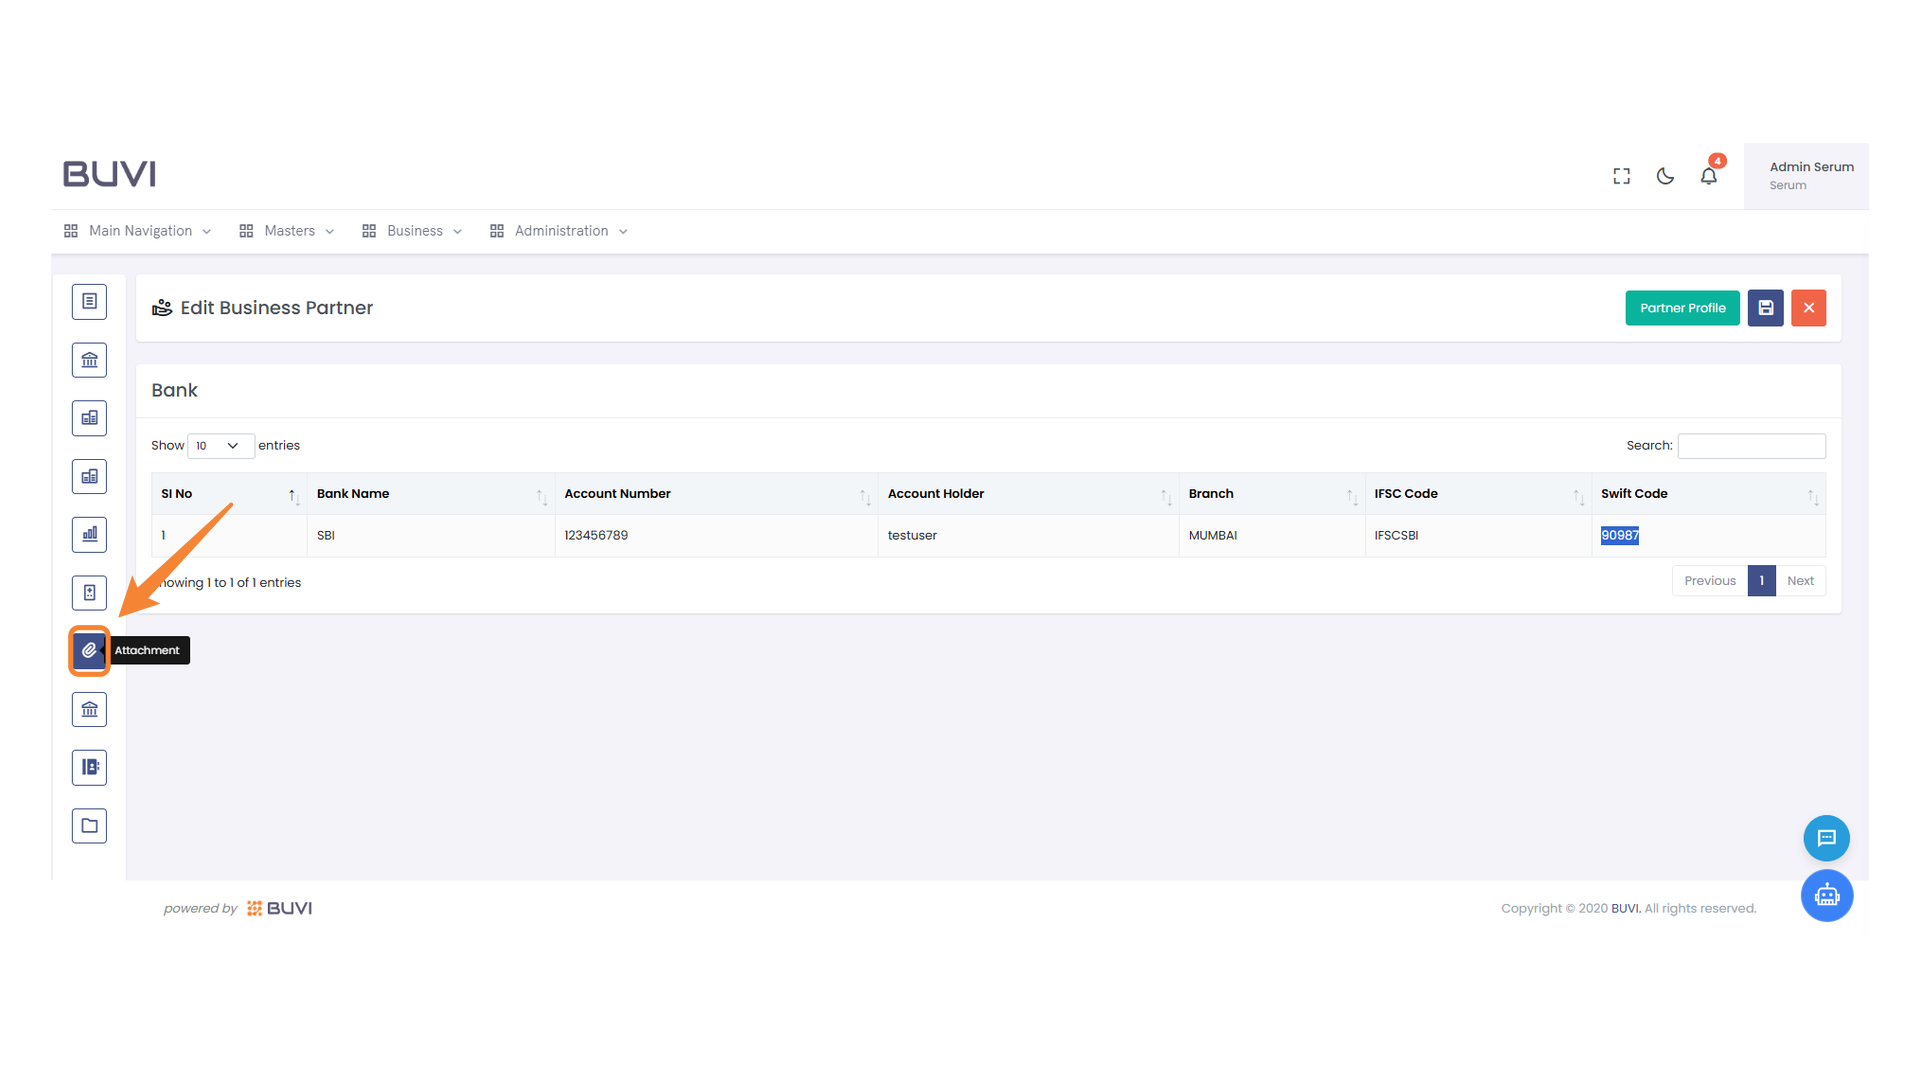
34. Attachment Manager Icon
Select attachment icon to share the attachments.
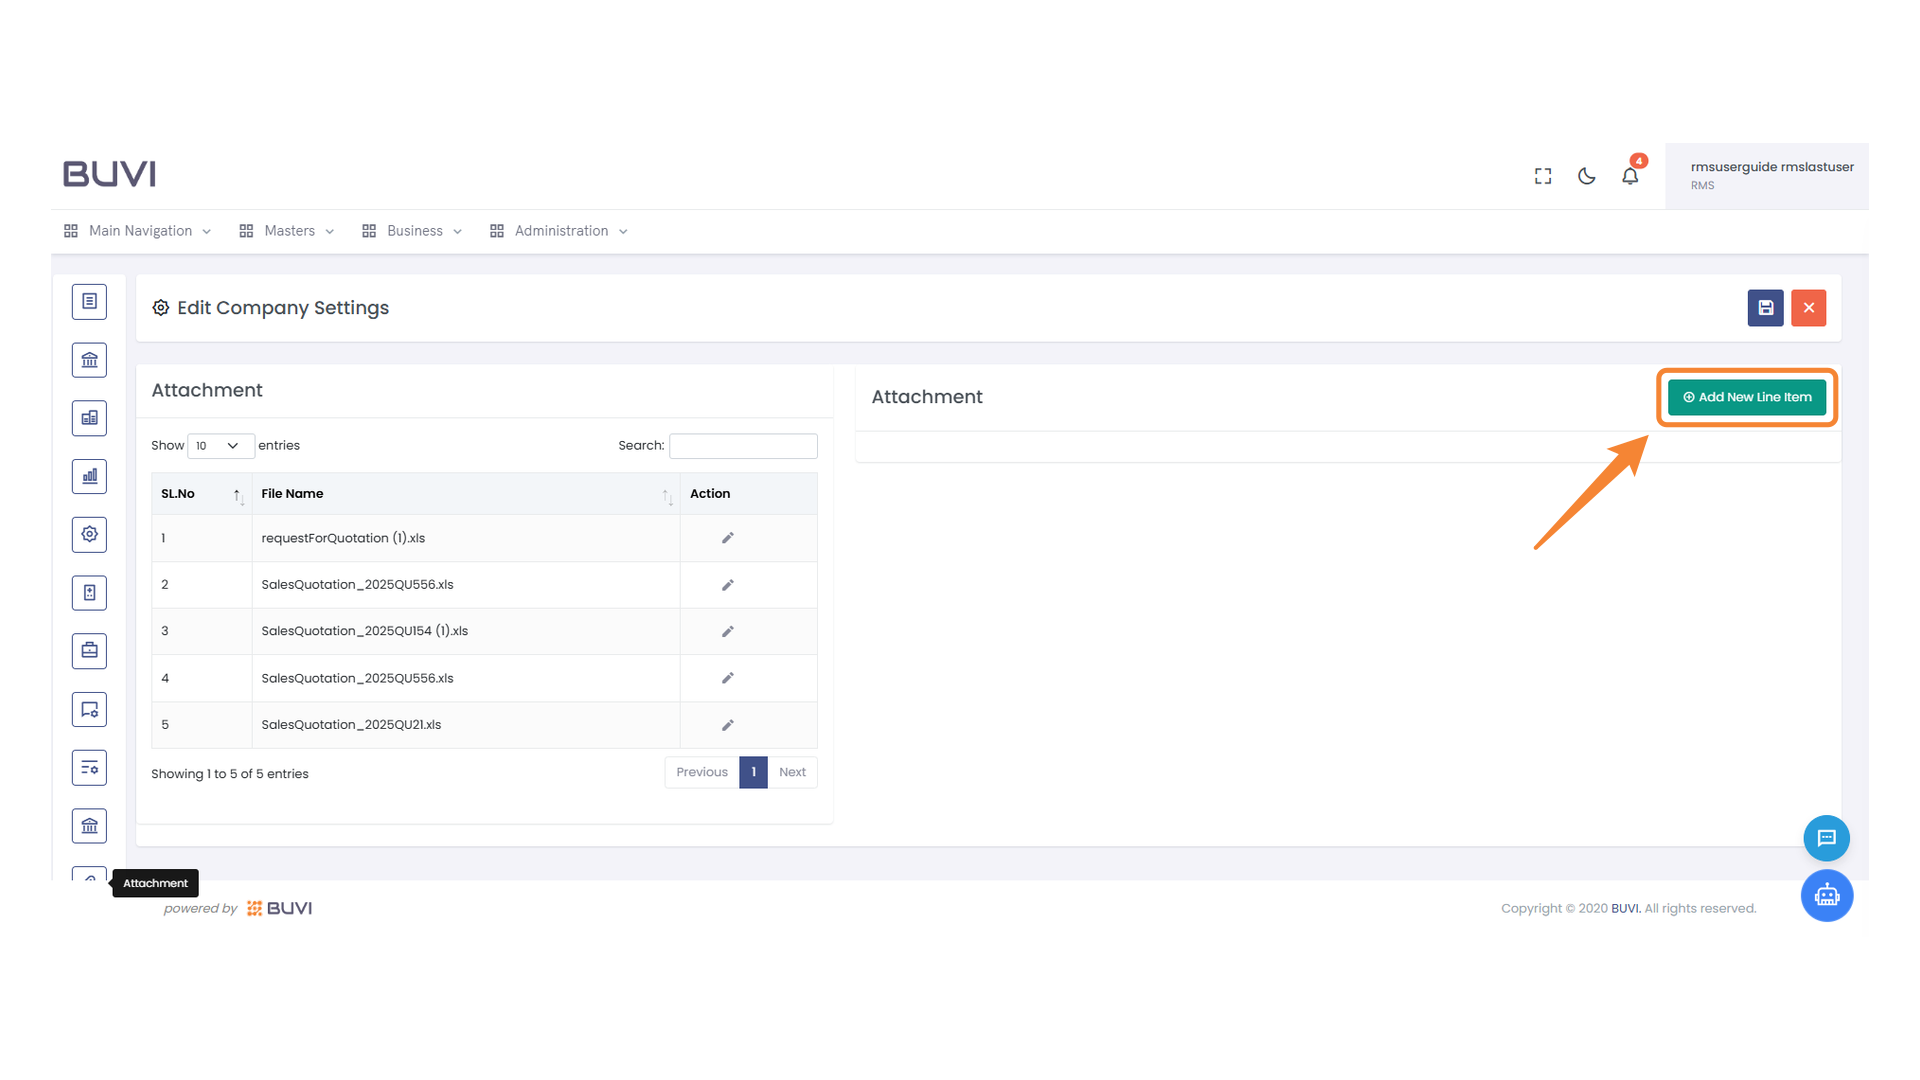
35. Add a New Line Item Button
Click to insert a new line item to the list of attachments.
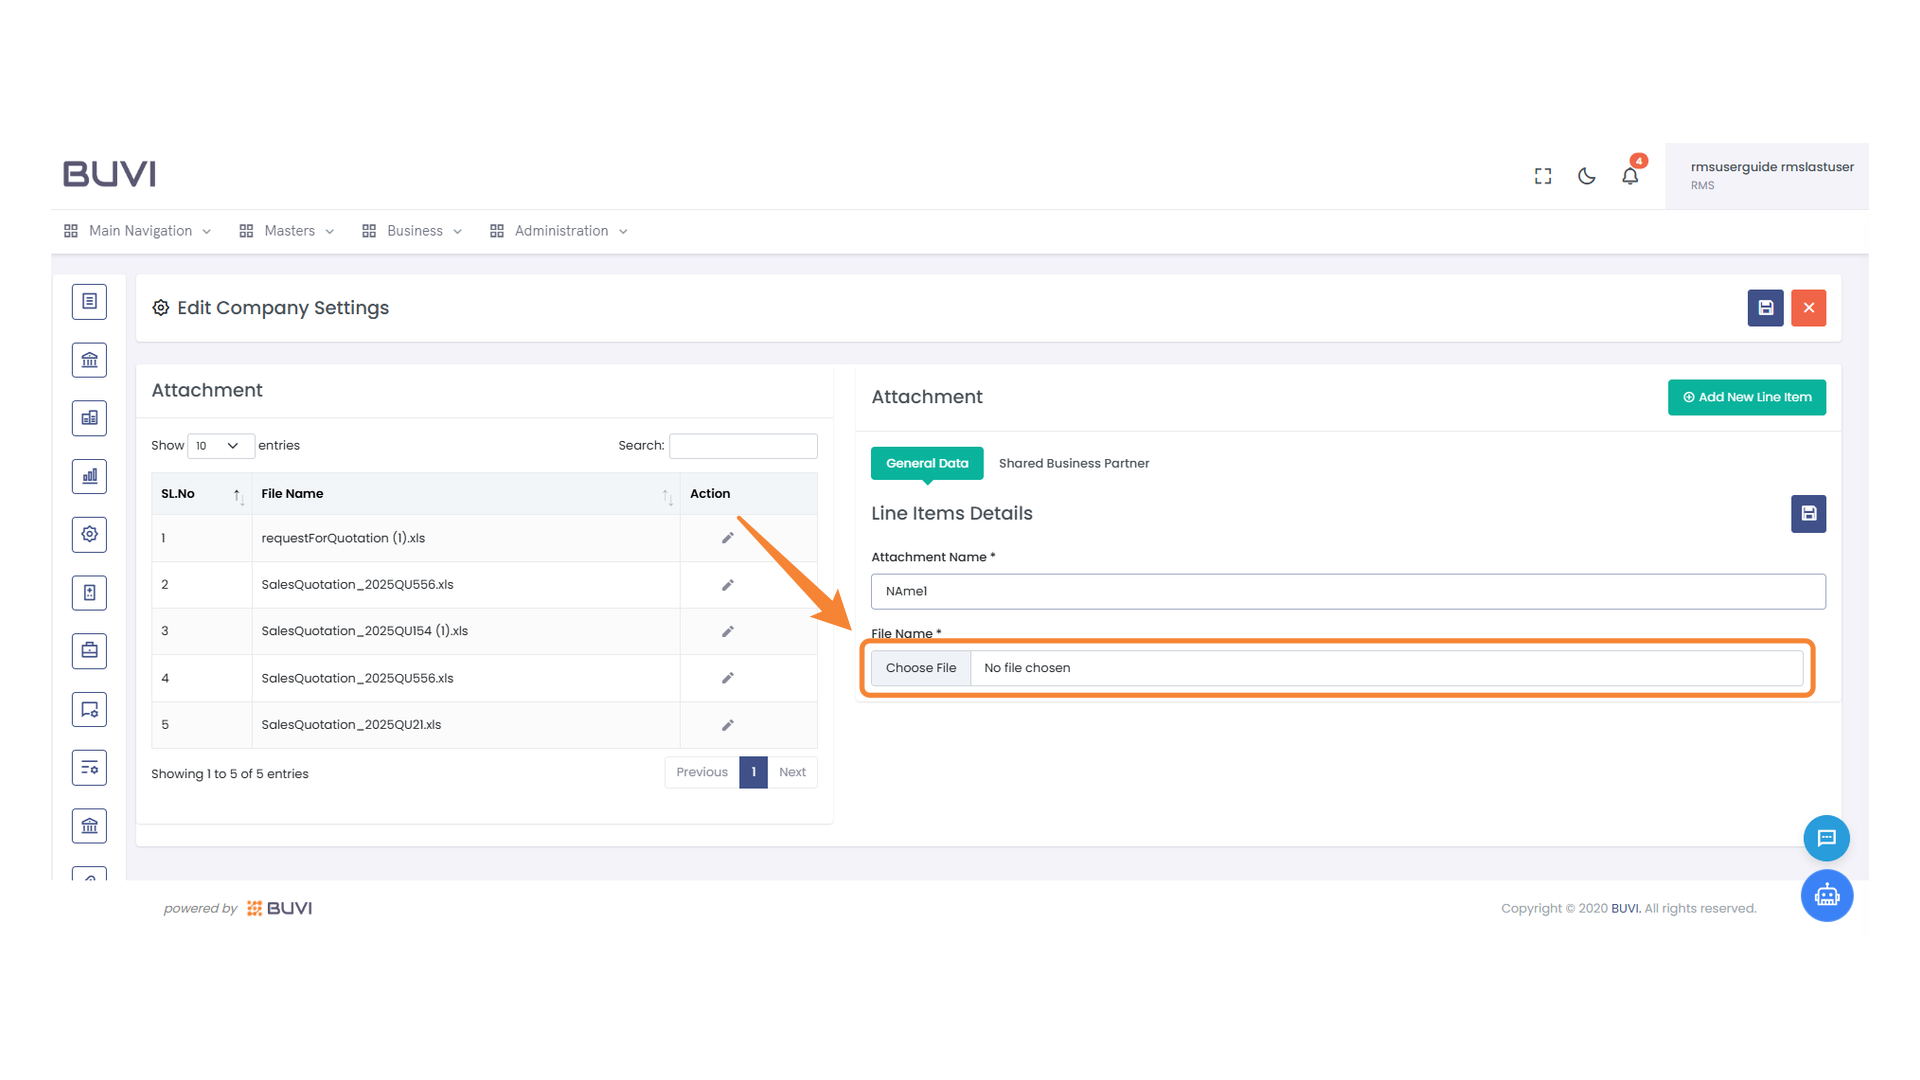
36. Attachment Name Input Field
Enter the attachment name in the designated input field.

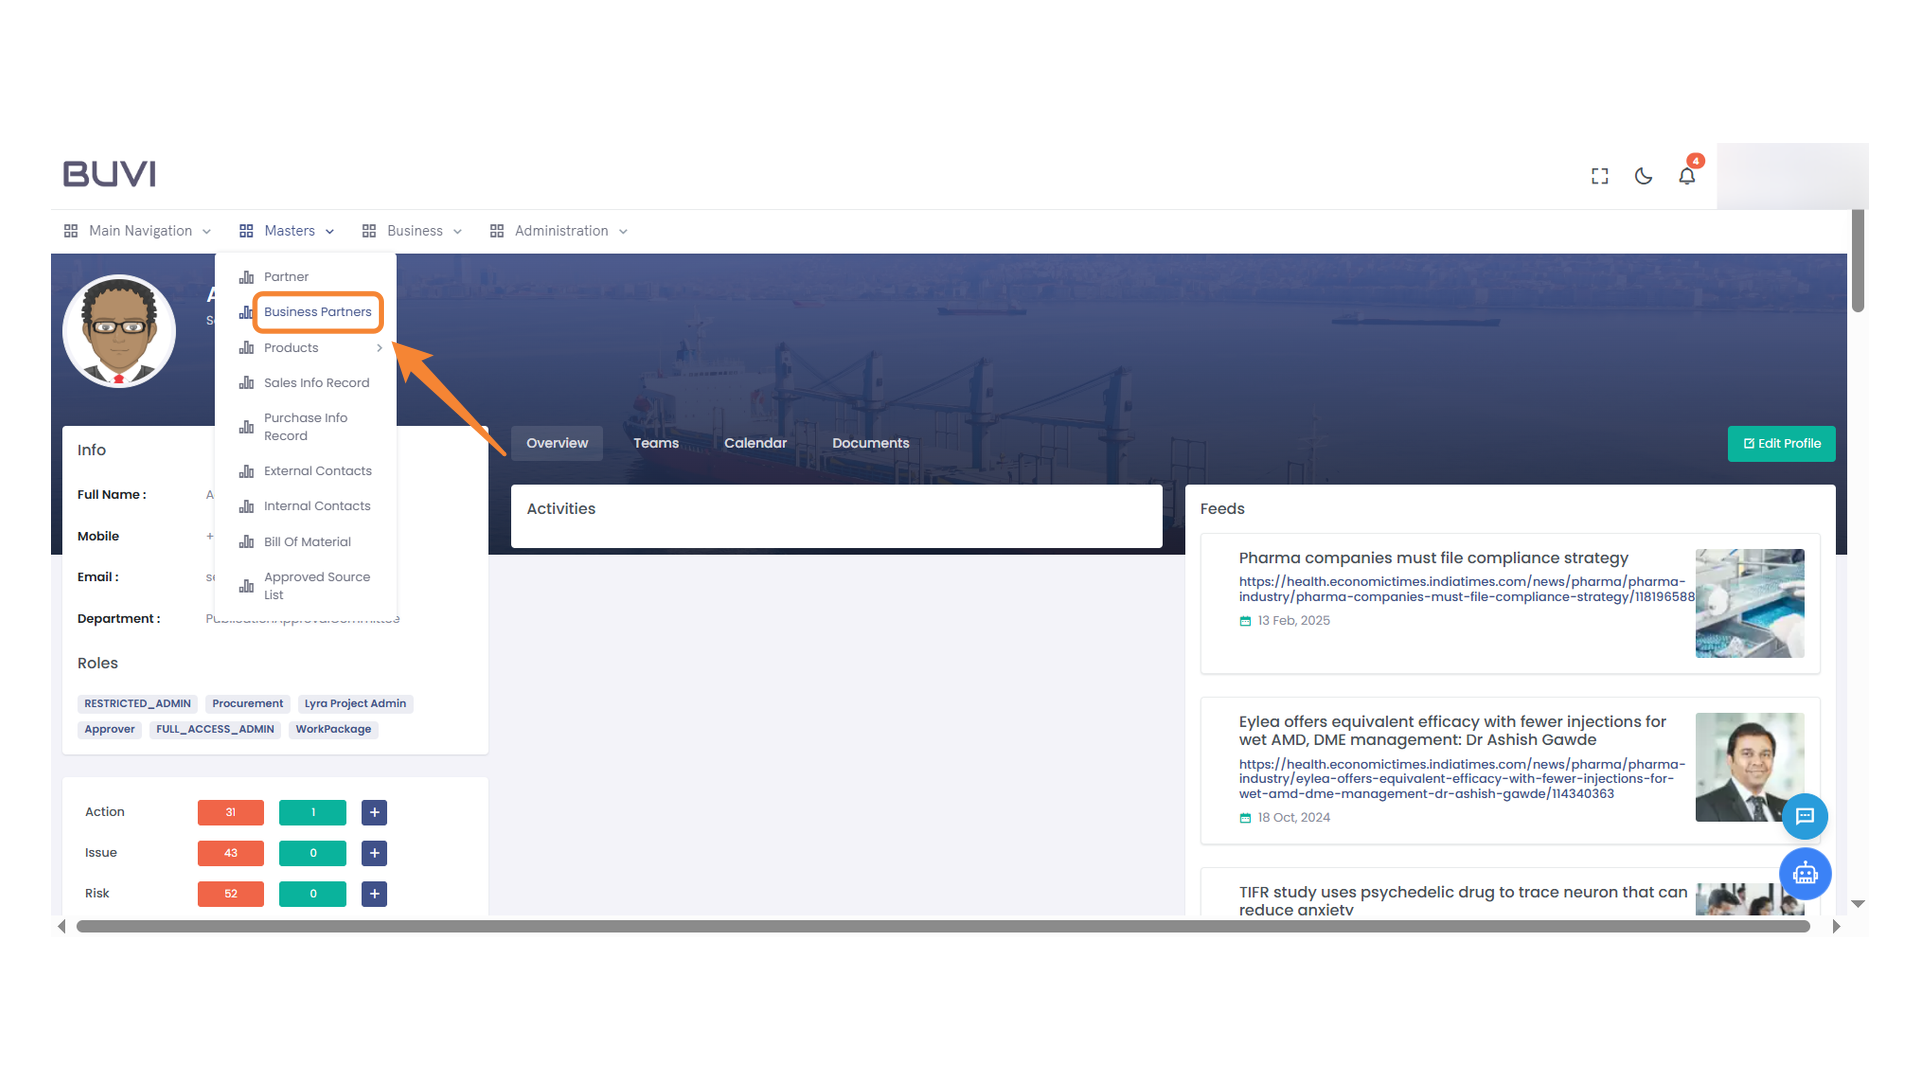
37. File Upload Section
Select a file to upload by clicking the 'Choose File' button.
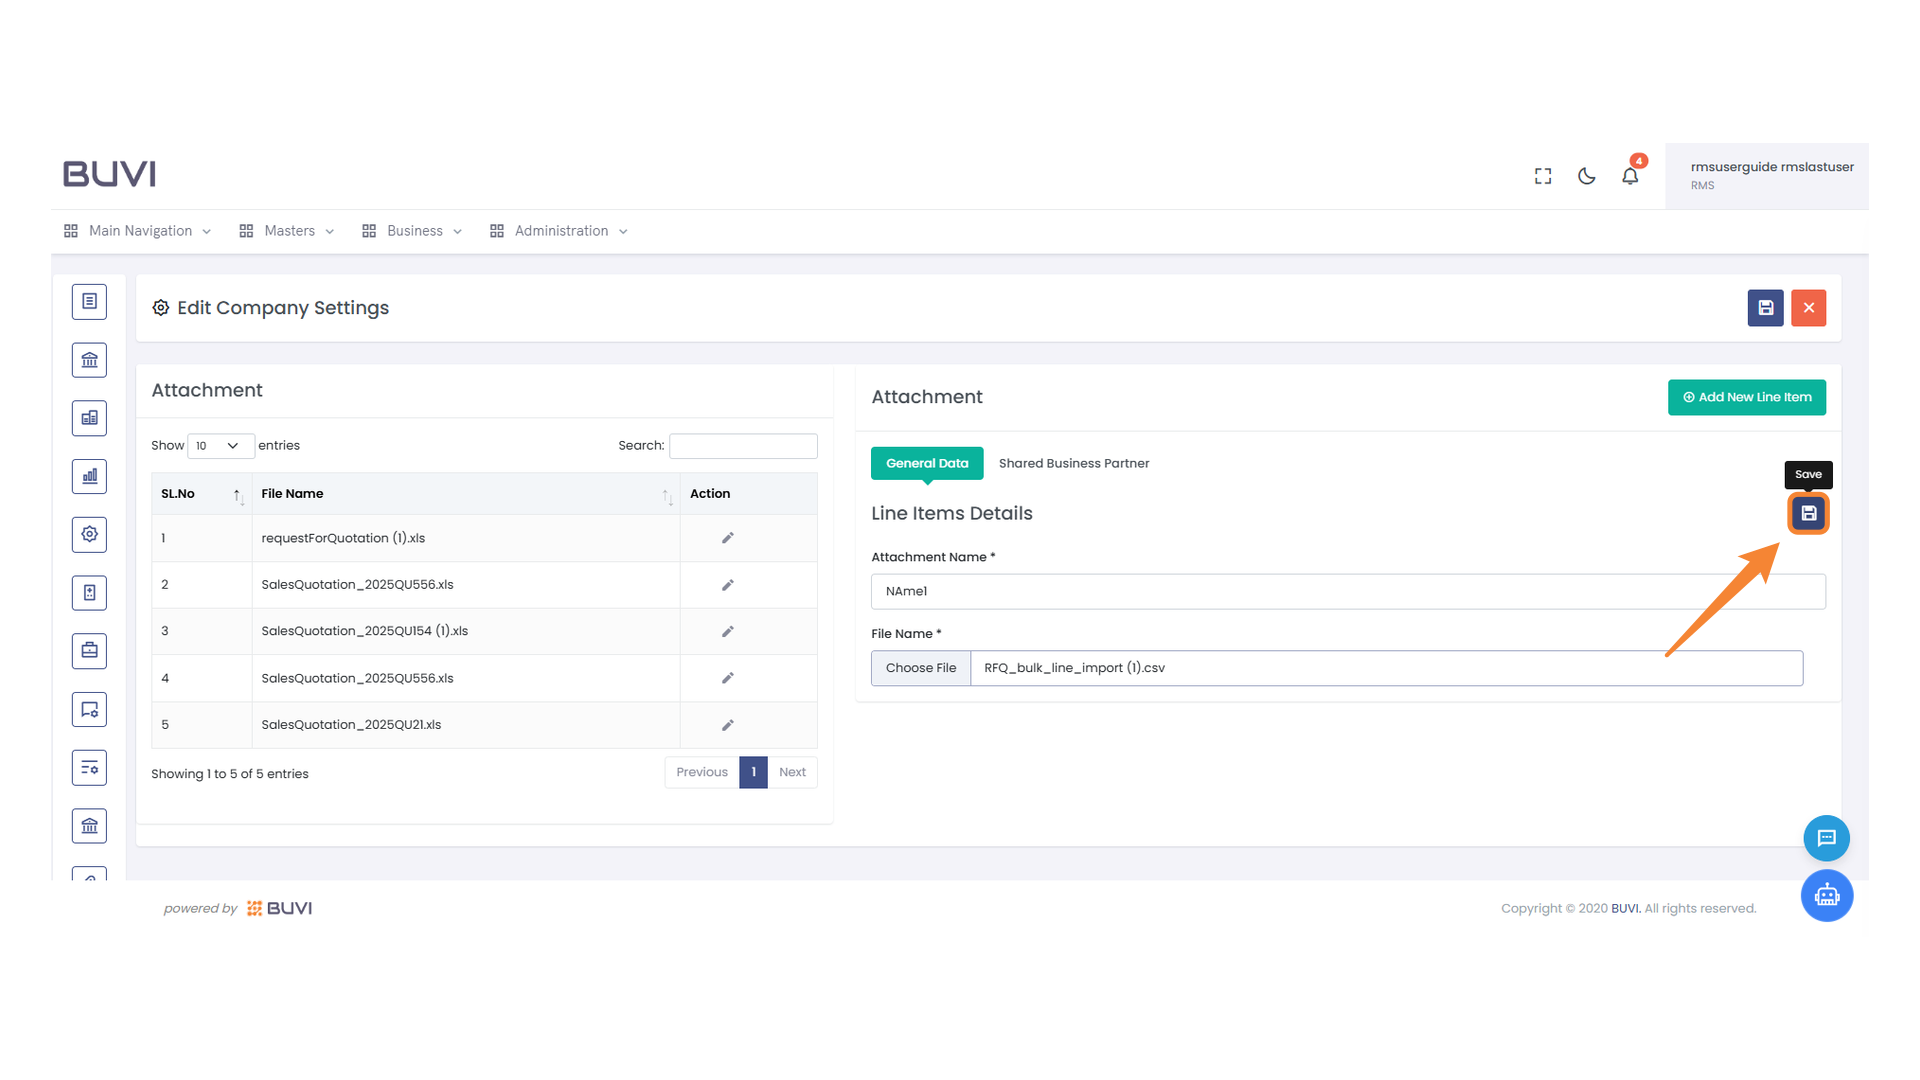
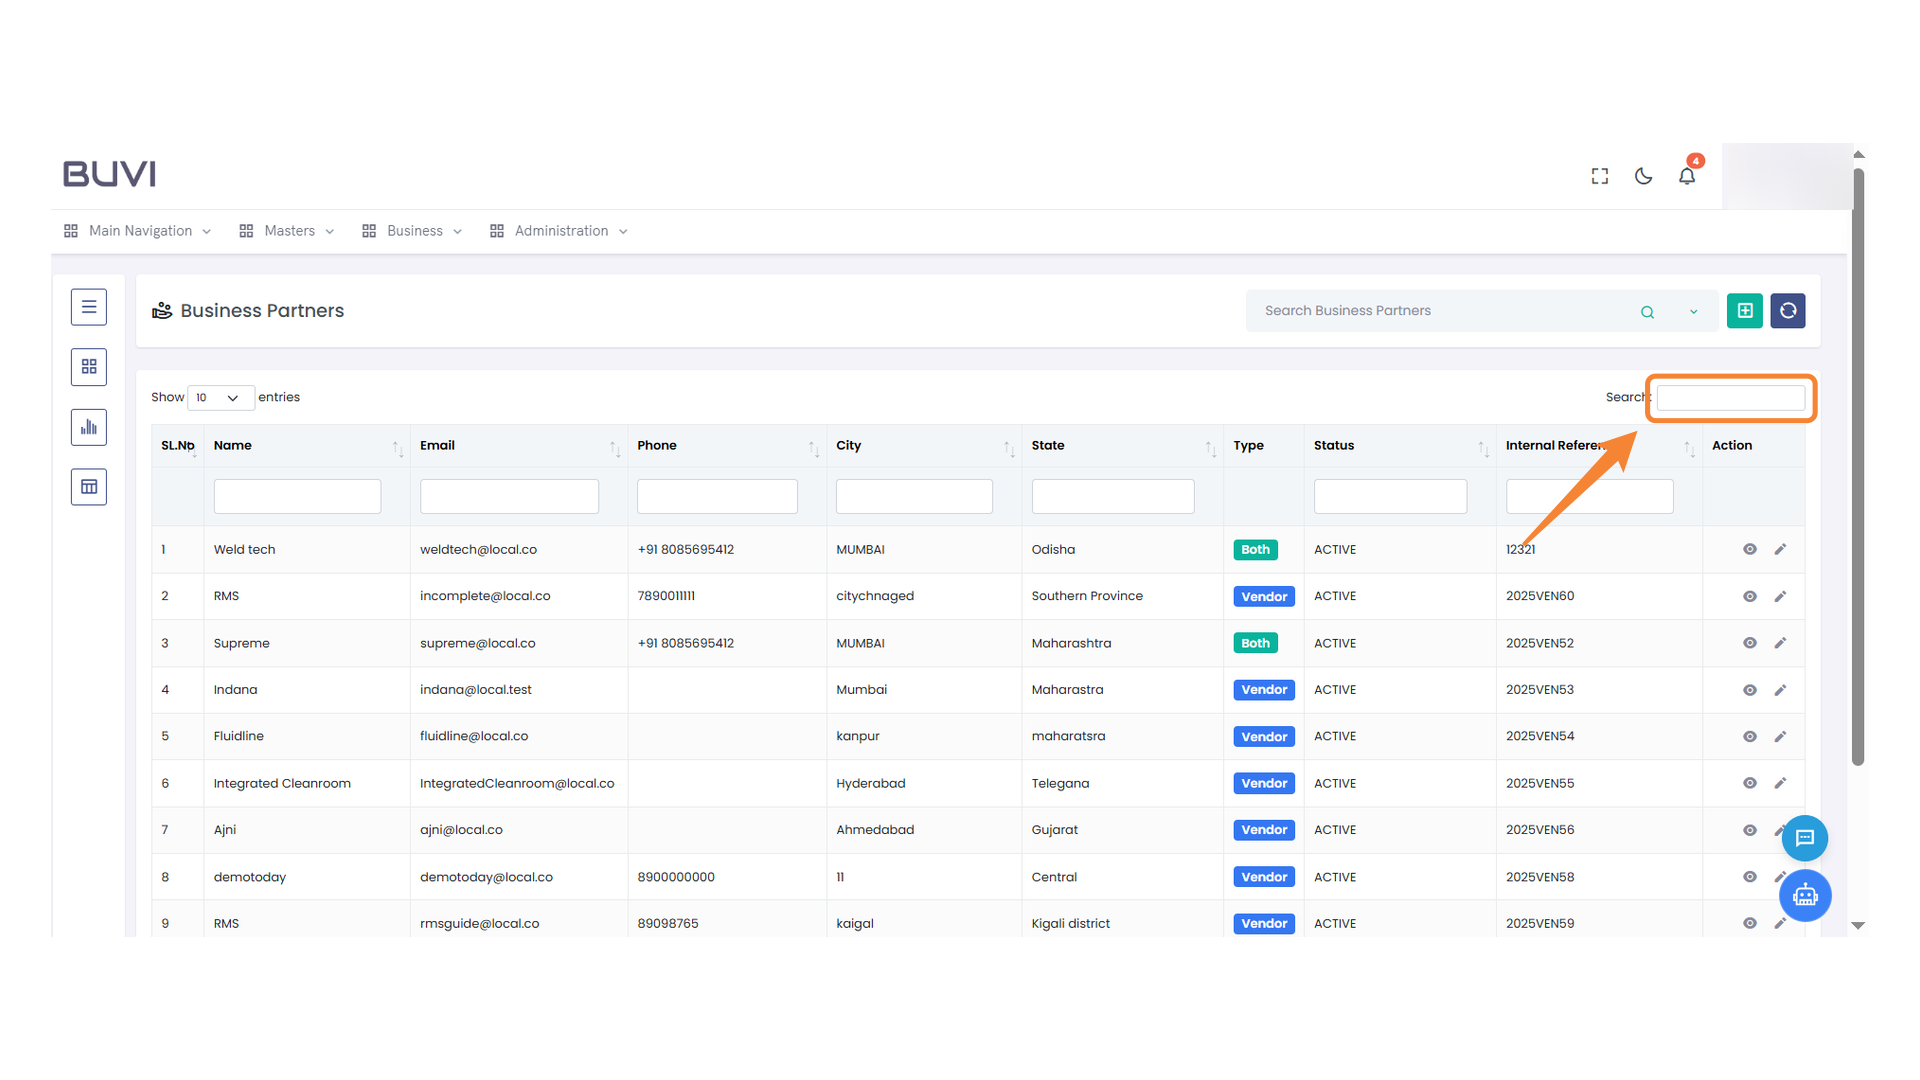
38. Save Changes Button
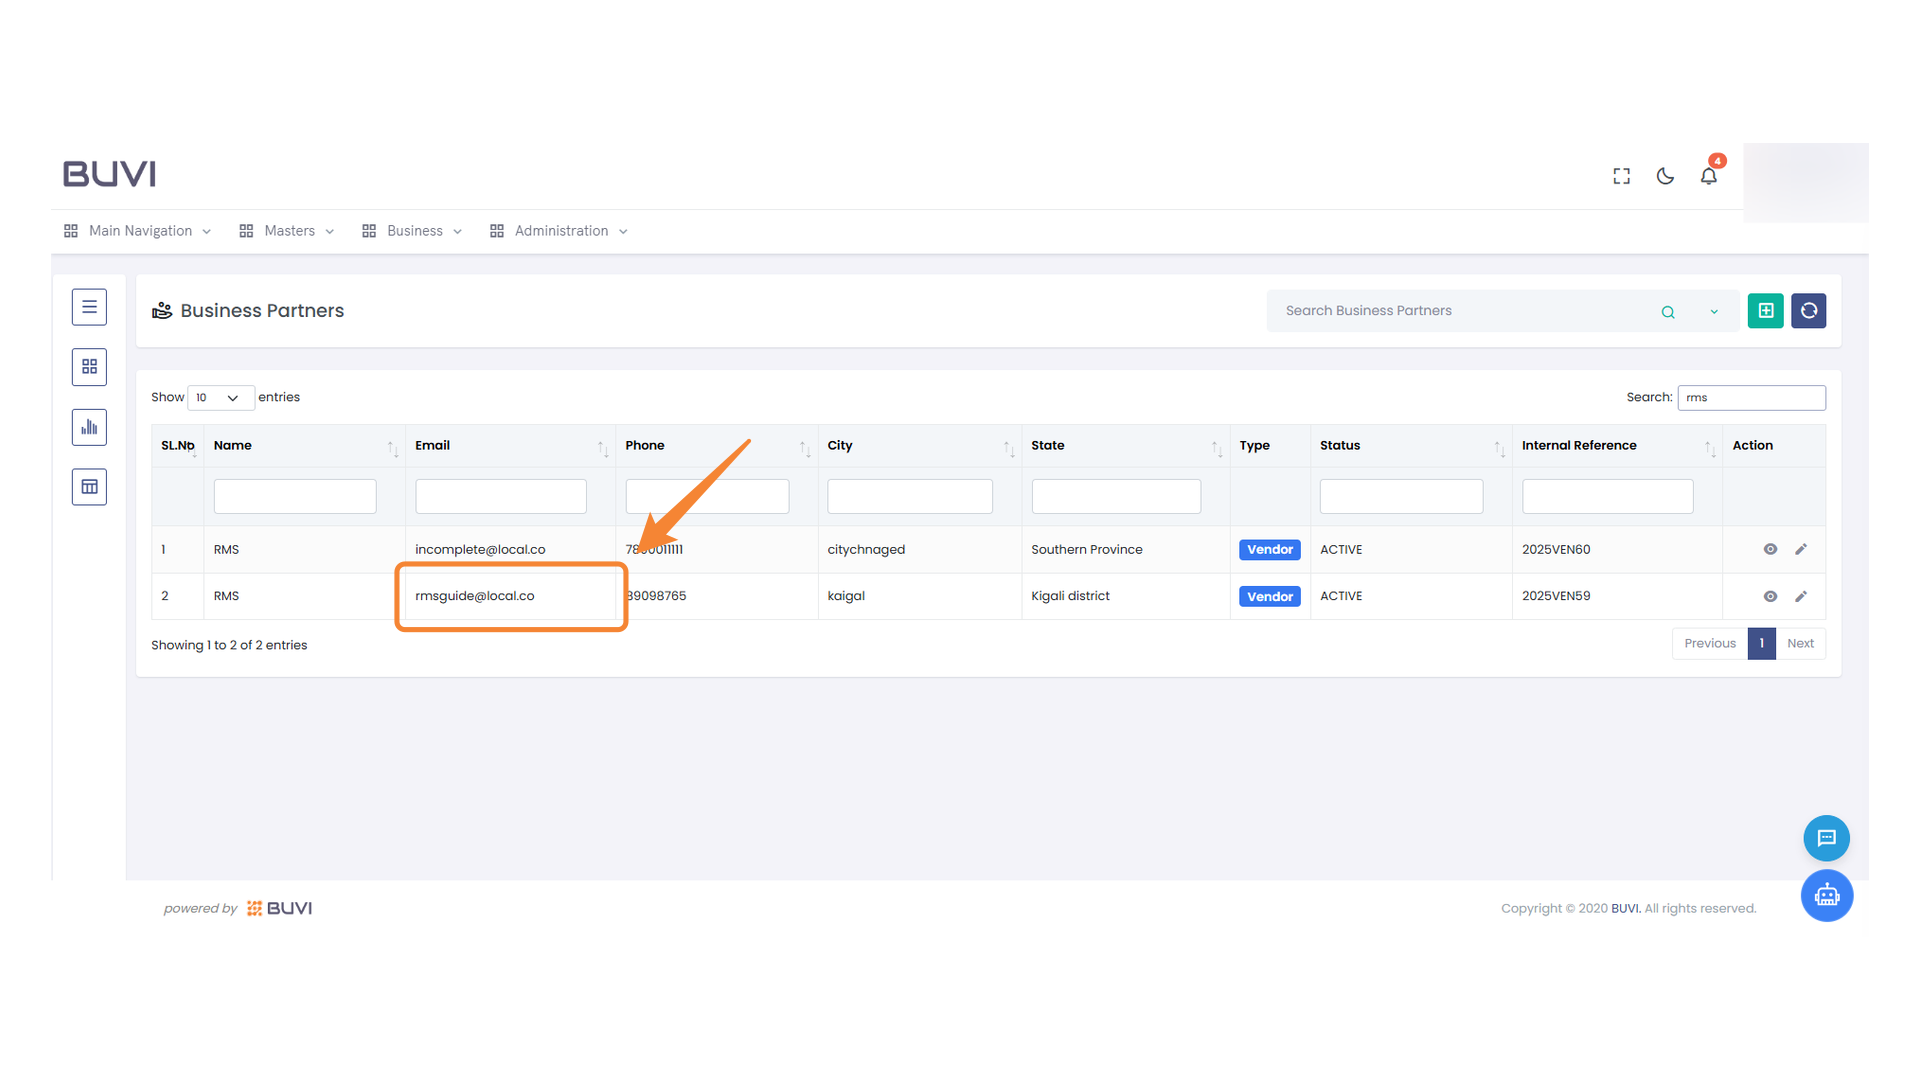
Click the button to save the changes made to the attachments.
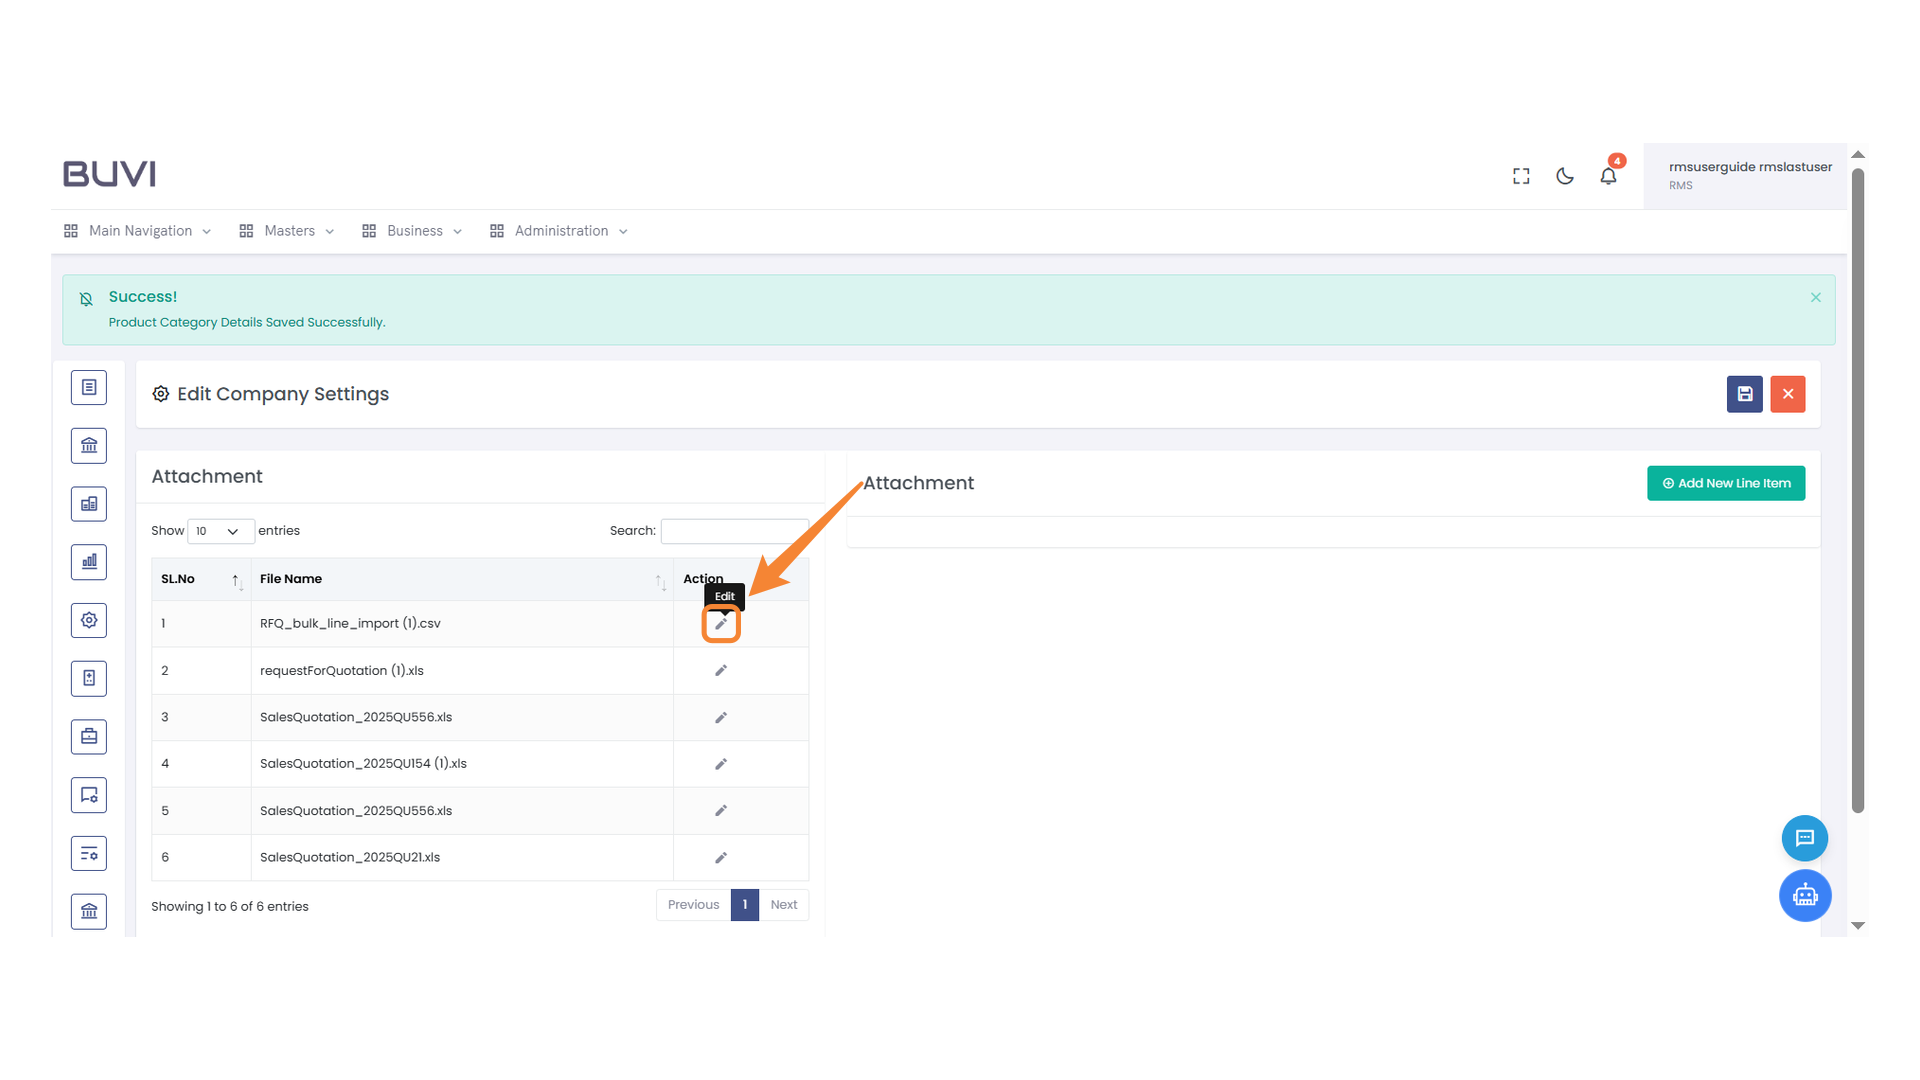
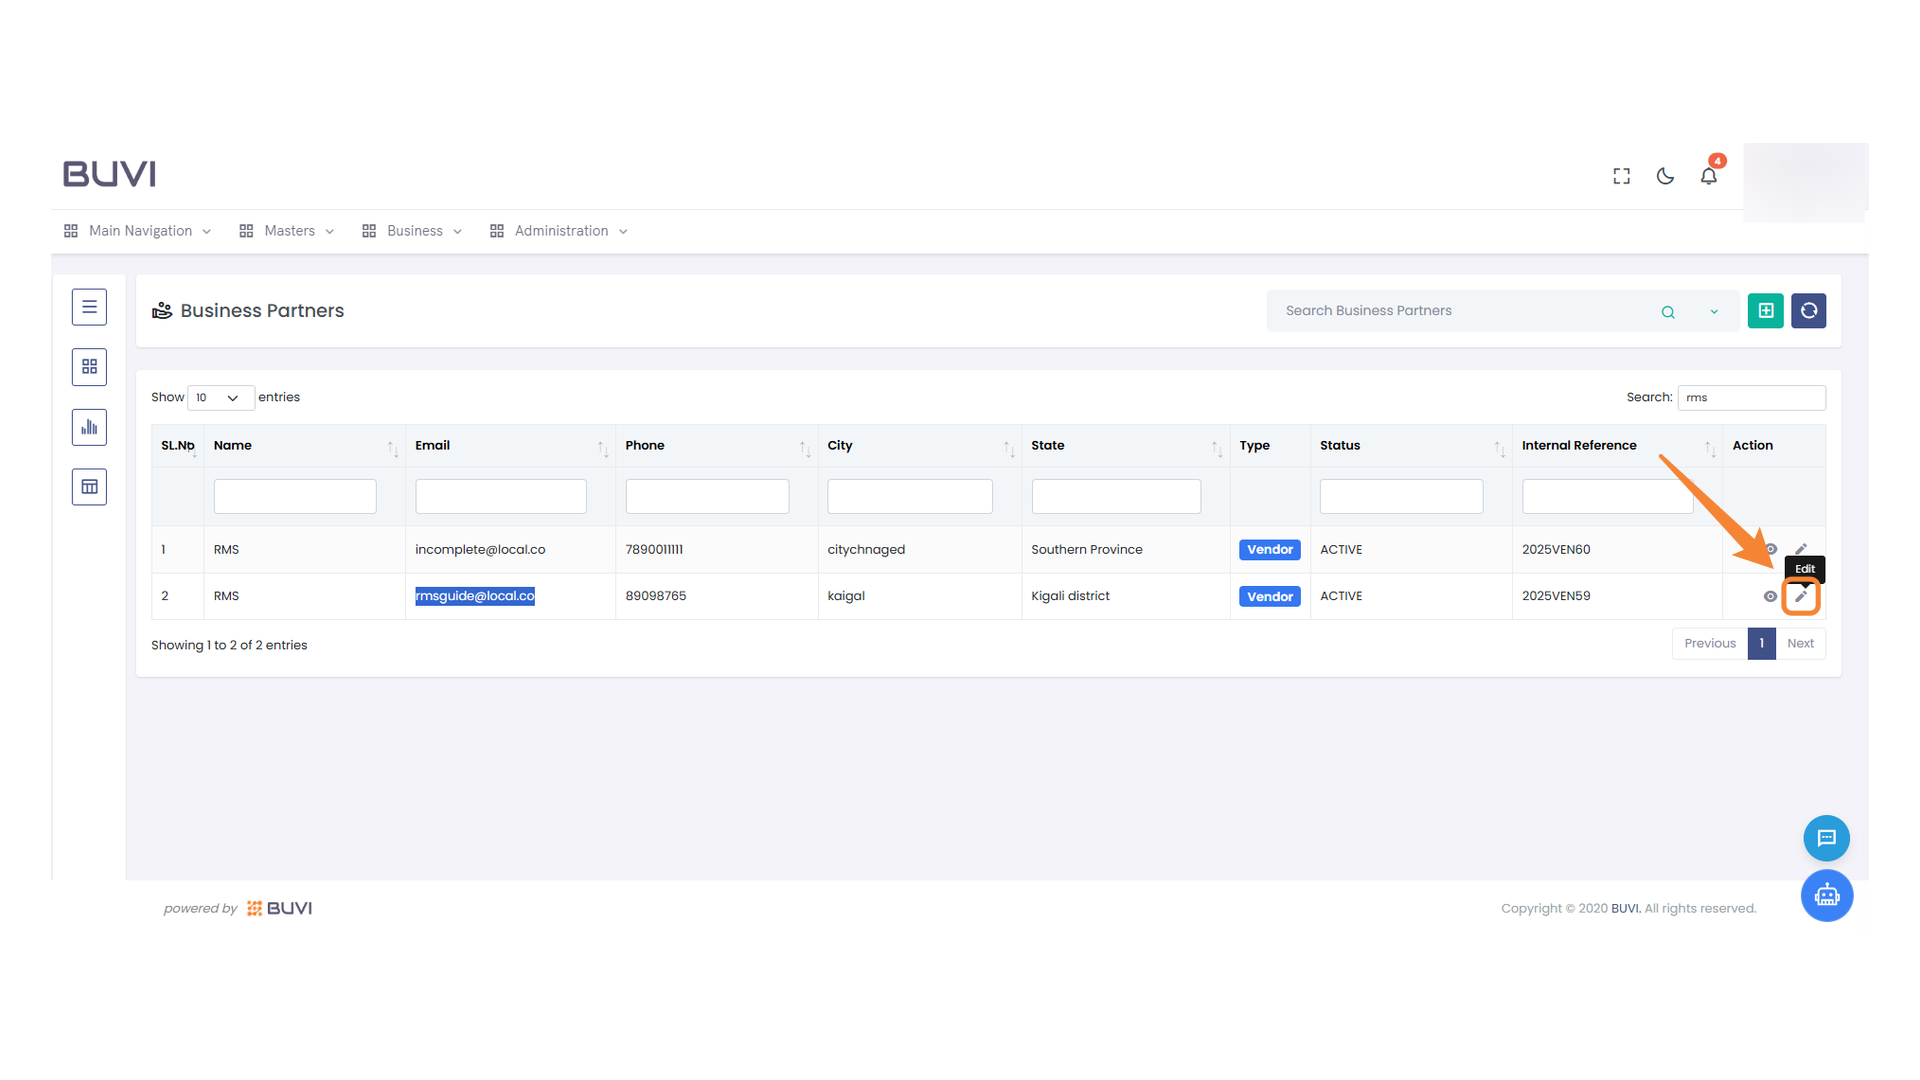
39. Edit Attachment Icon
Click to modify the selected attachment settings.
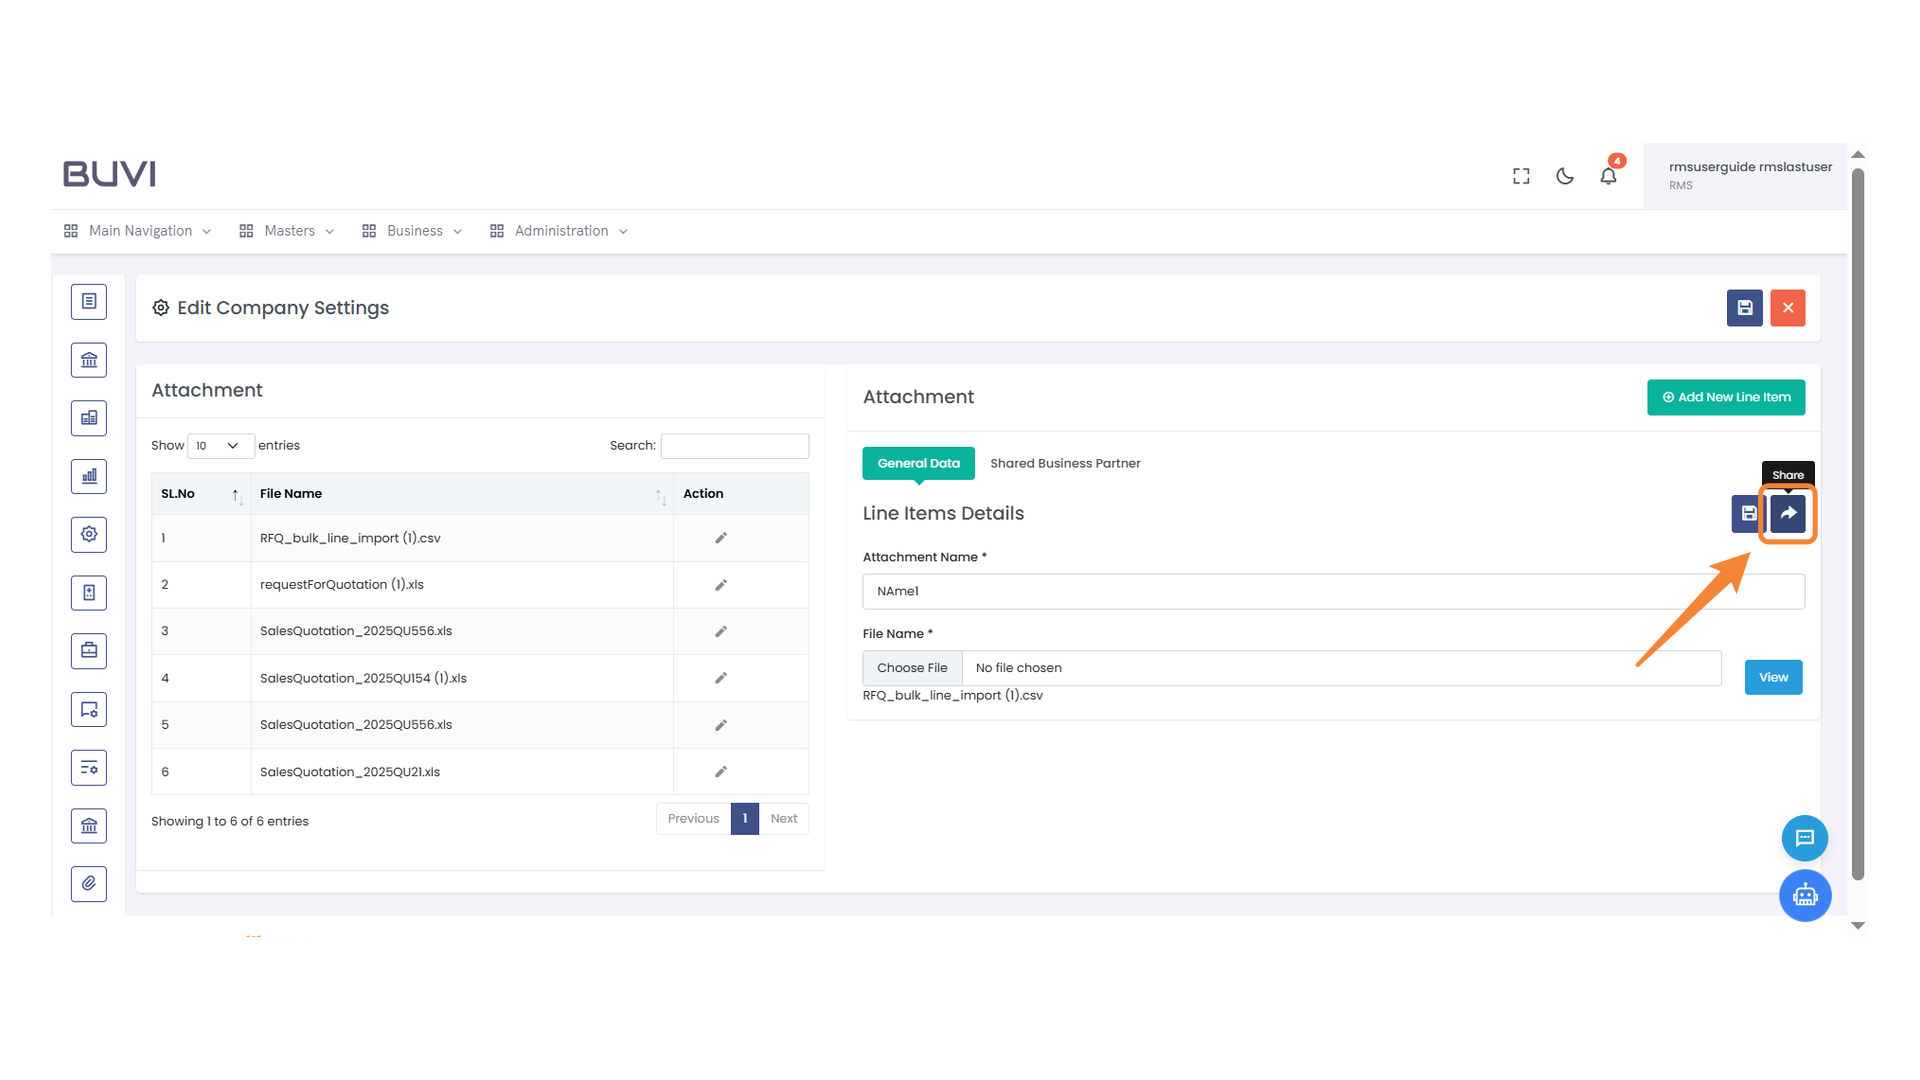
40. Sharing Options Icon
Click to access options for sharing the selected file or data.
41. Select Entry Checkbox
Click the checkbox to select the entry from the list.
42. Select Business Partner Button
Click to choose a business partner from the list.

43. Shared Business Partner Tab
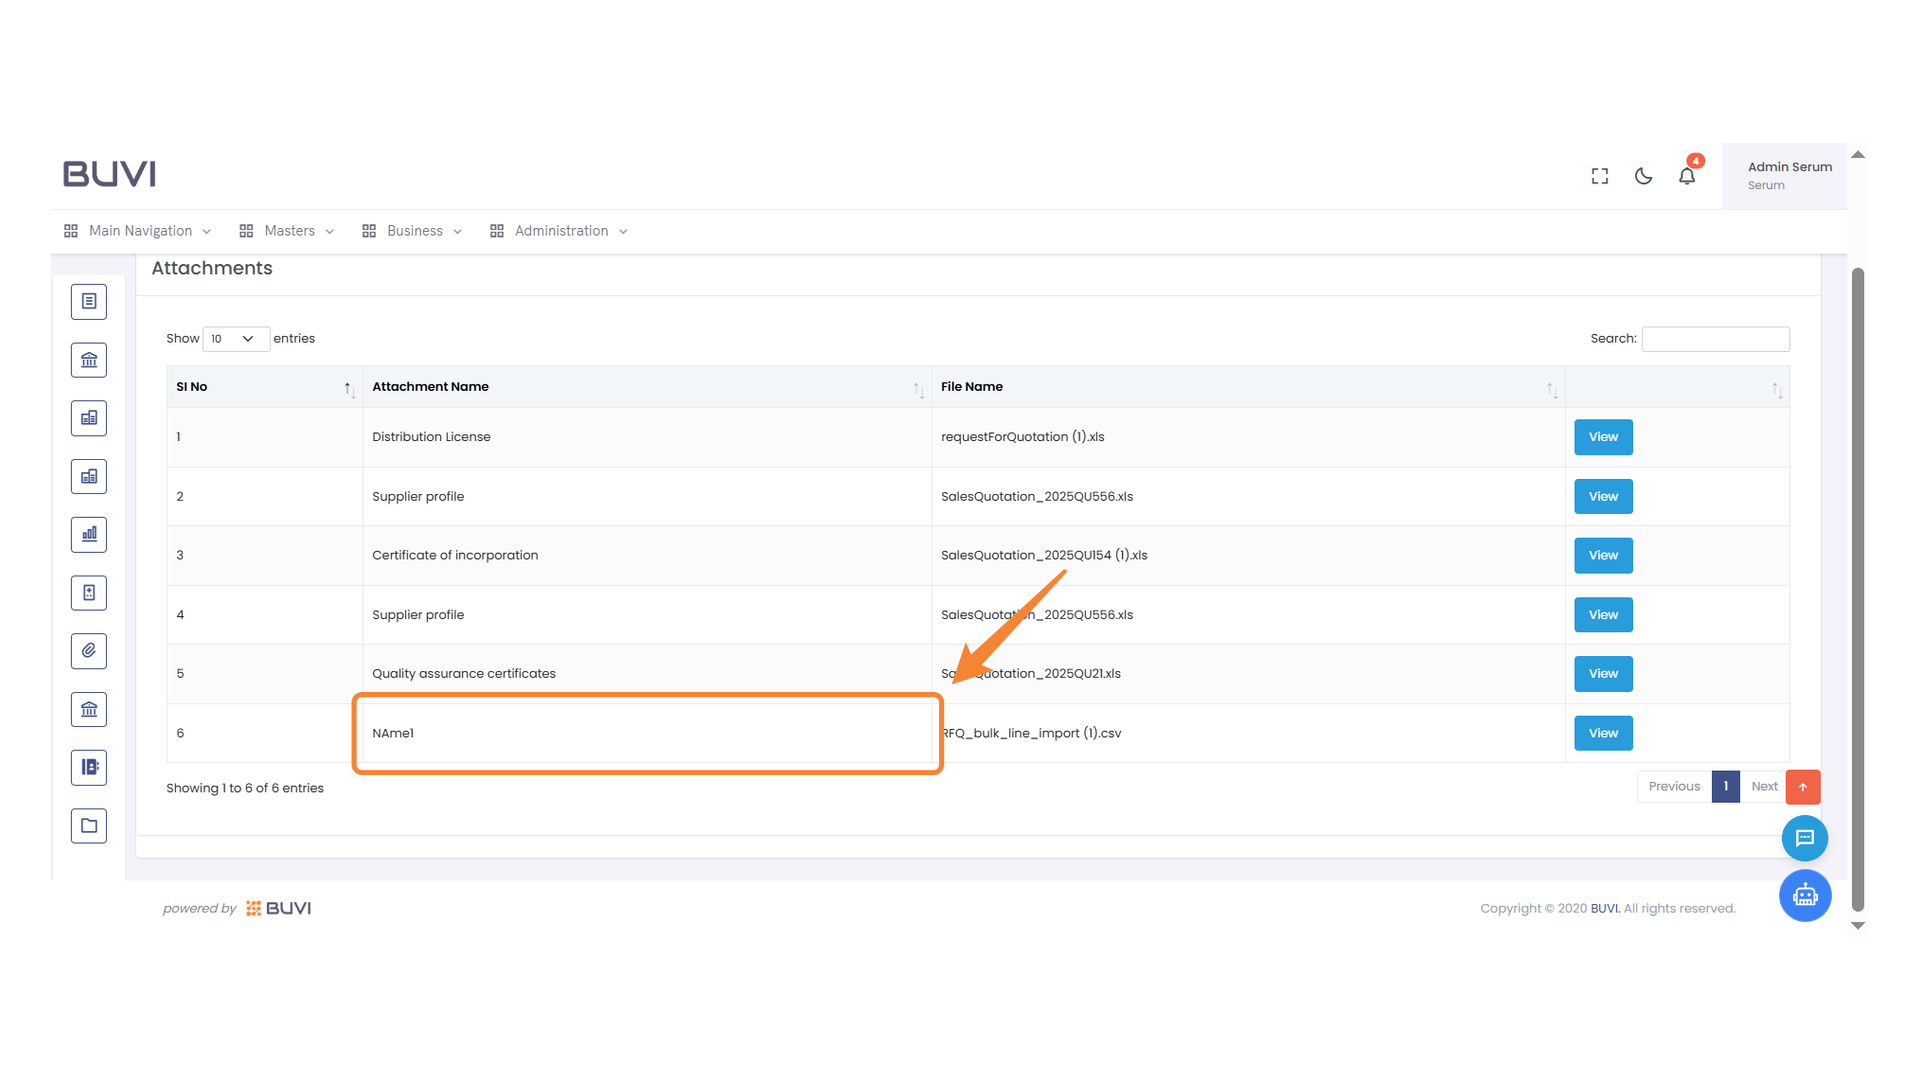
Select the 'Shared Business Partner' tab to view related information.
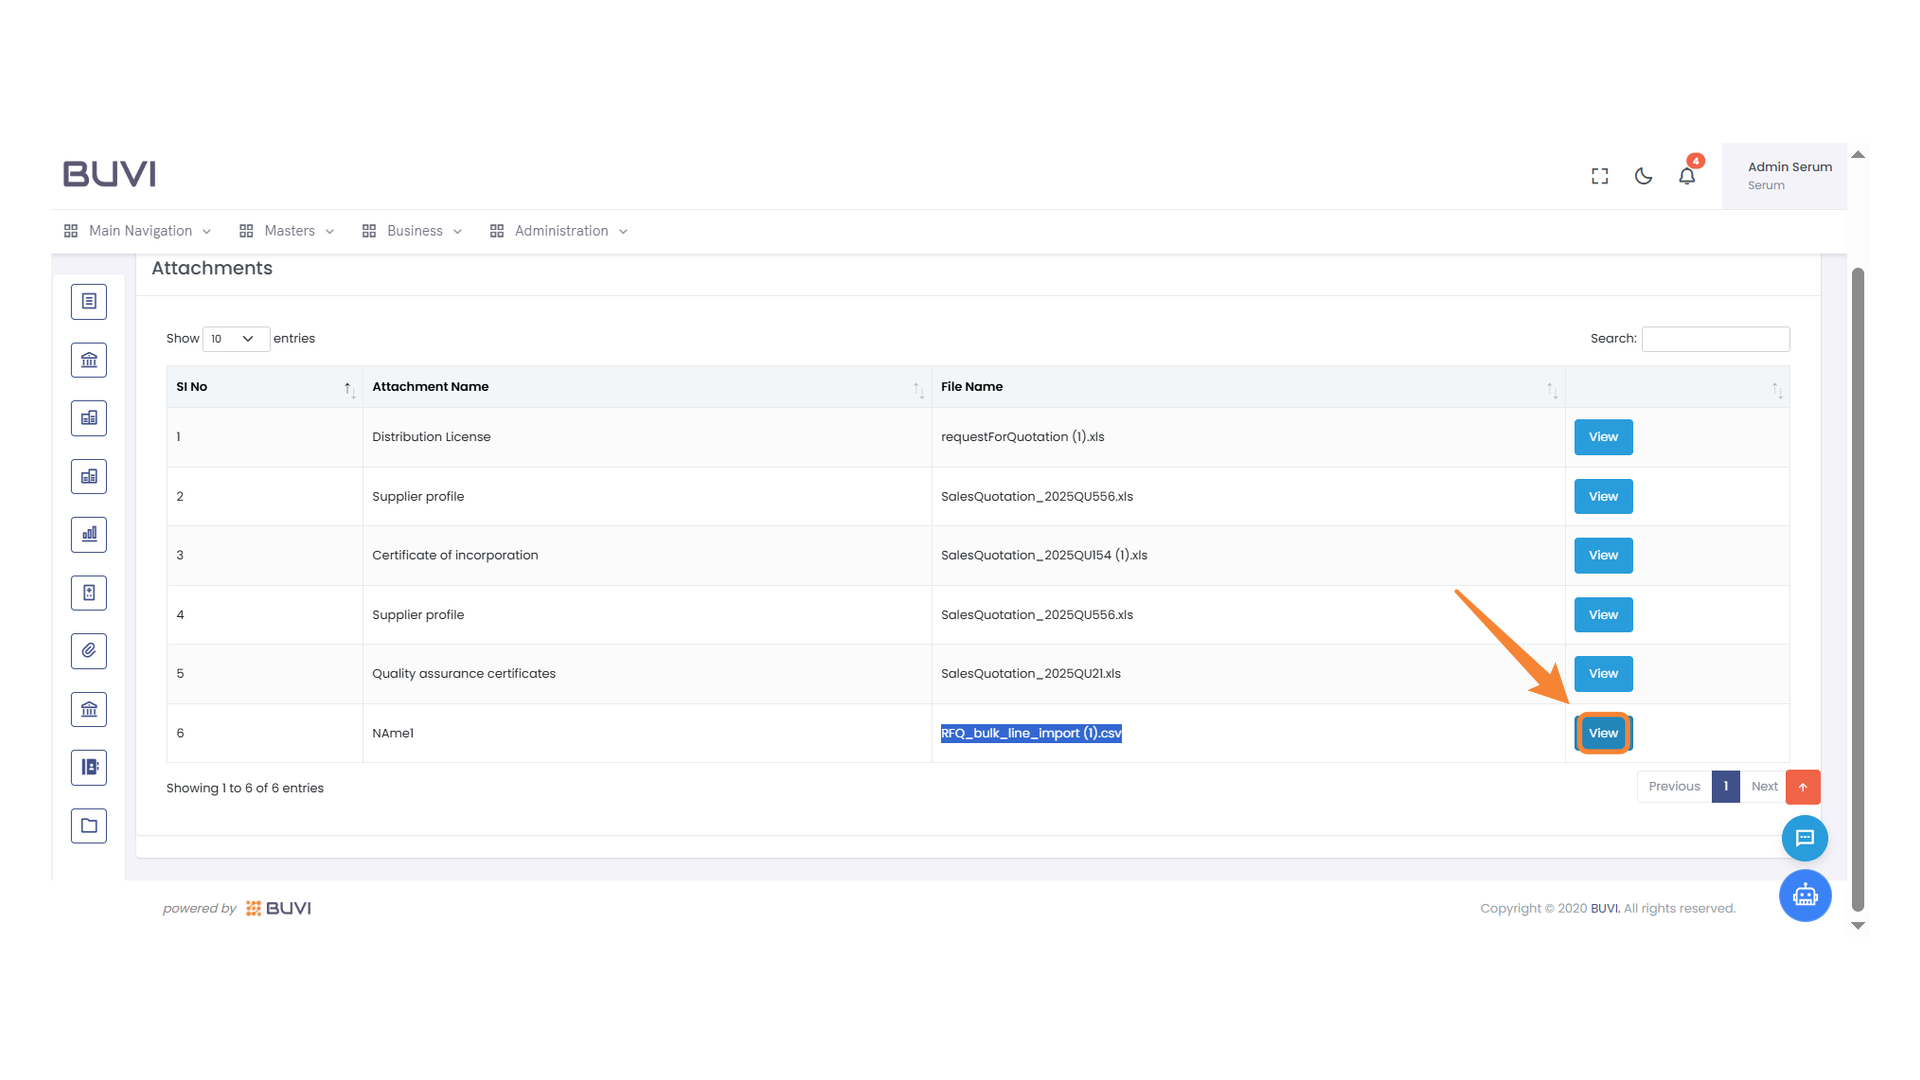
44. Business Partner Email Highlight
Review the business partner's email displayed in the Attachment section.
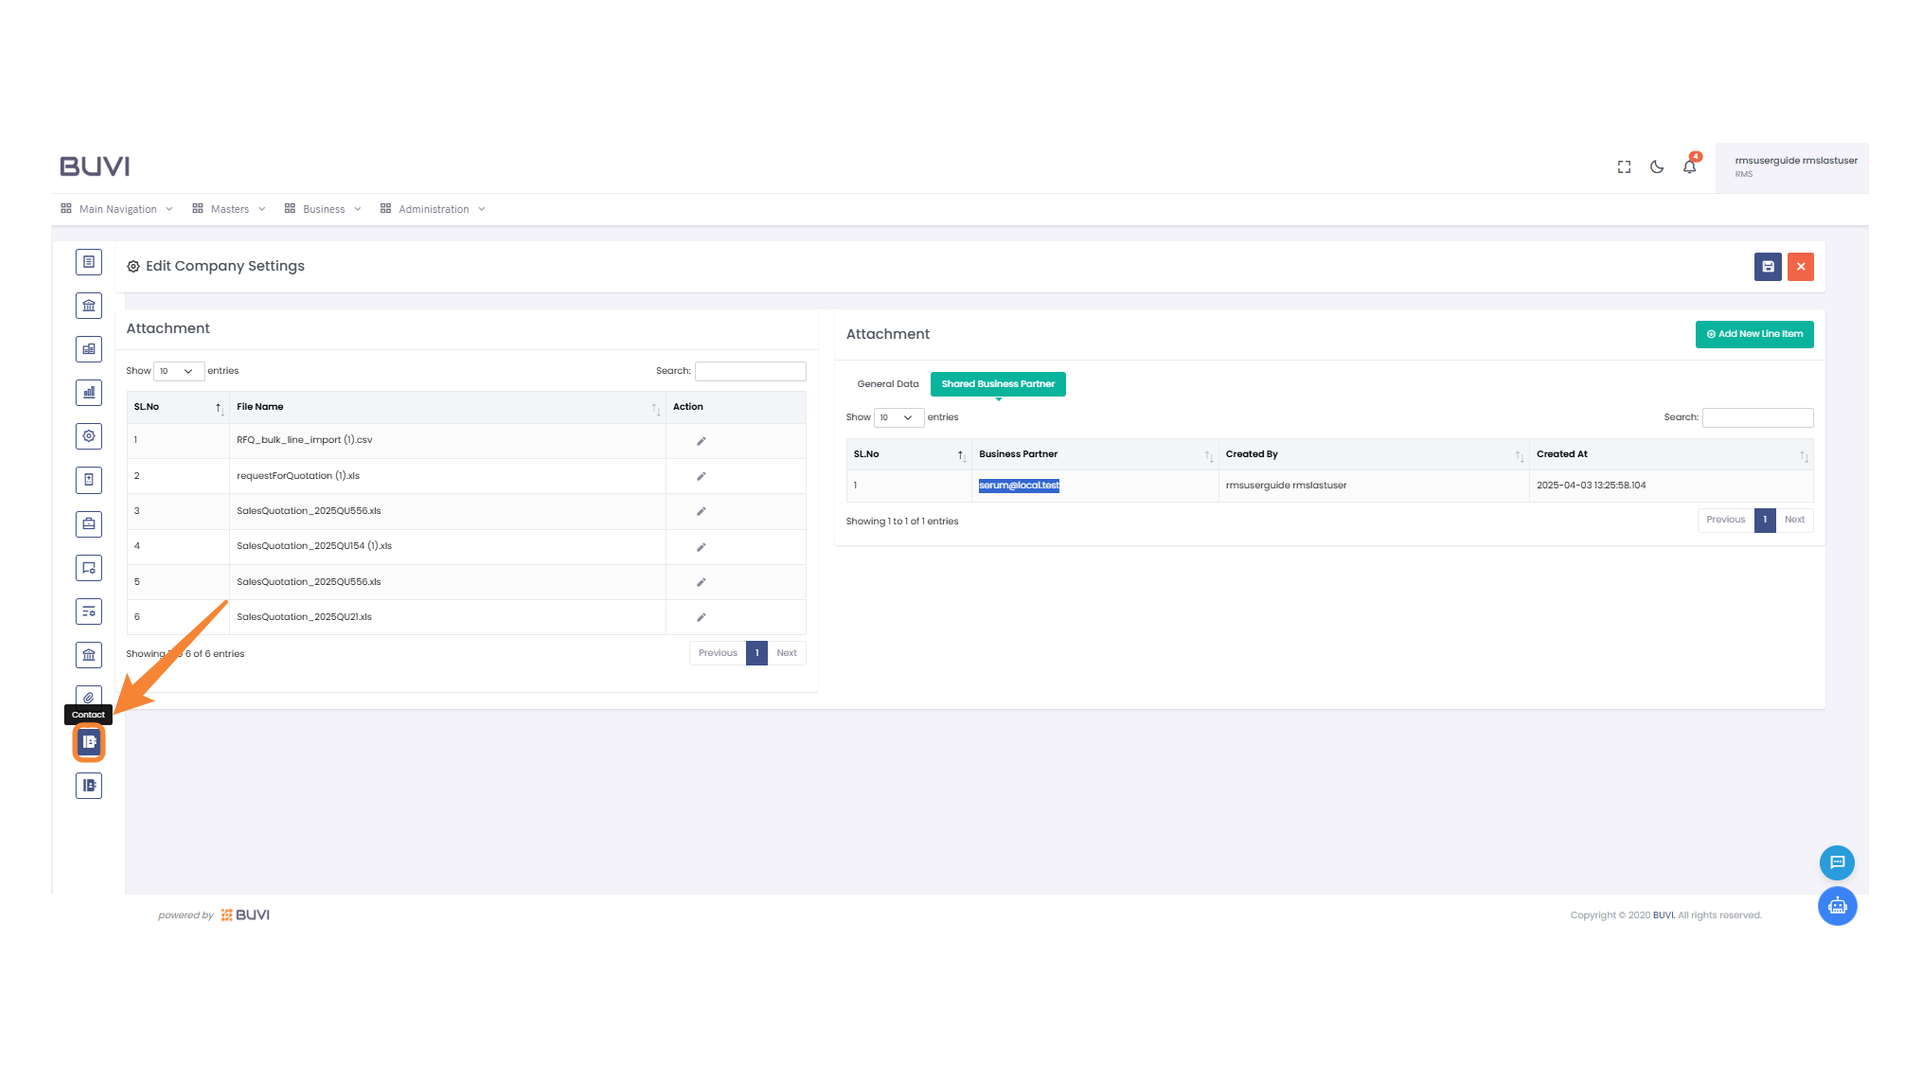
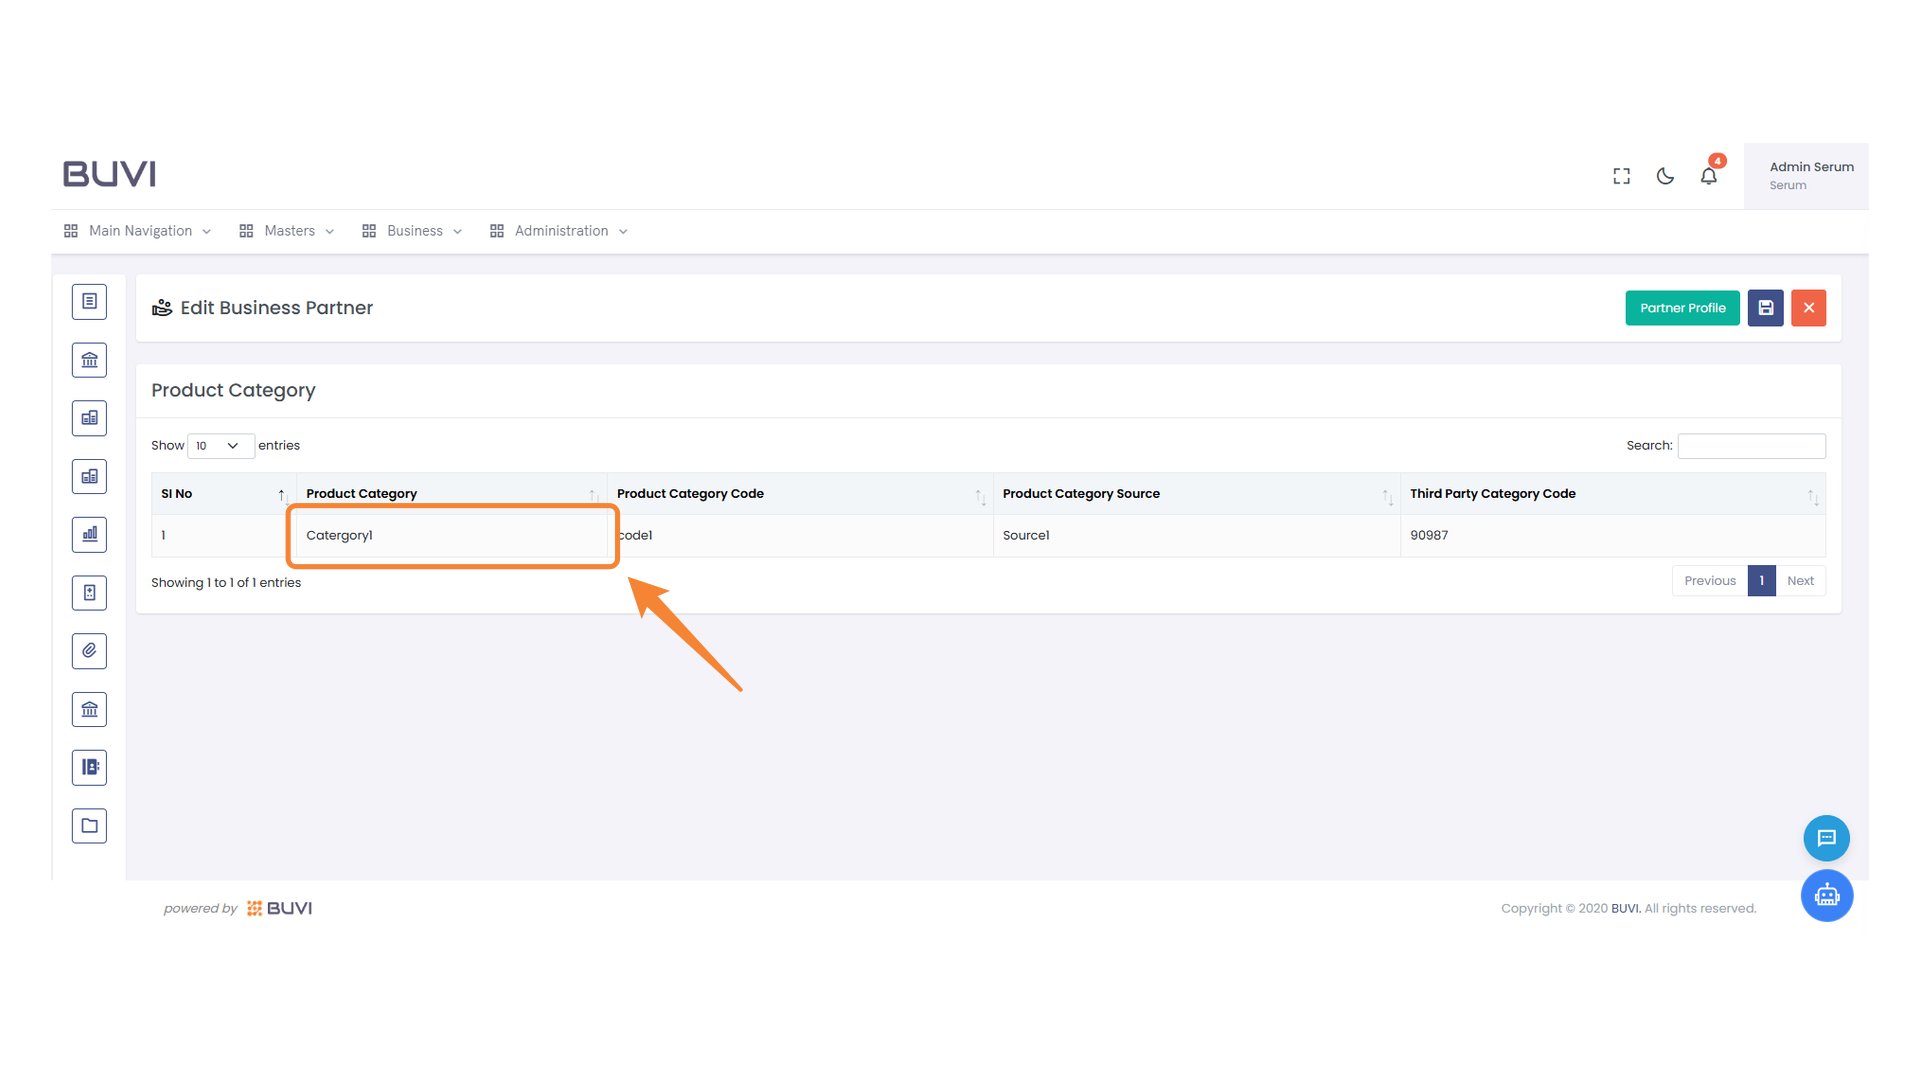
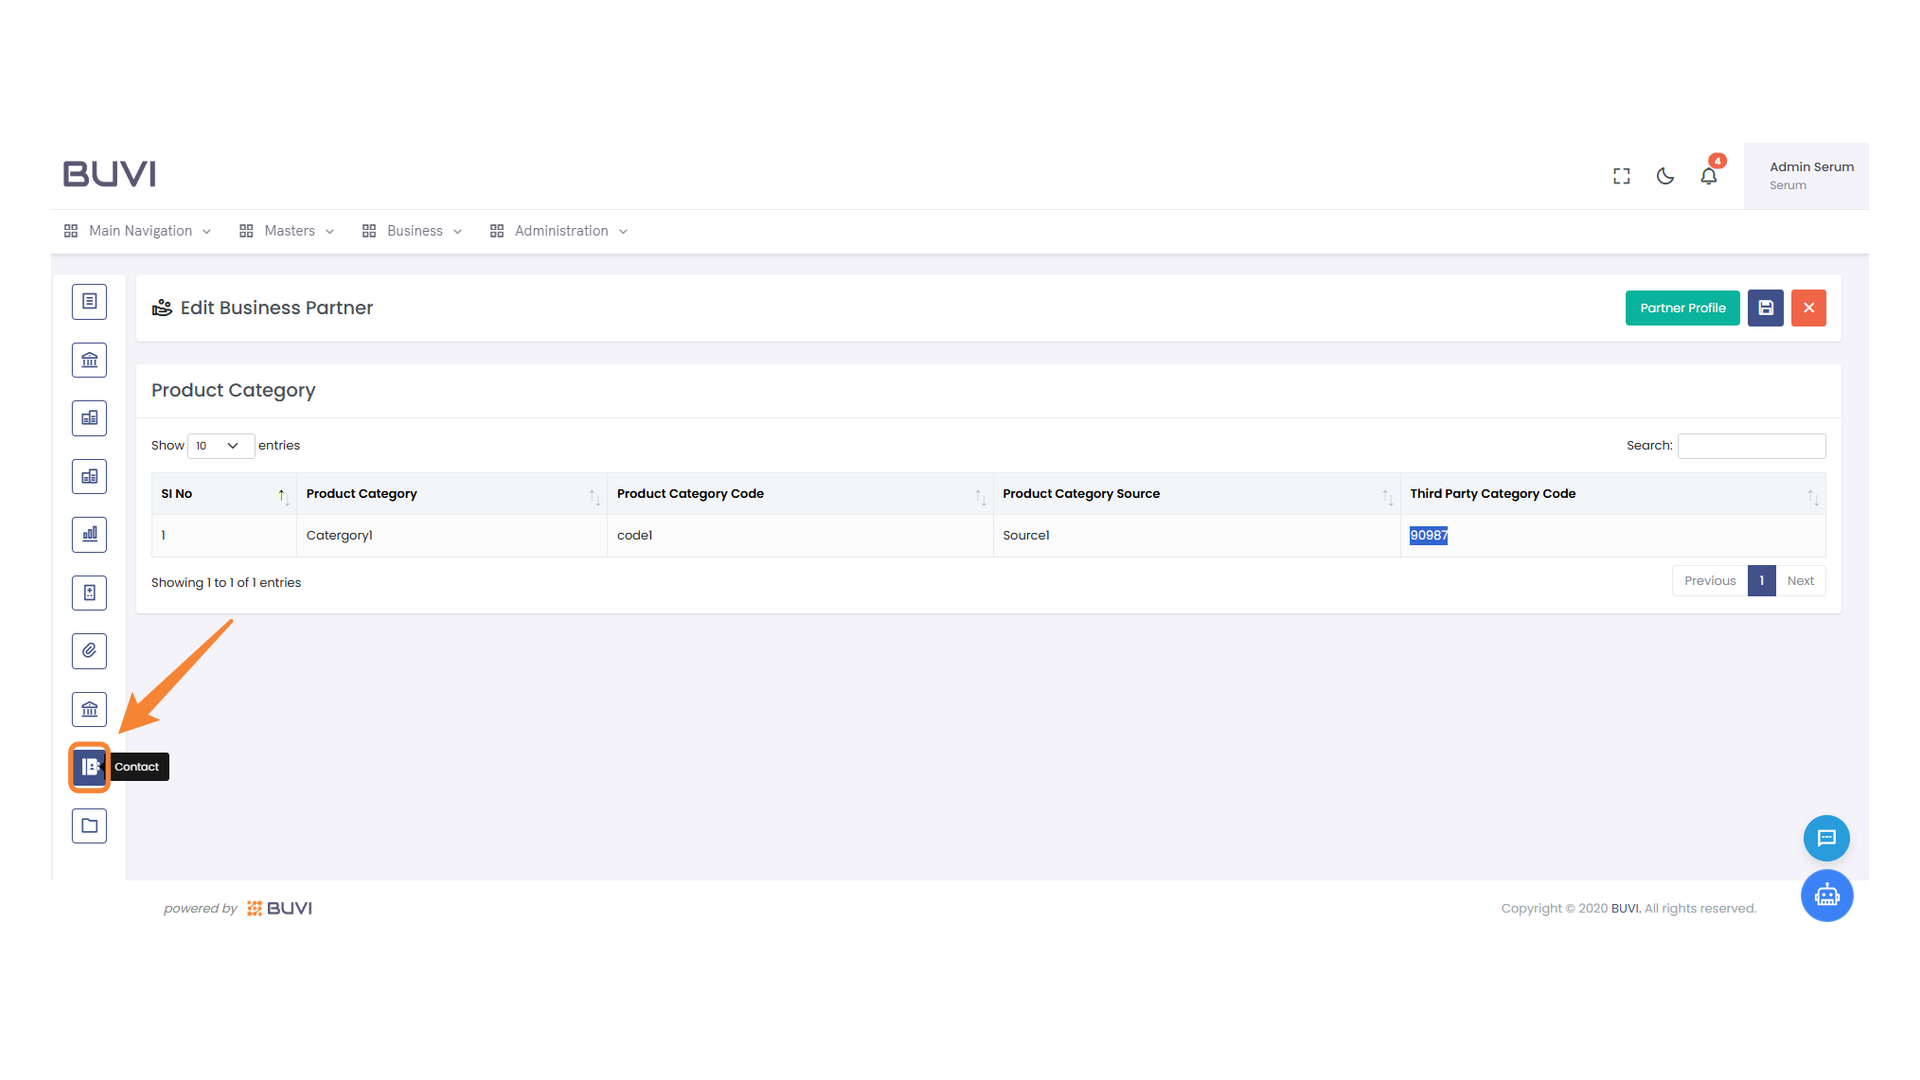
45. Contact Icon
Click the icon to access the contact section.
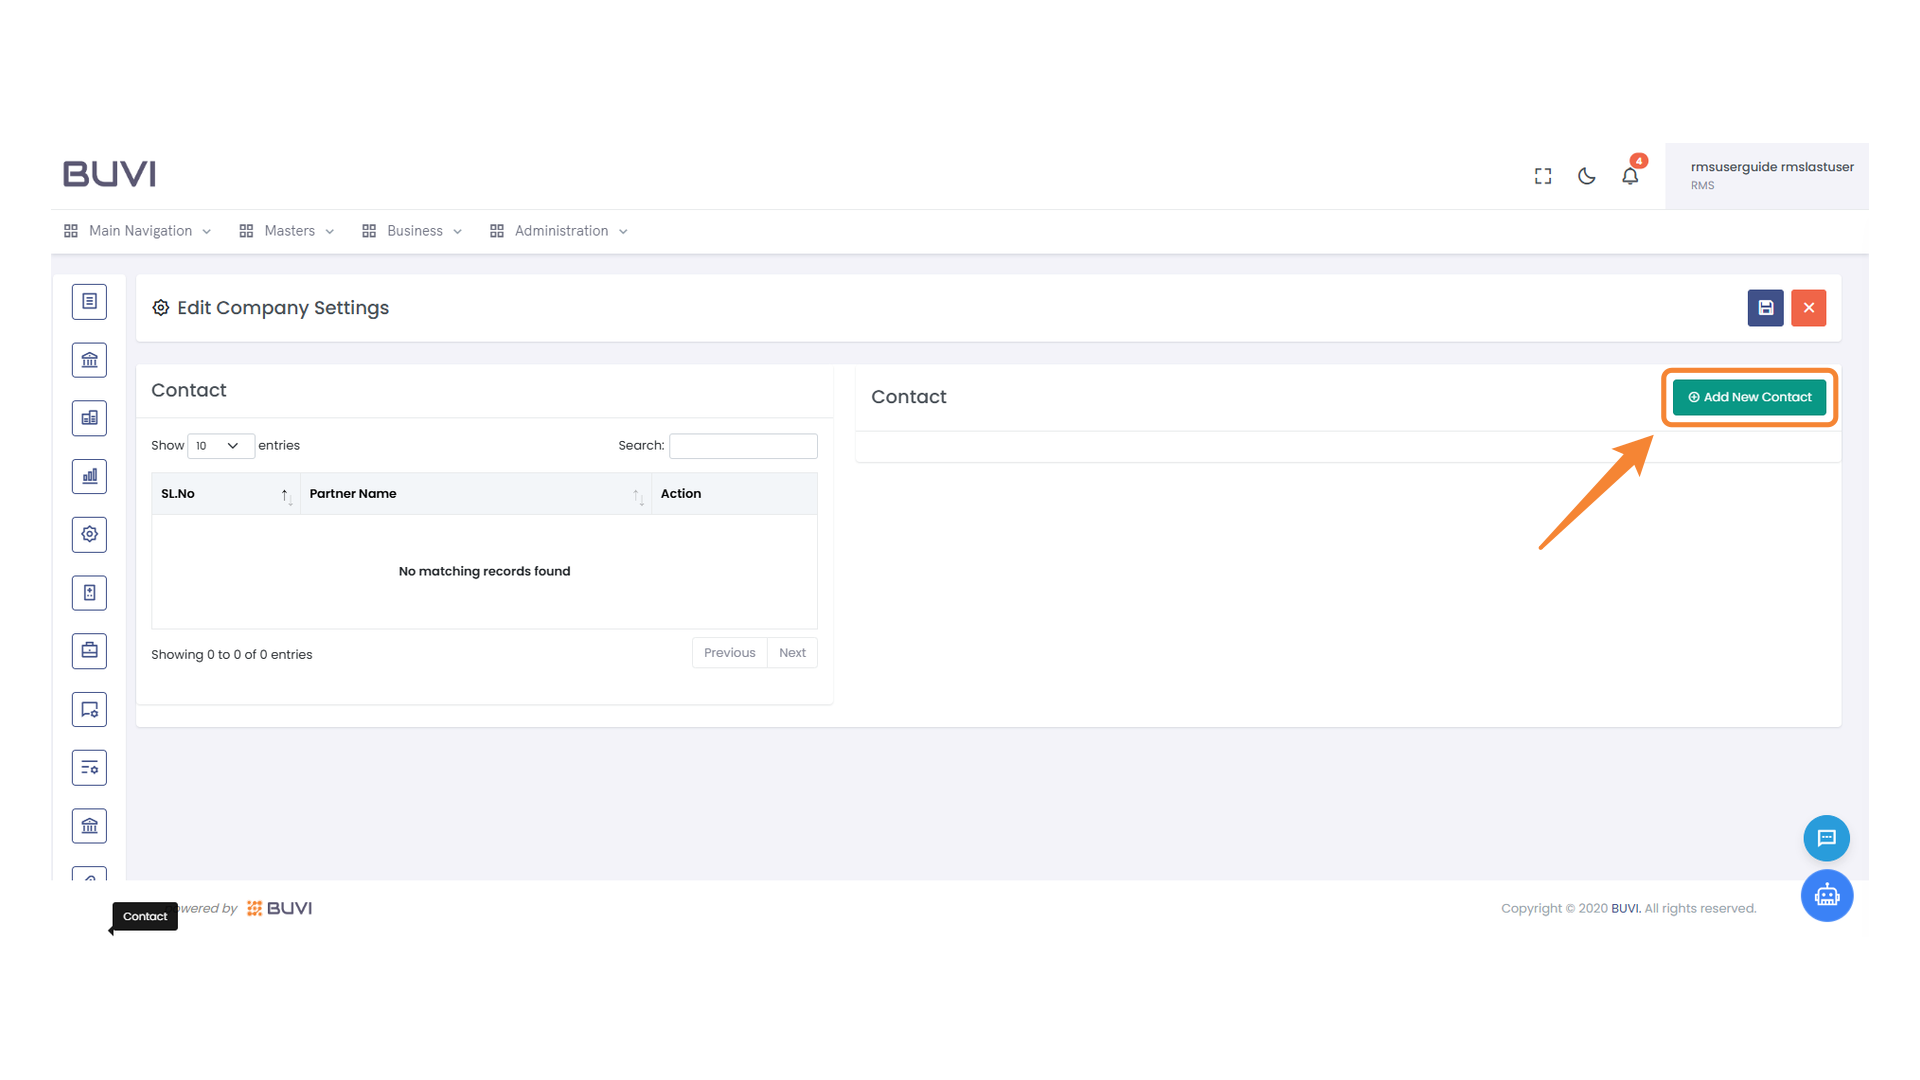
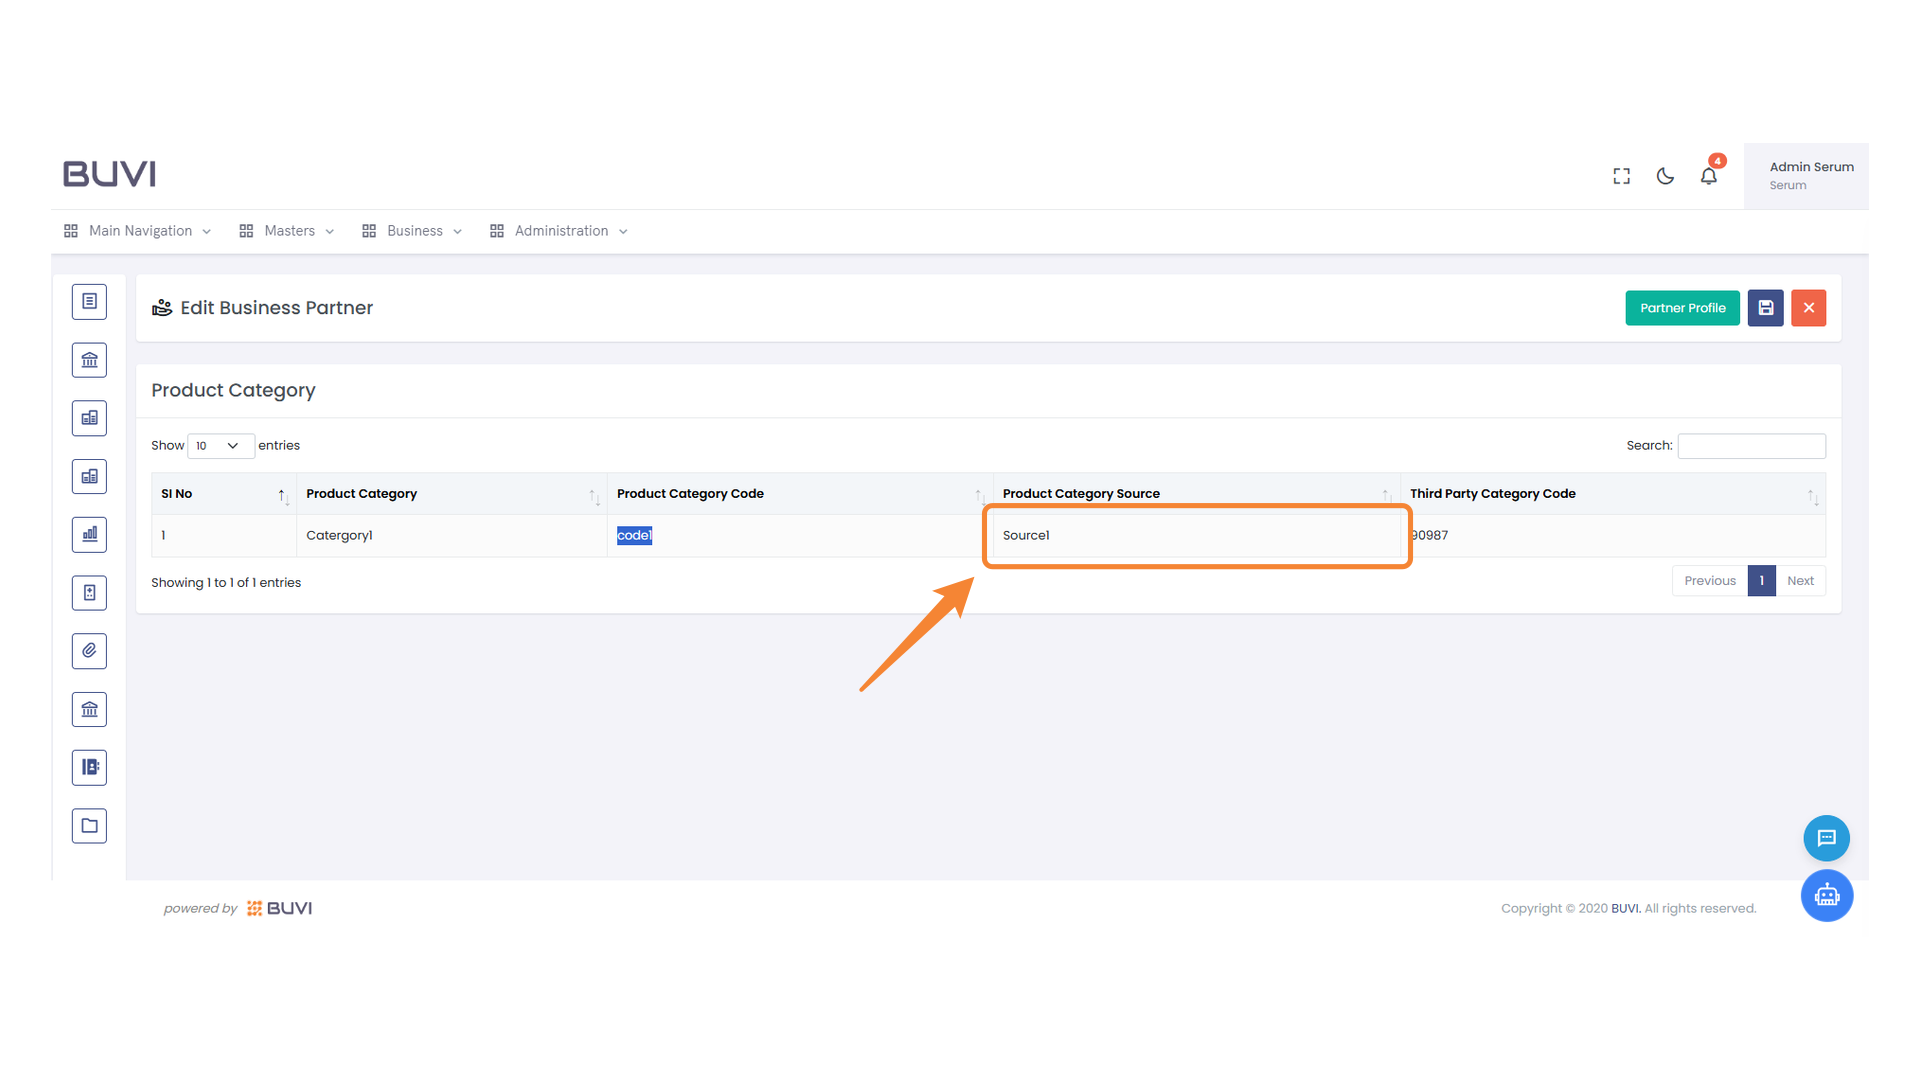
46. Add New Contact Button
Click to create a new contact entry.
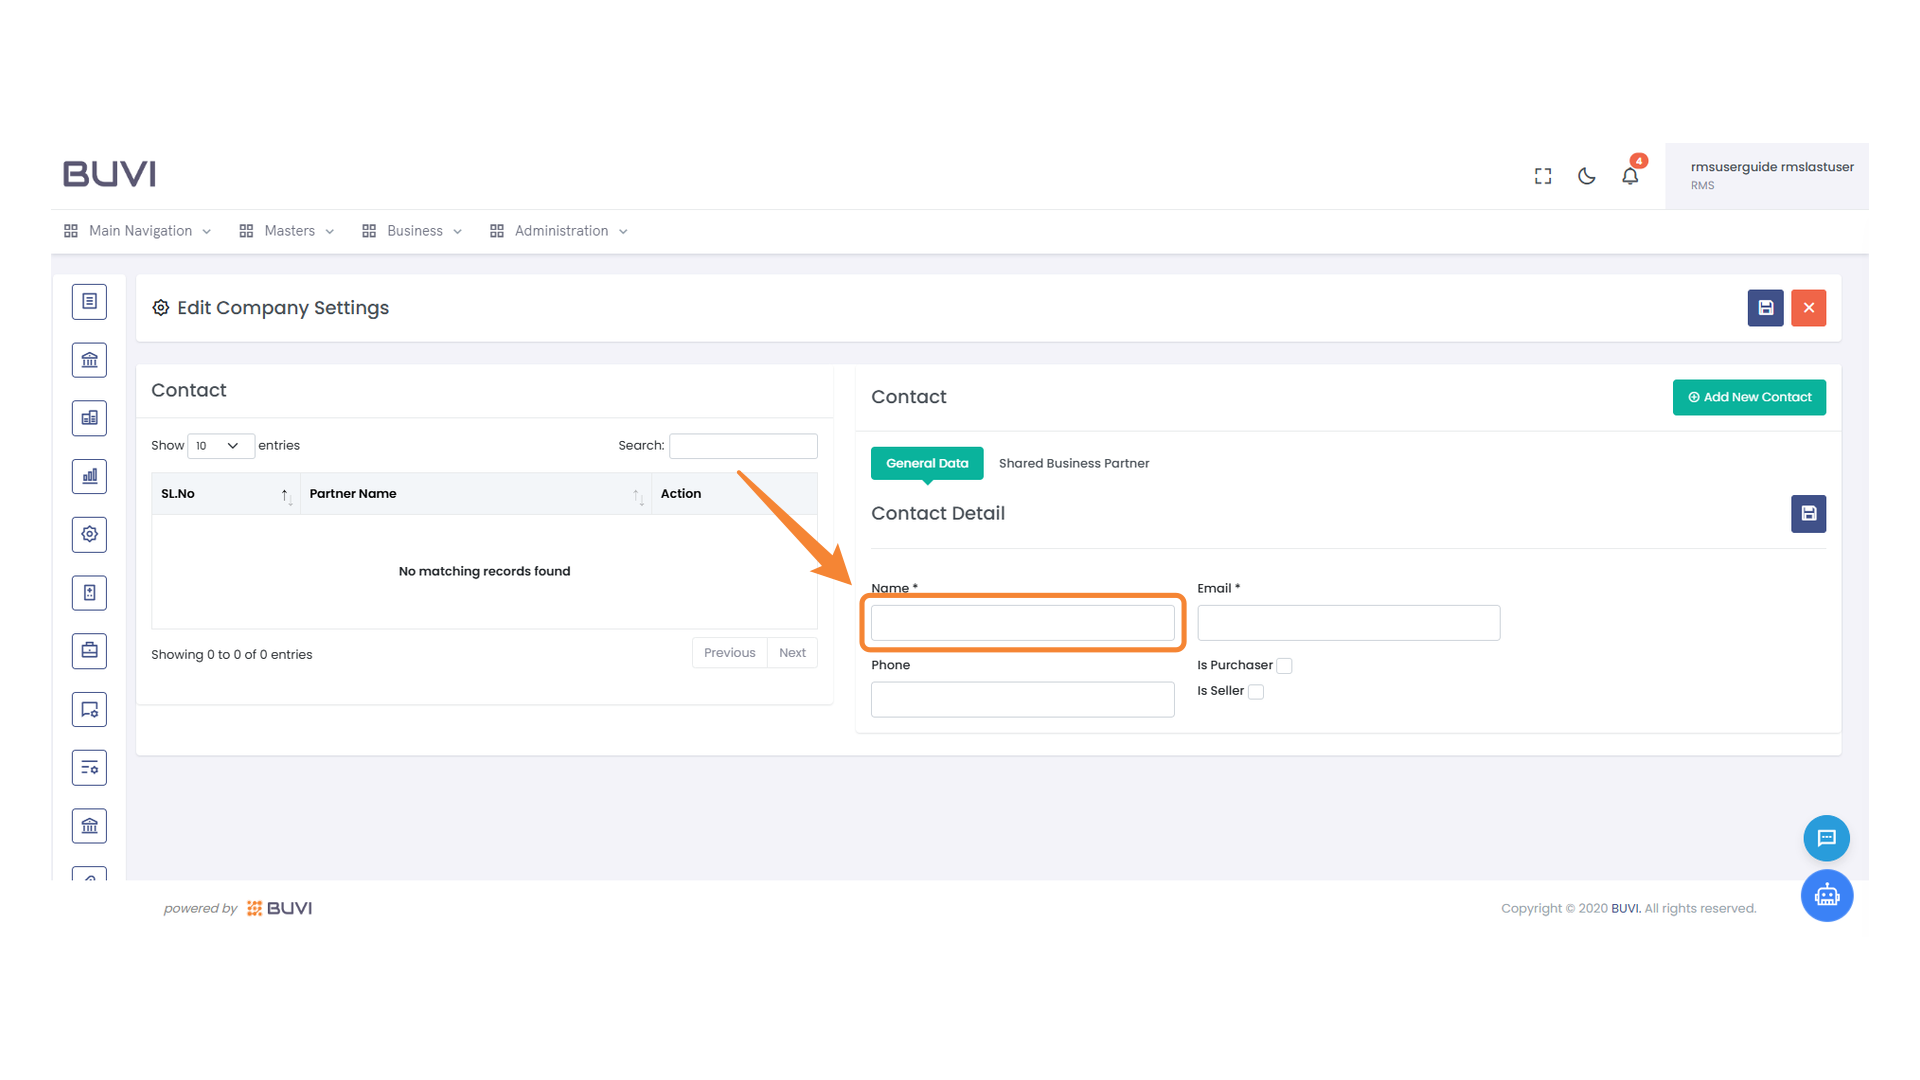
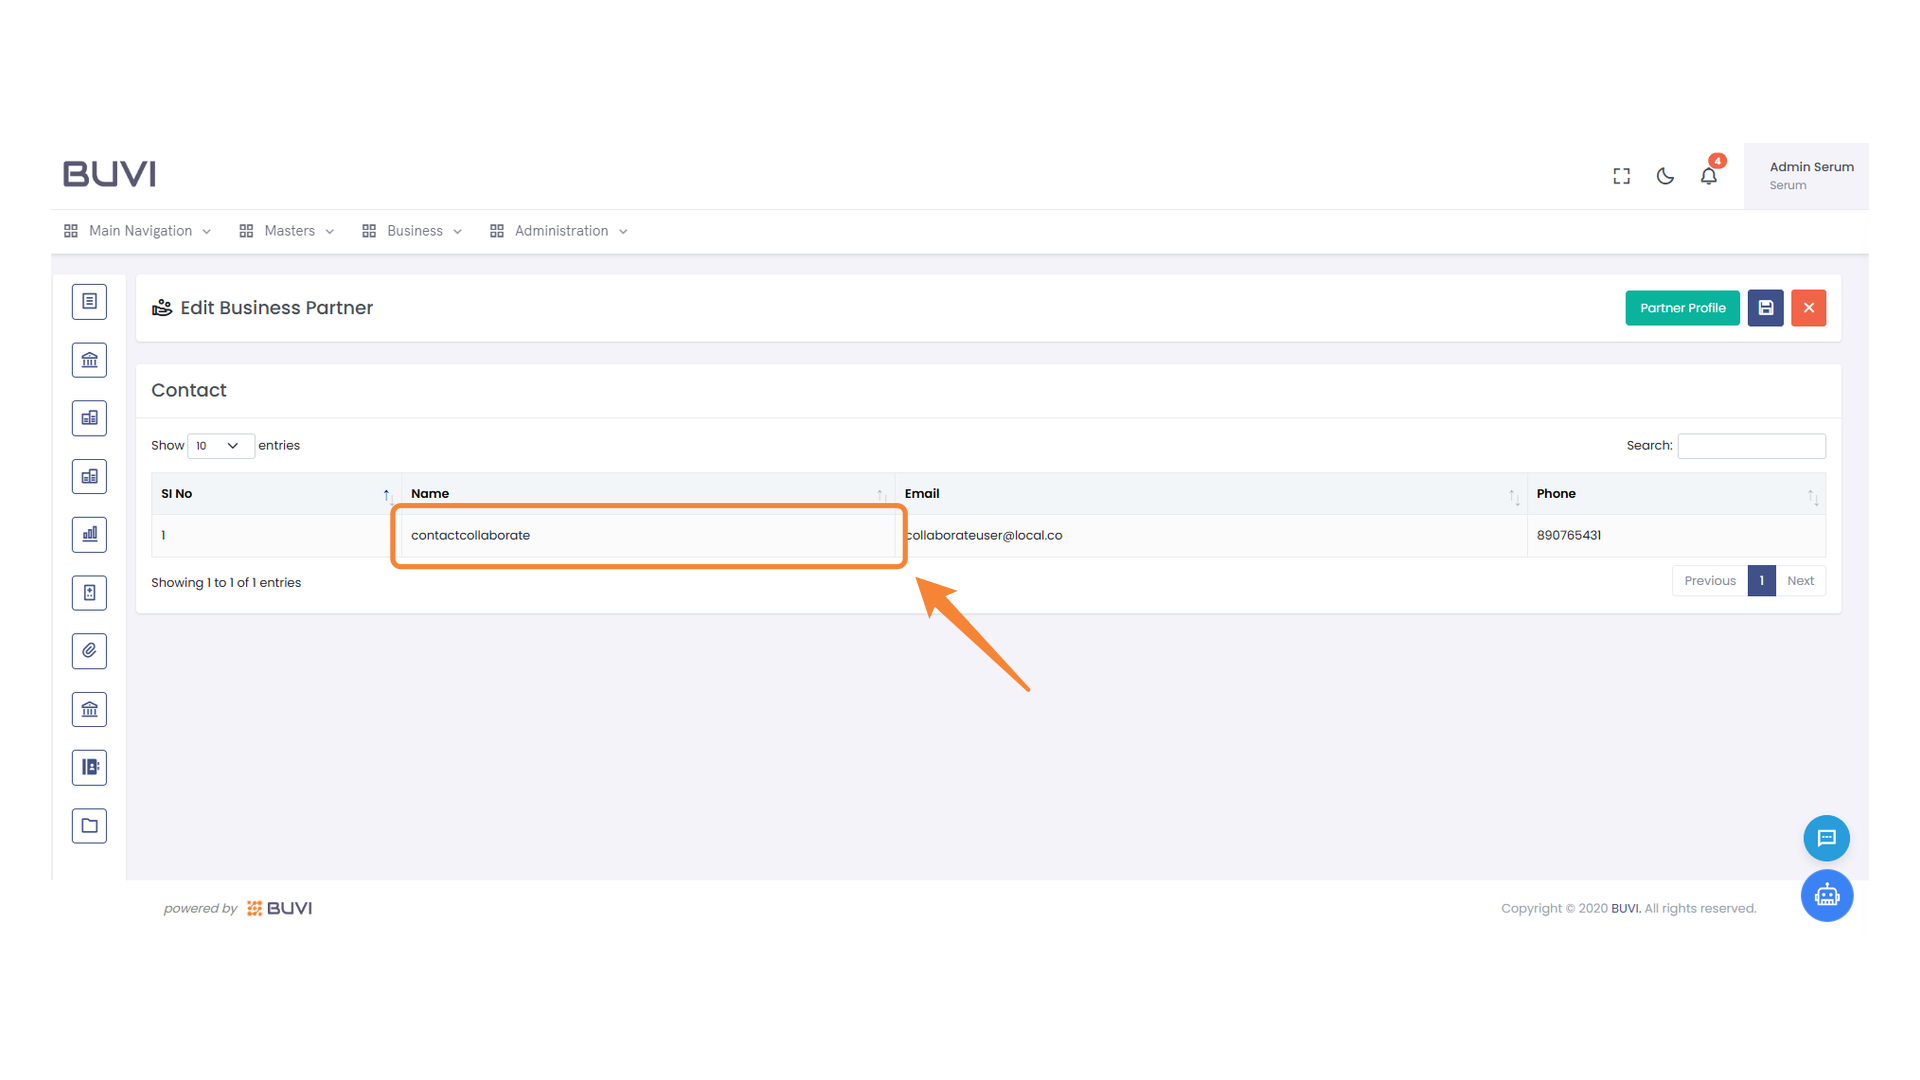
47. Name Field
Enter the contact's name in this field.
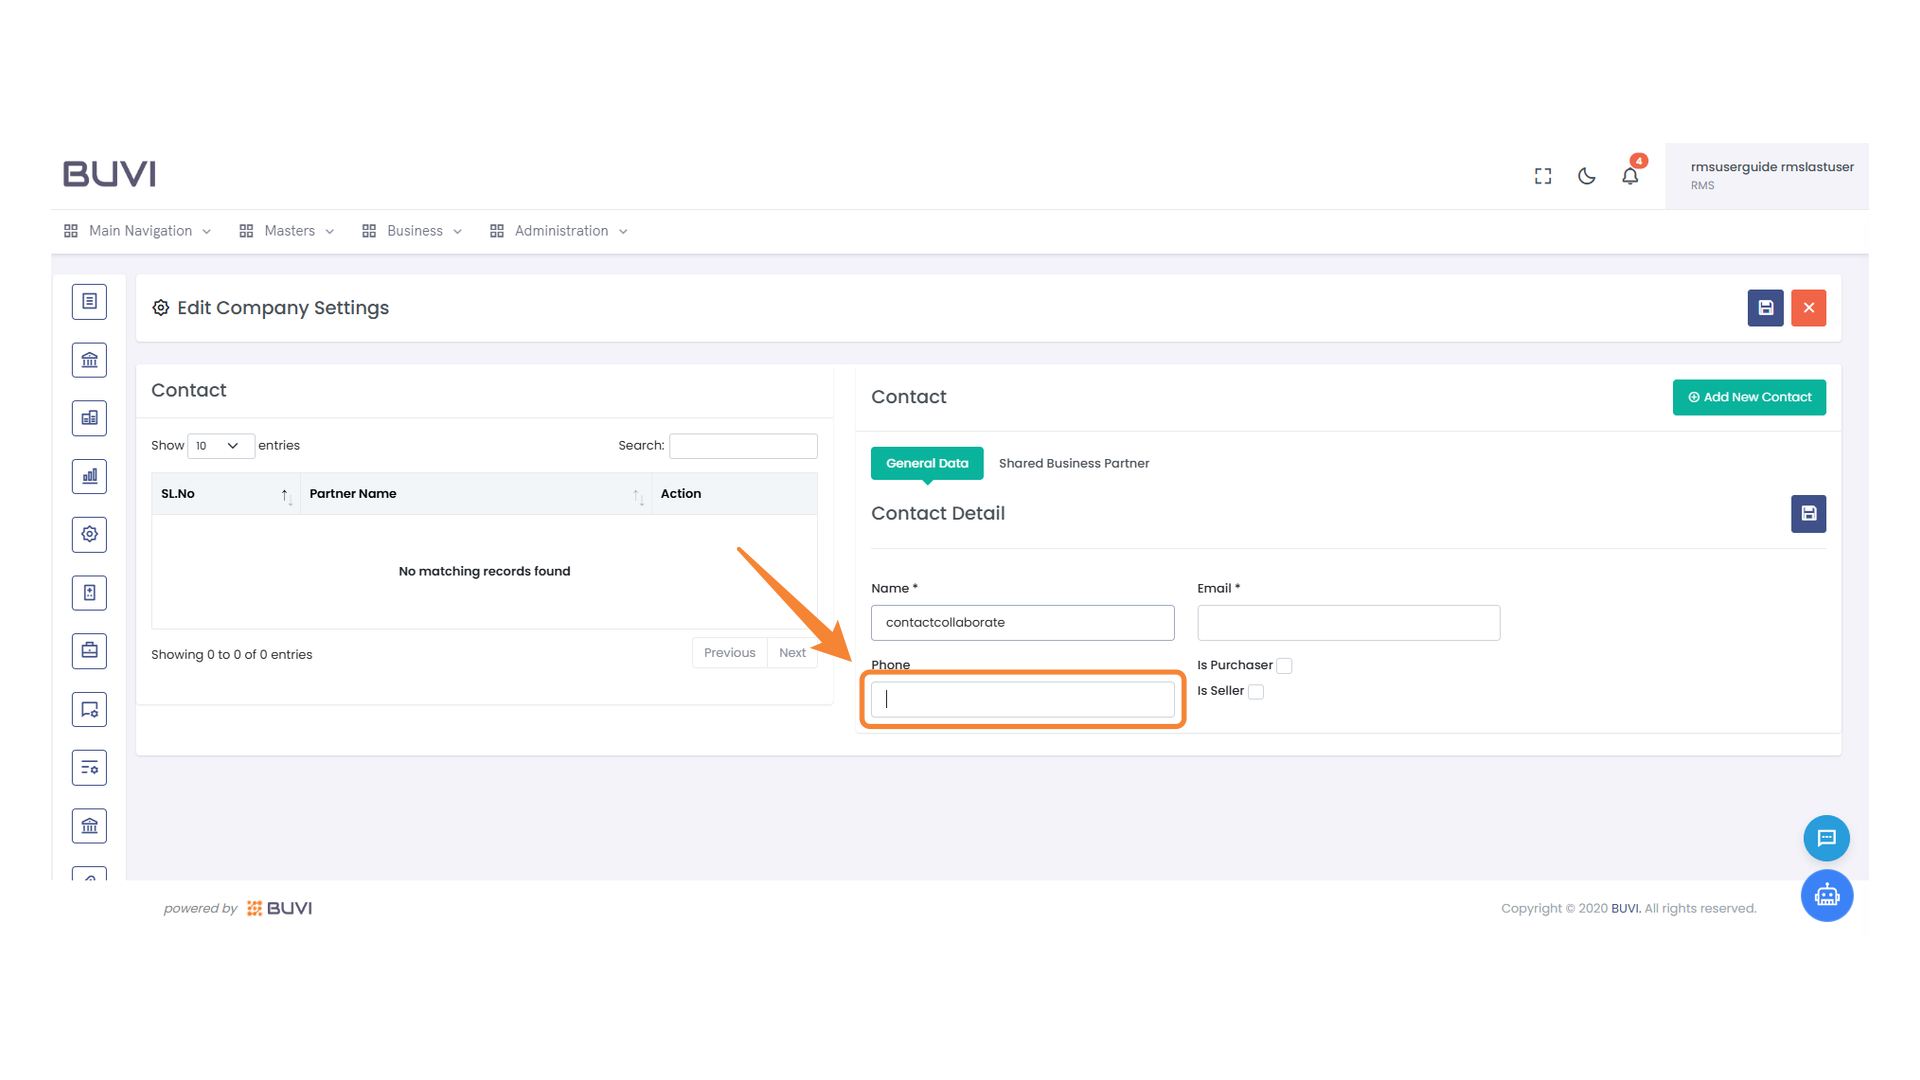
48. Phone Number Input Field
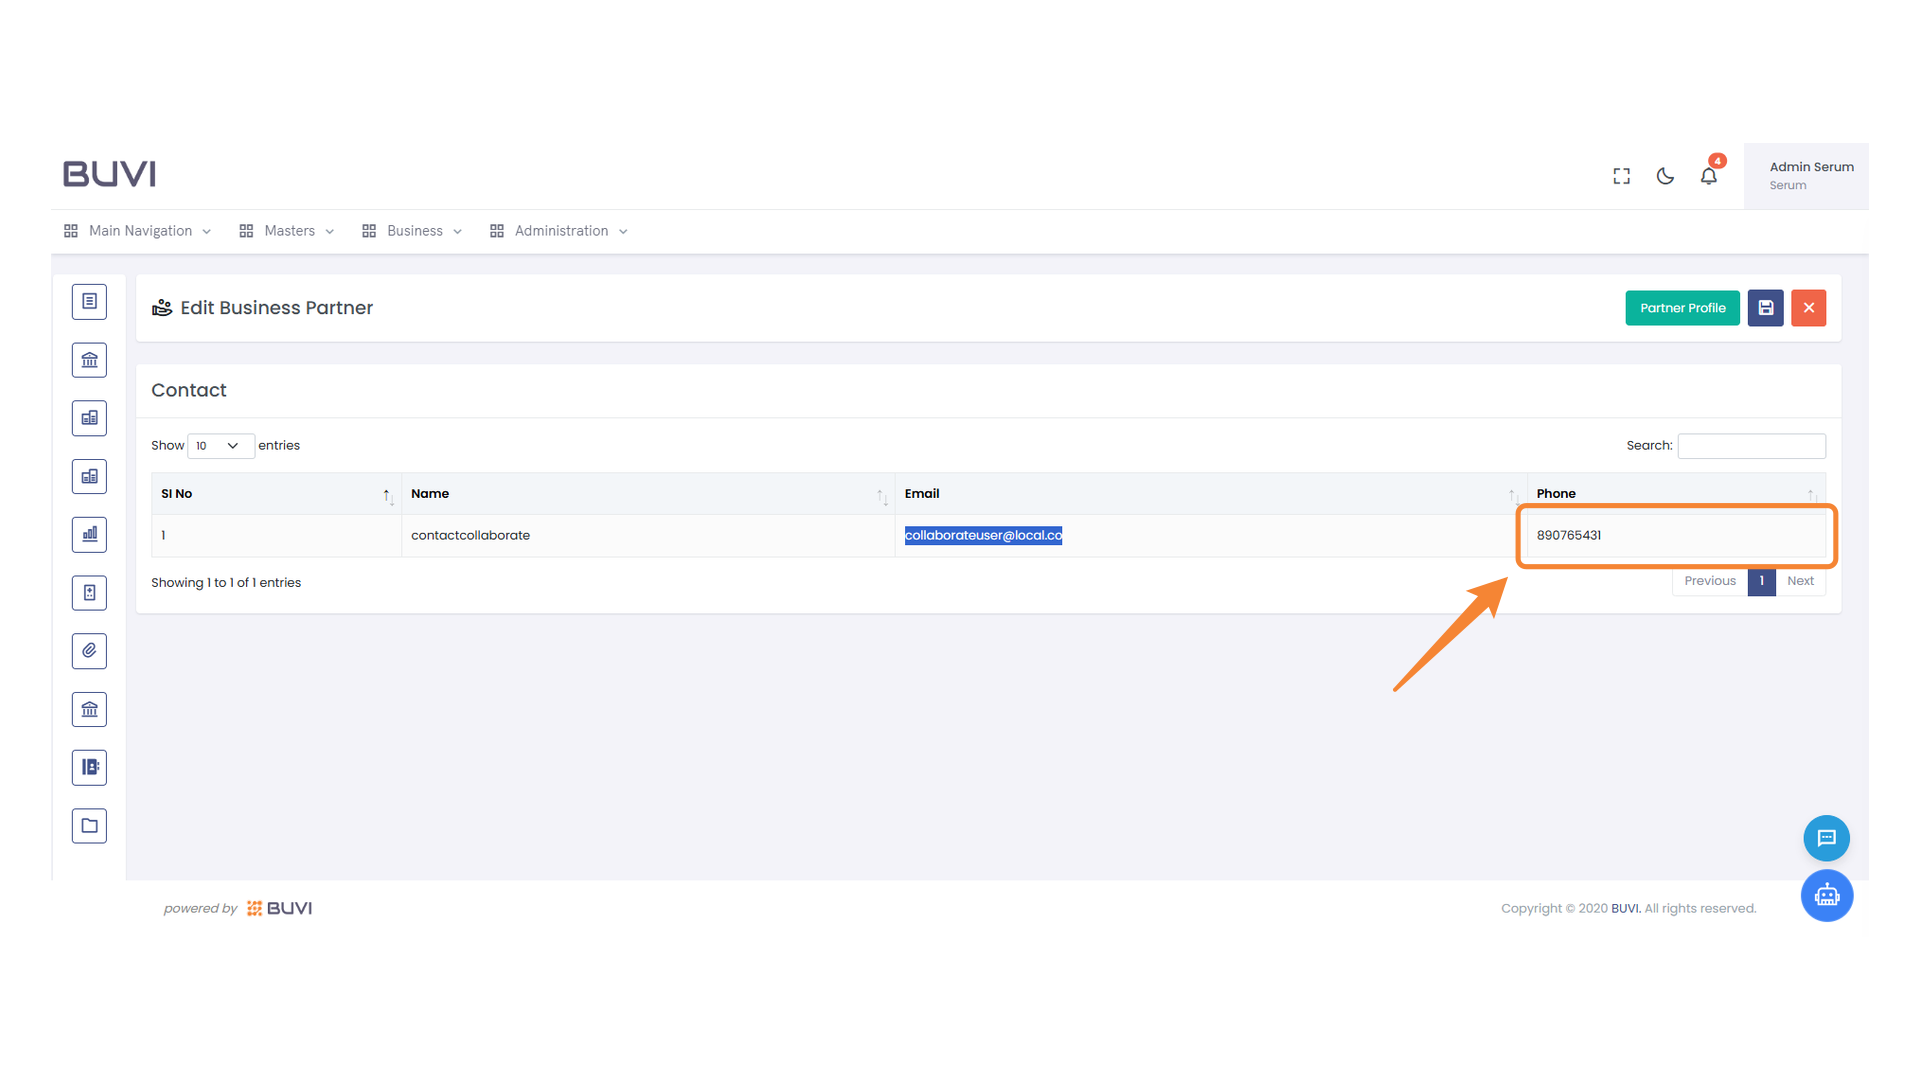
Enter the contact's phone number in the provided input field.
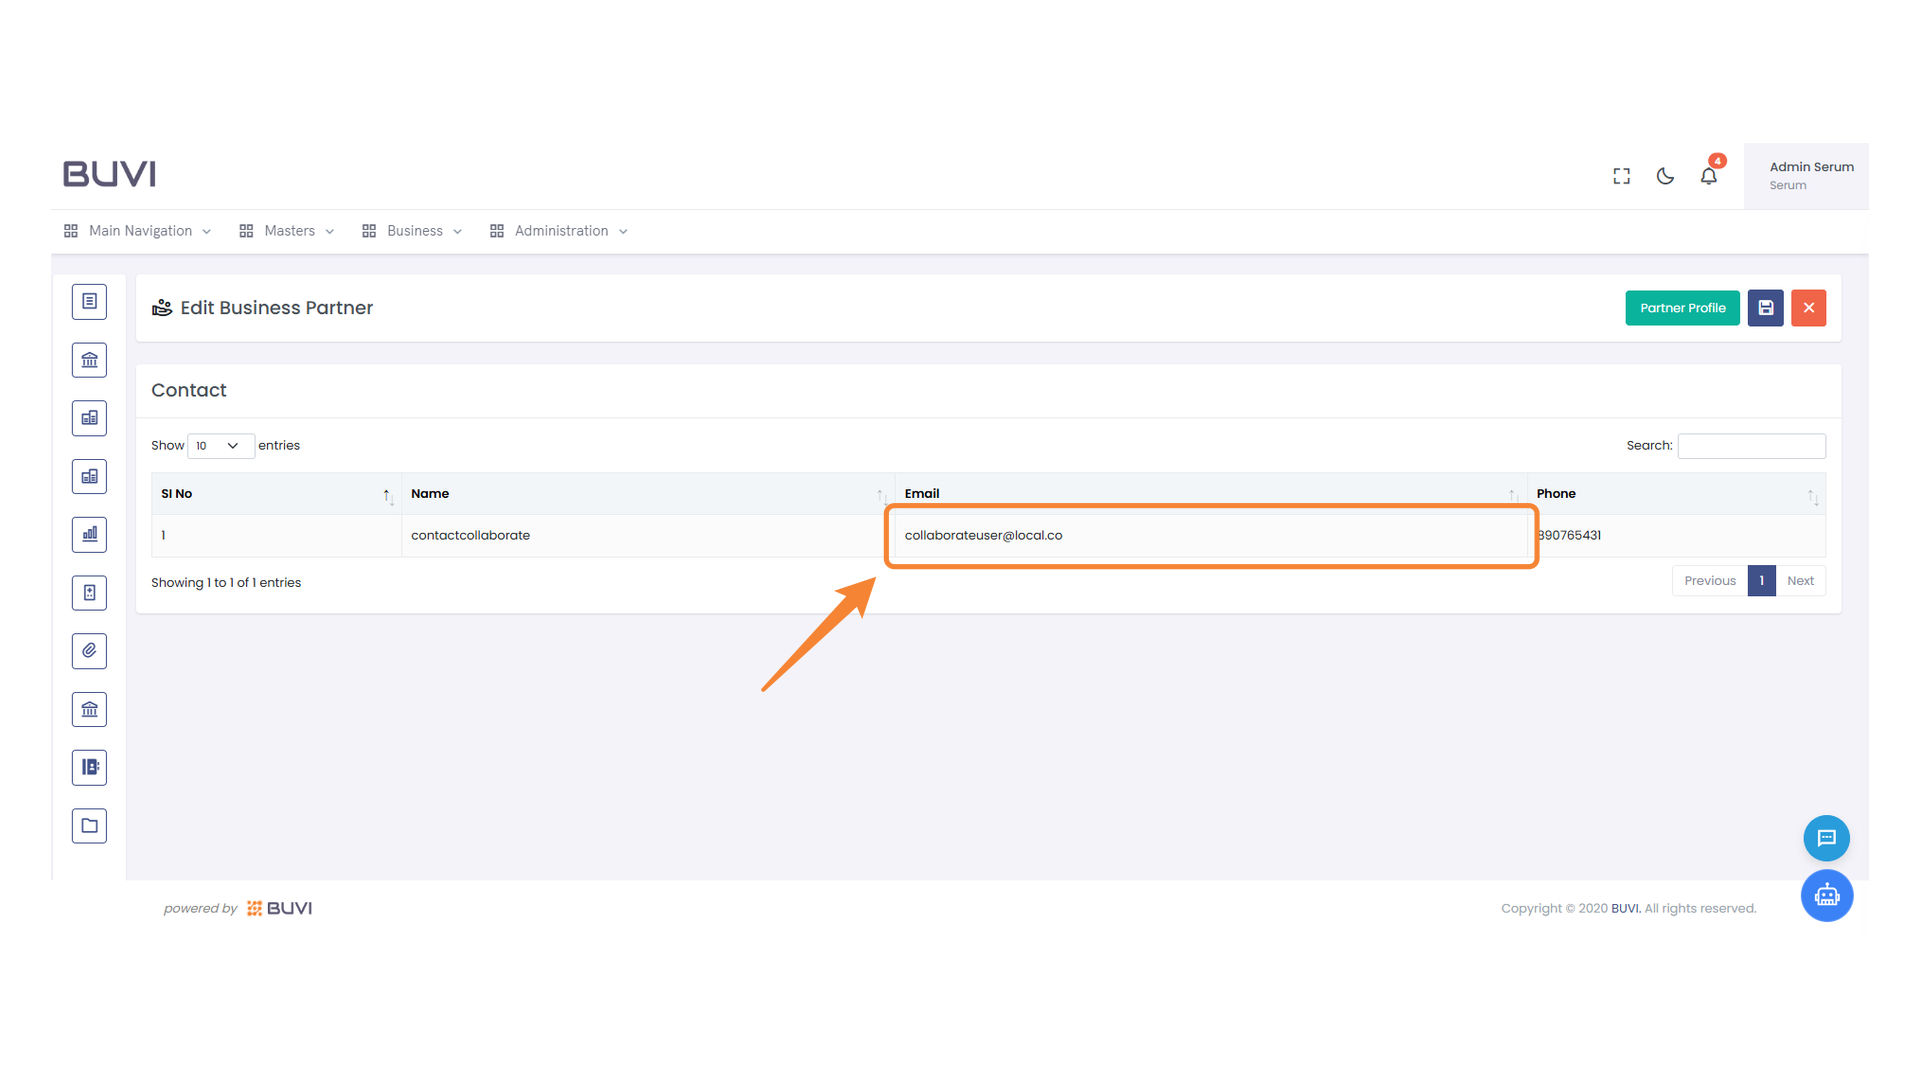
49. Email Entry Field
Enter the contact's email address in the provided field.
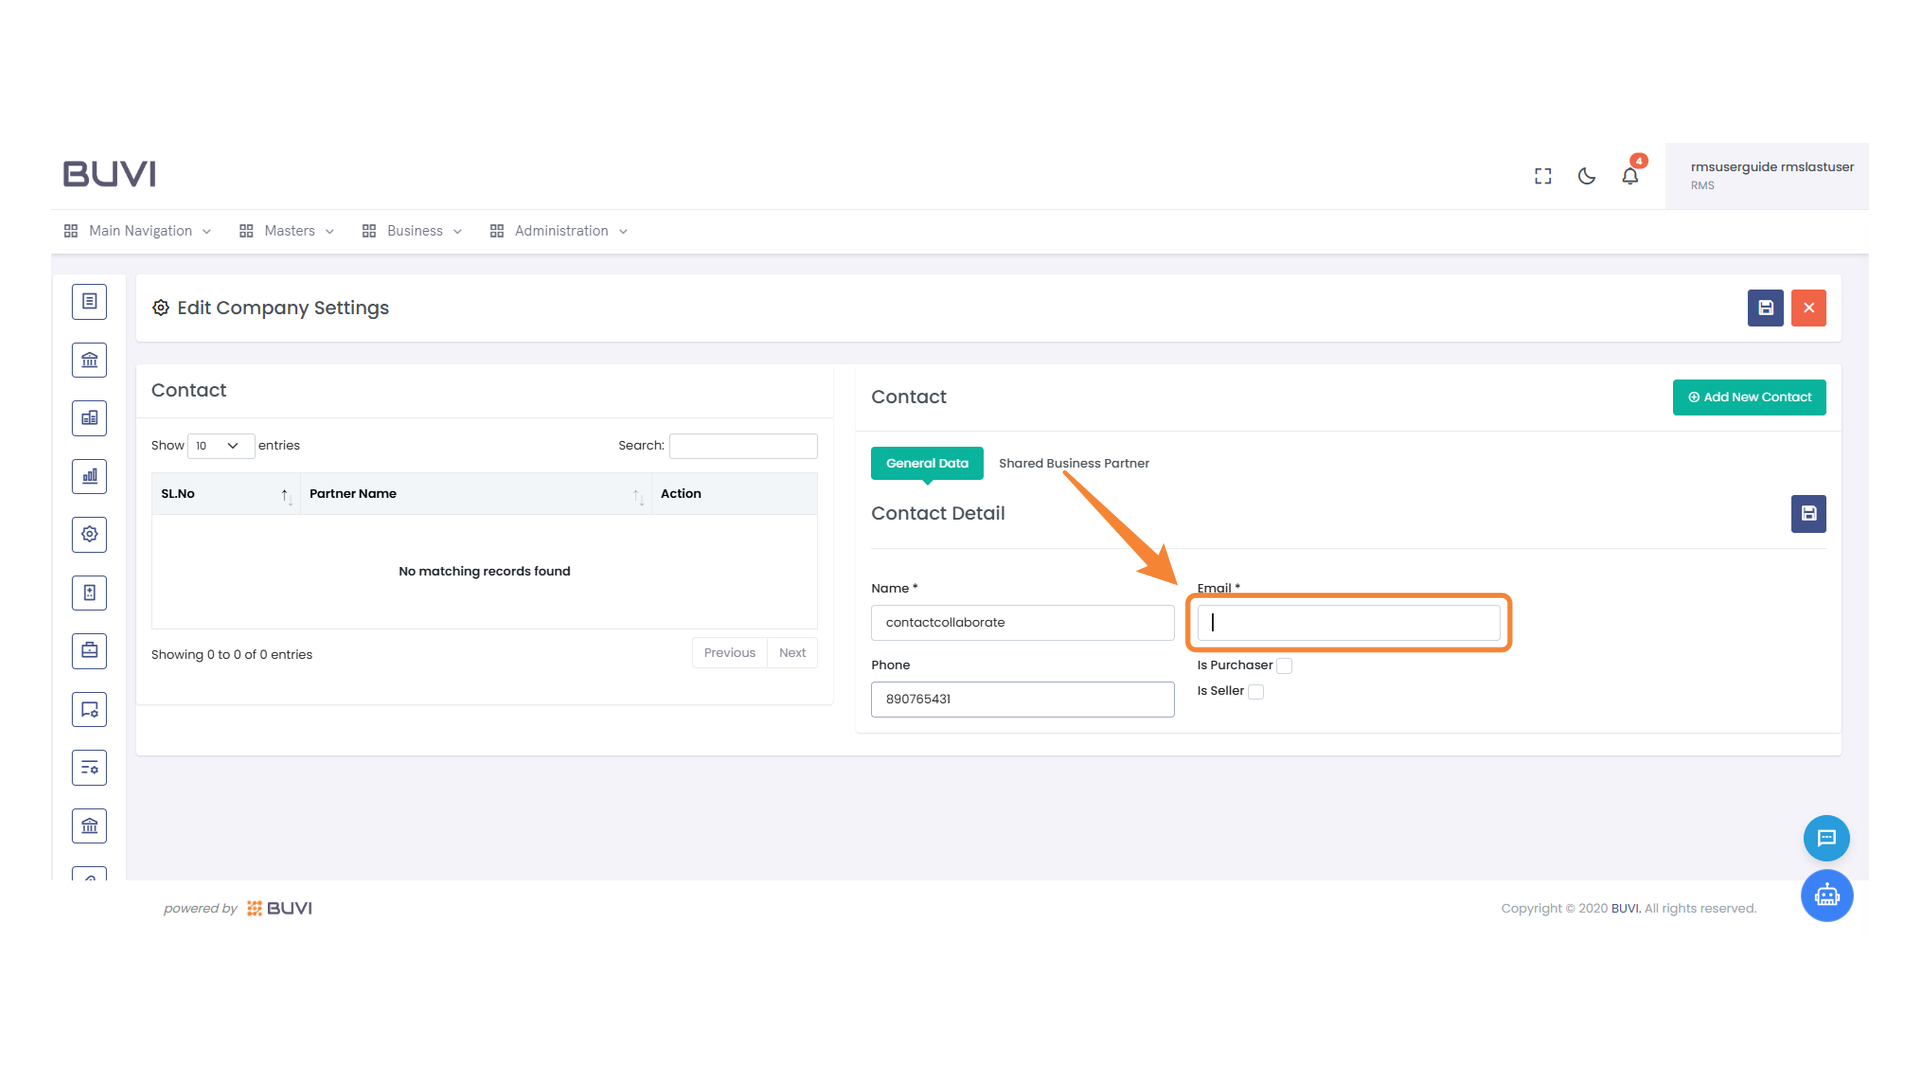
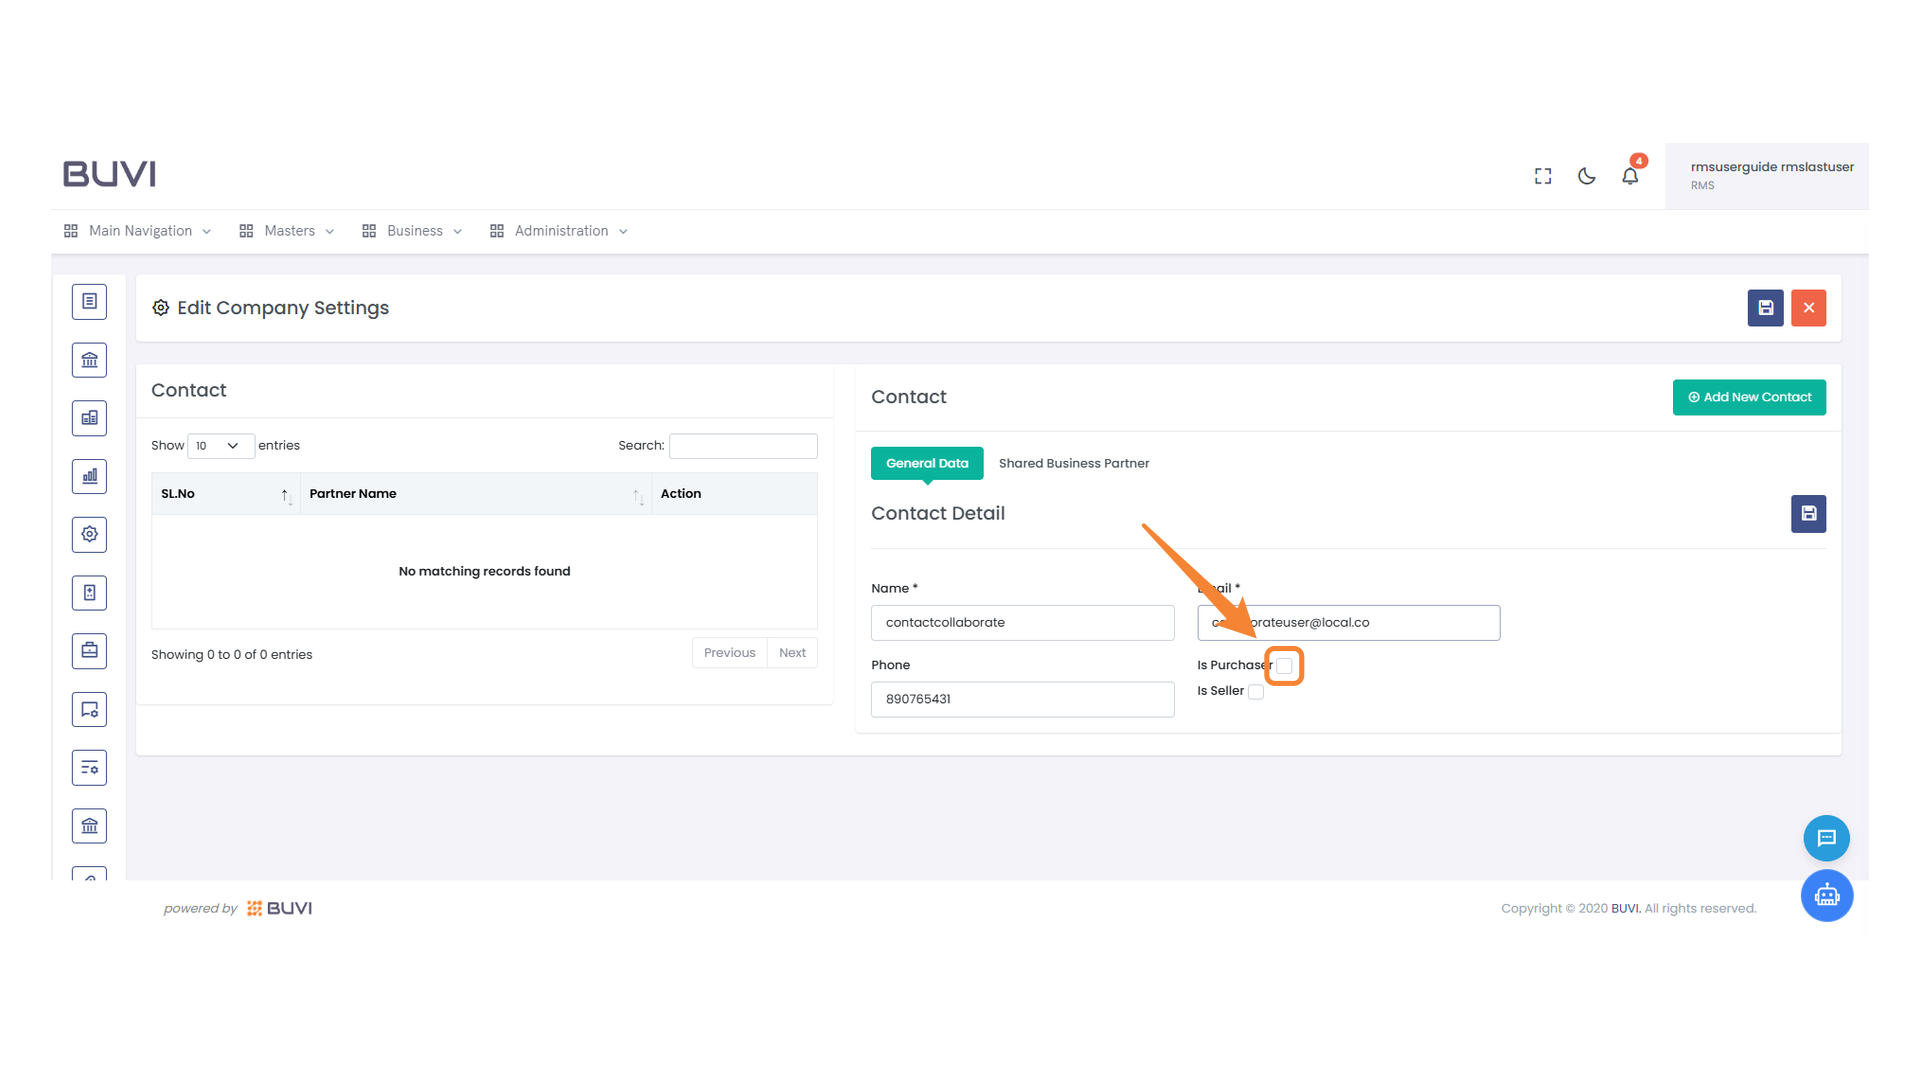
50. Purchase Option Checkbox
Select this checkbox to mark the contact as a purchaser in the system.
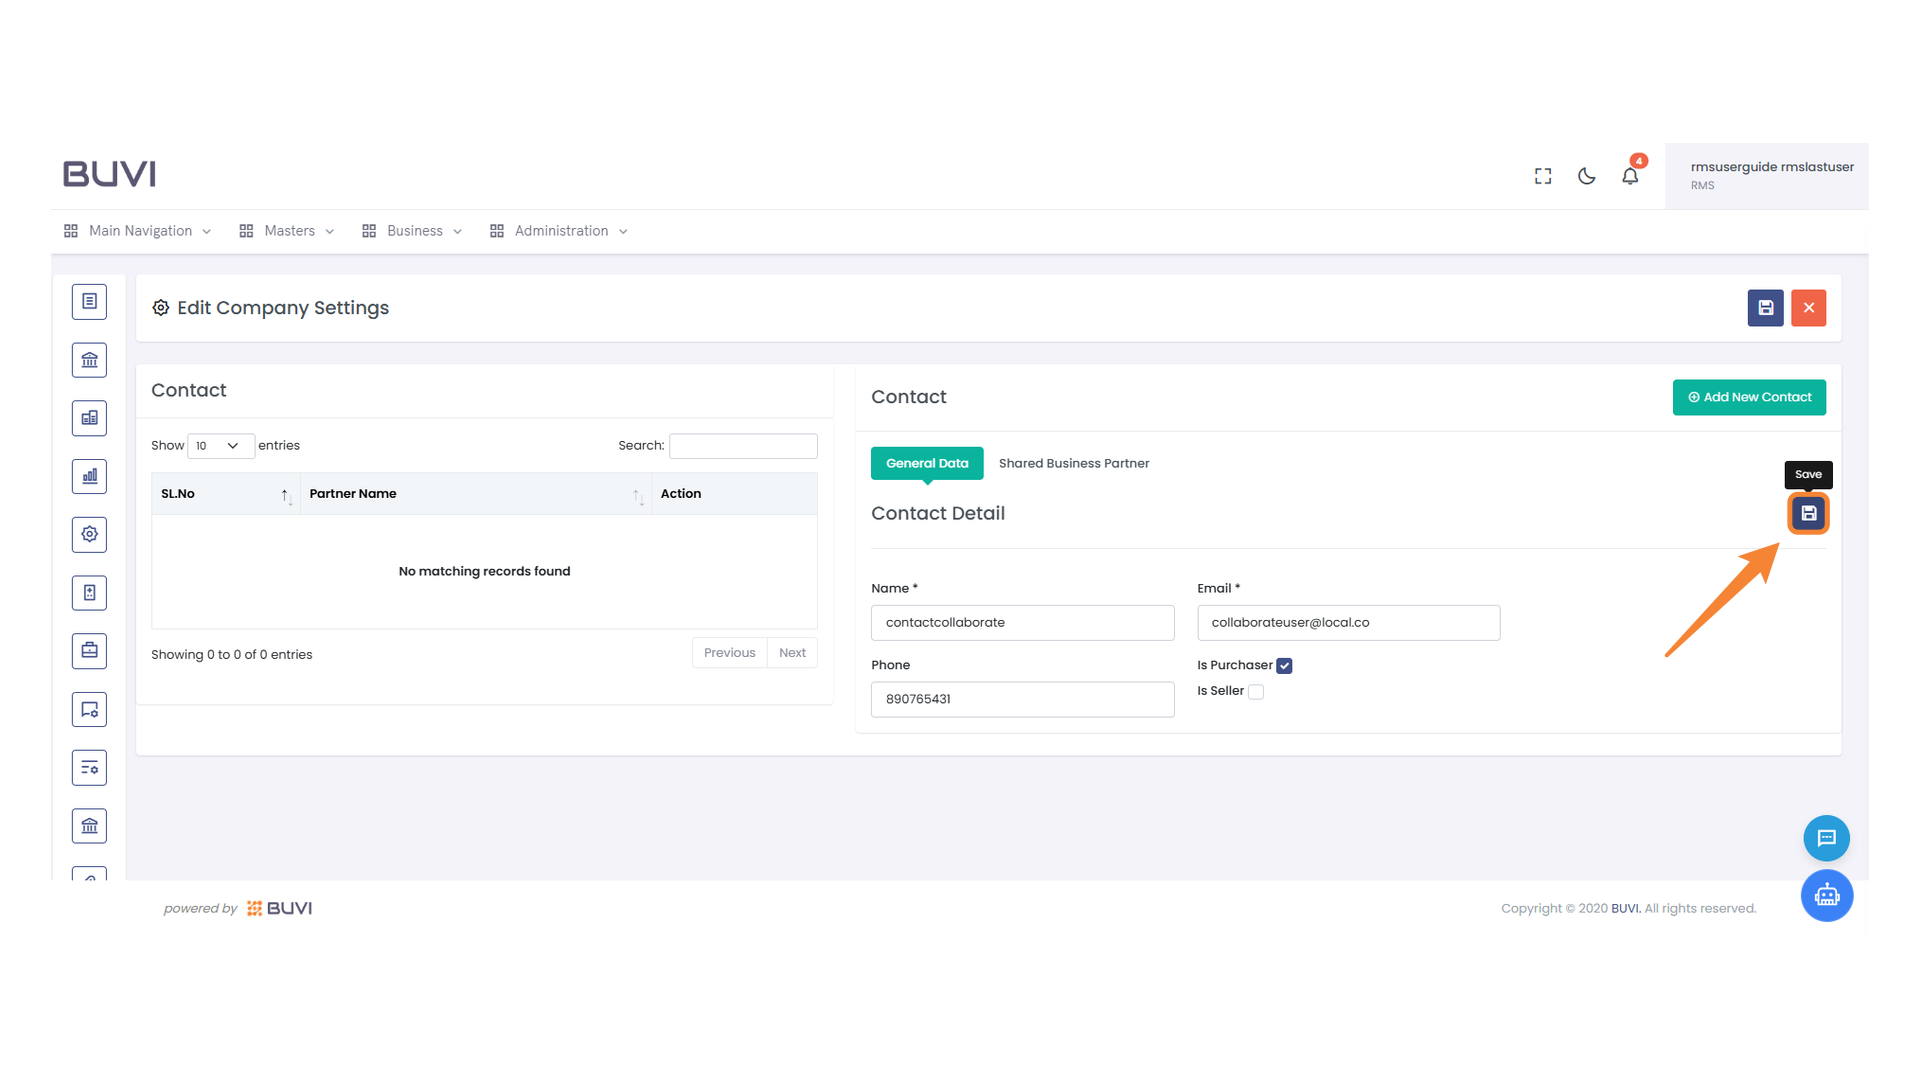
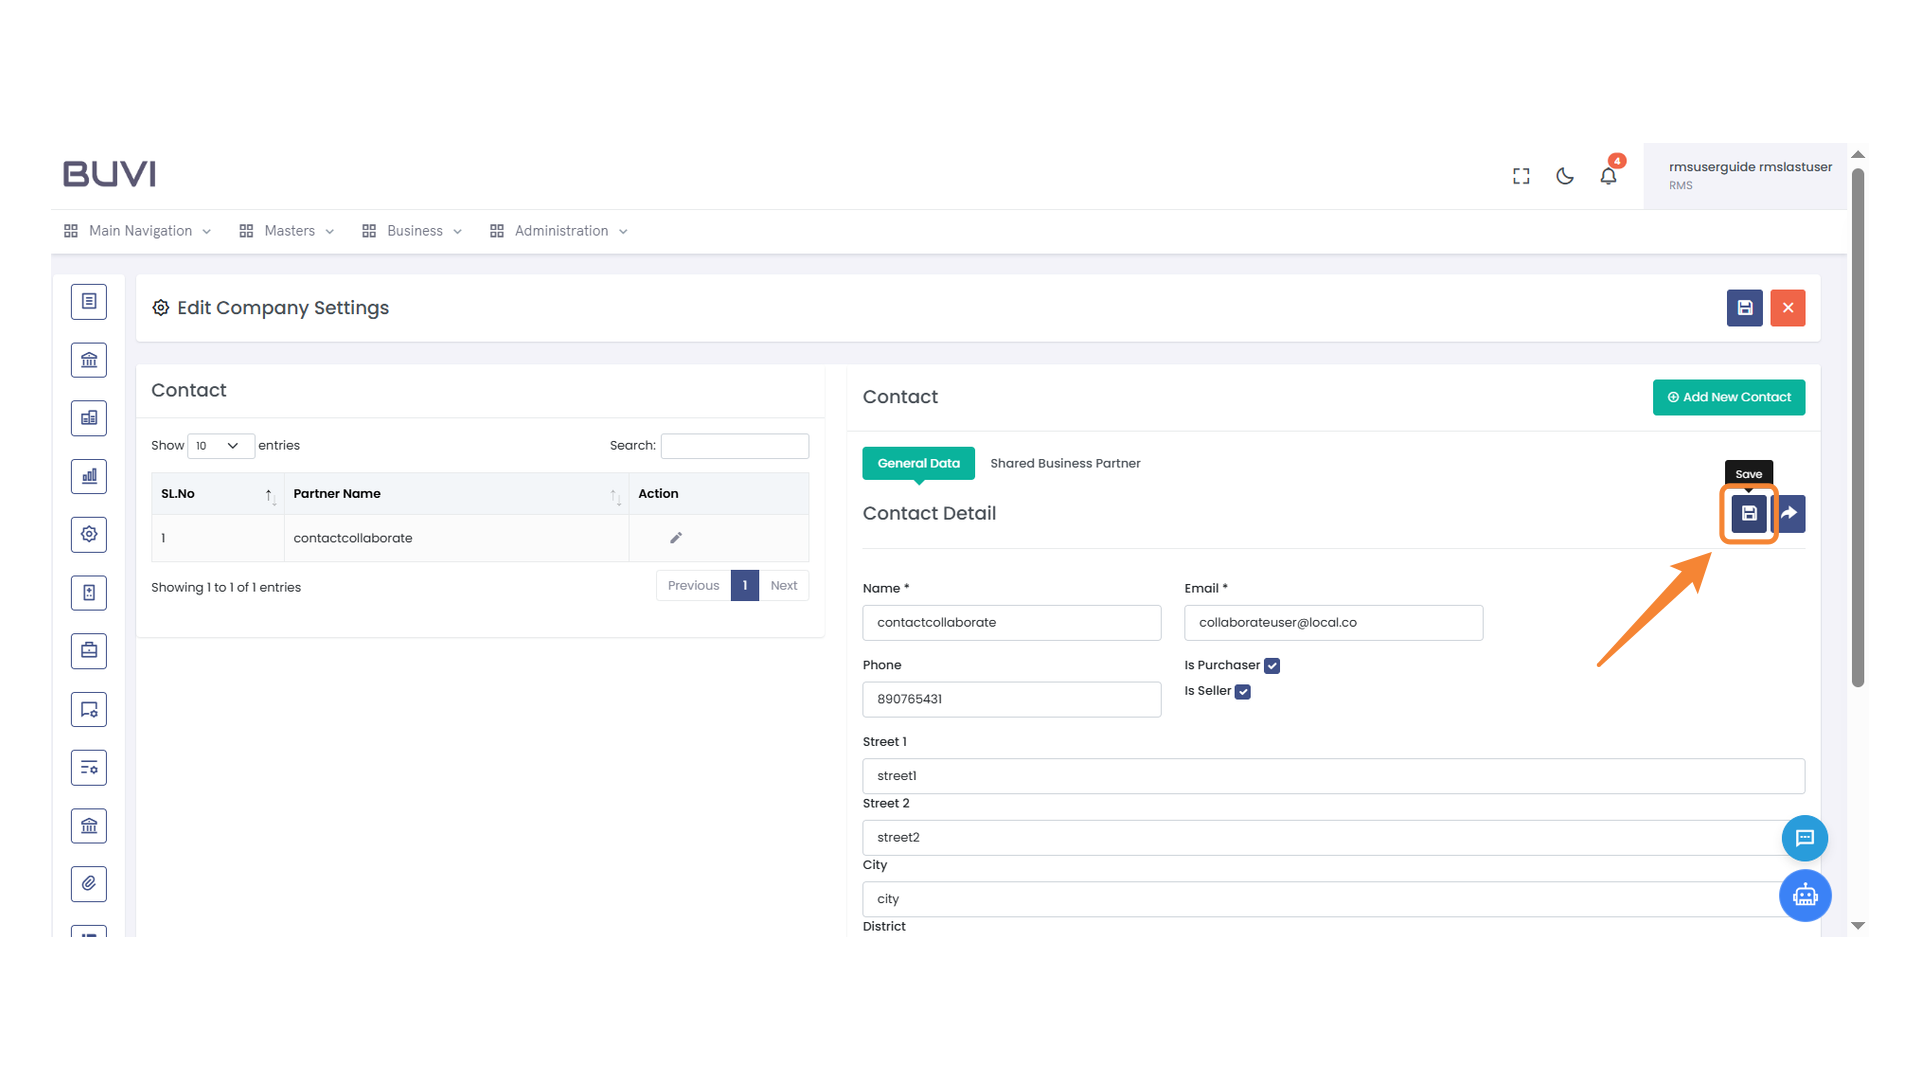
51. Save Contact Information
Click this button to save the updated contact details.
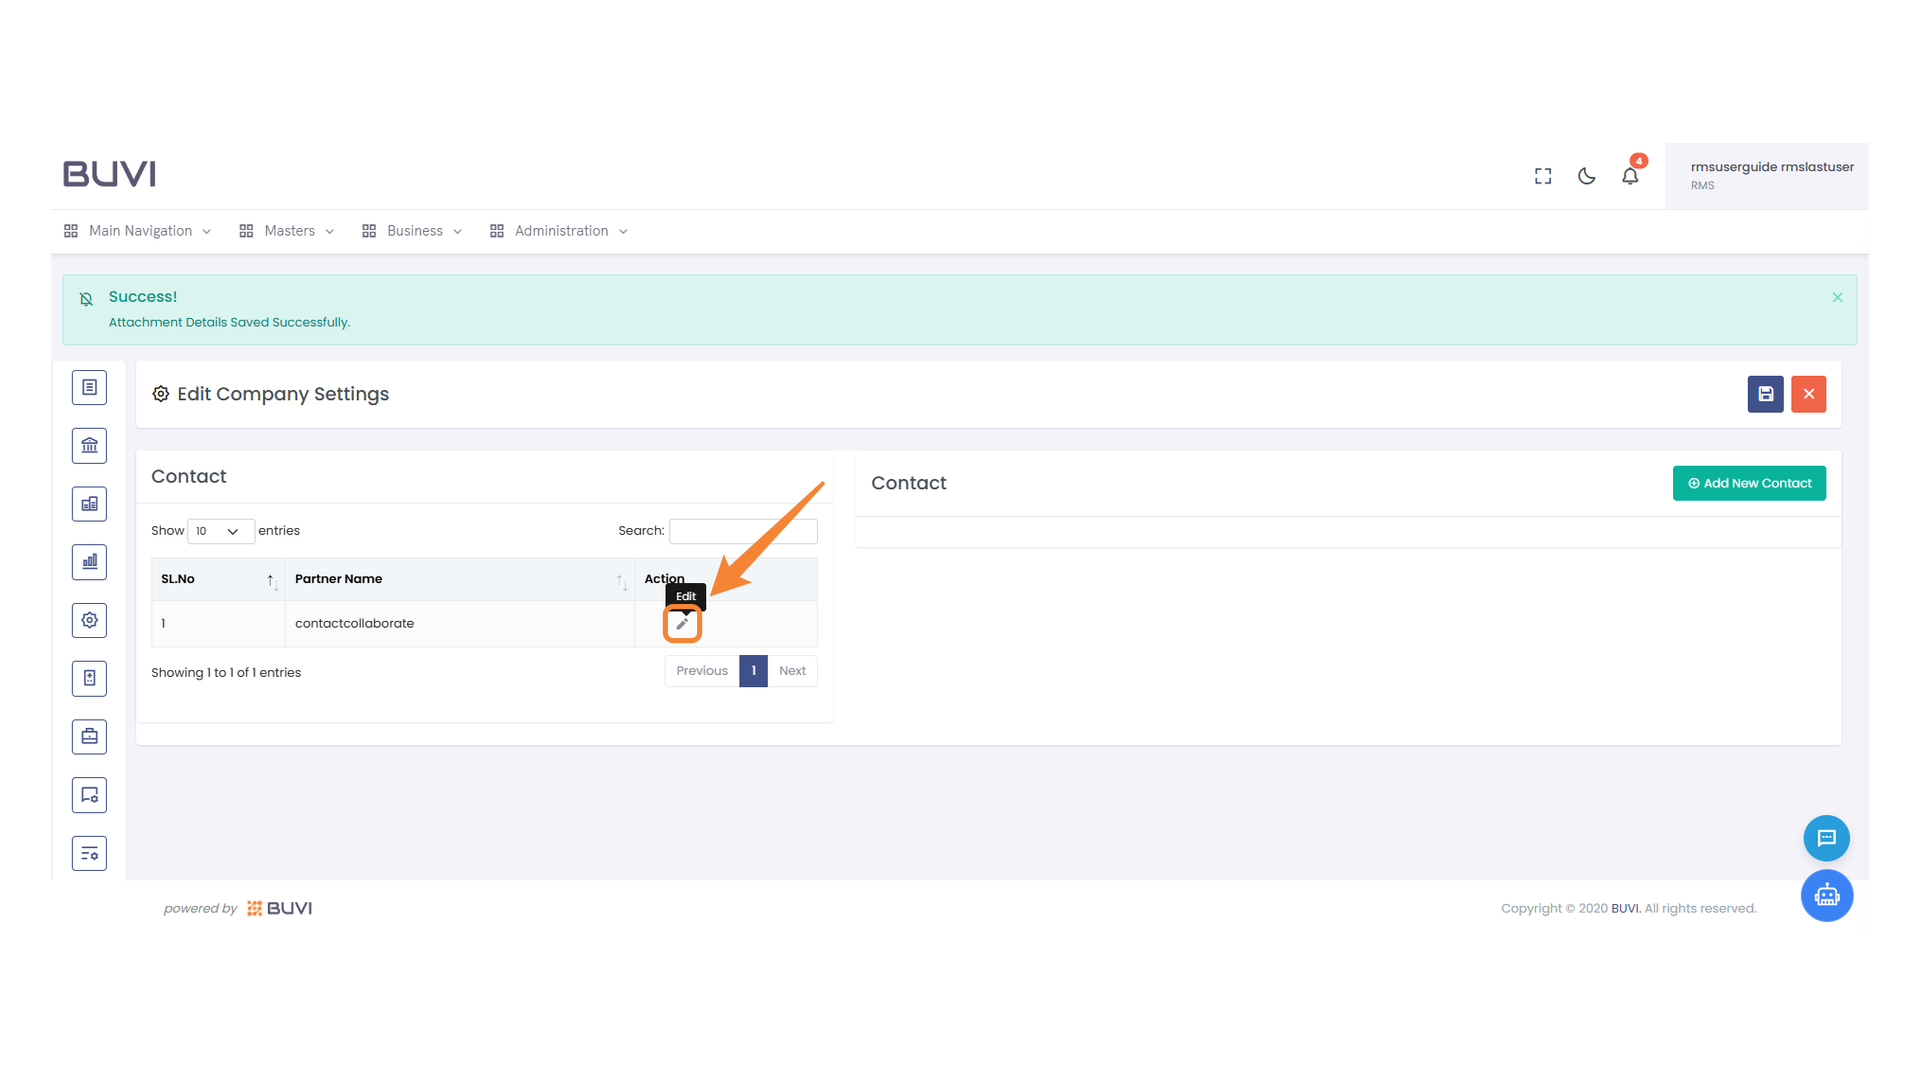
52. Edit Contact Option
Select the 'Edit' button to modify the contact information.
53. Seller Checkbox Option
Select the checkbox if the contact is a seller.

54. Street 1 Input Field
Enter the first line of the address in this field.

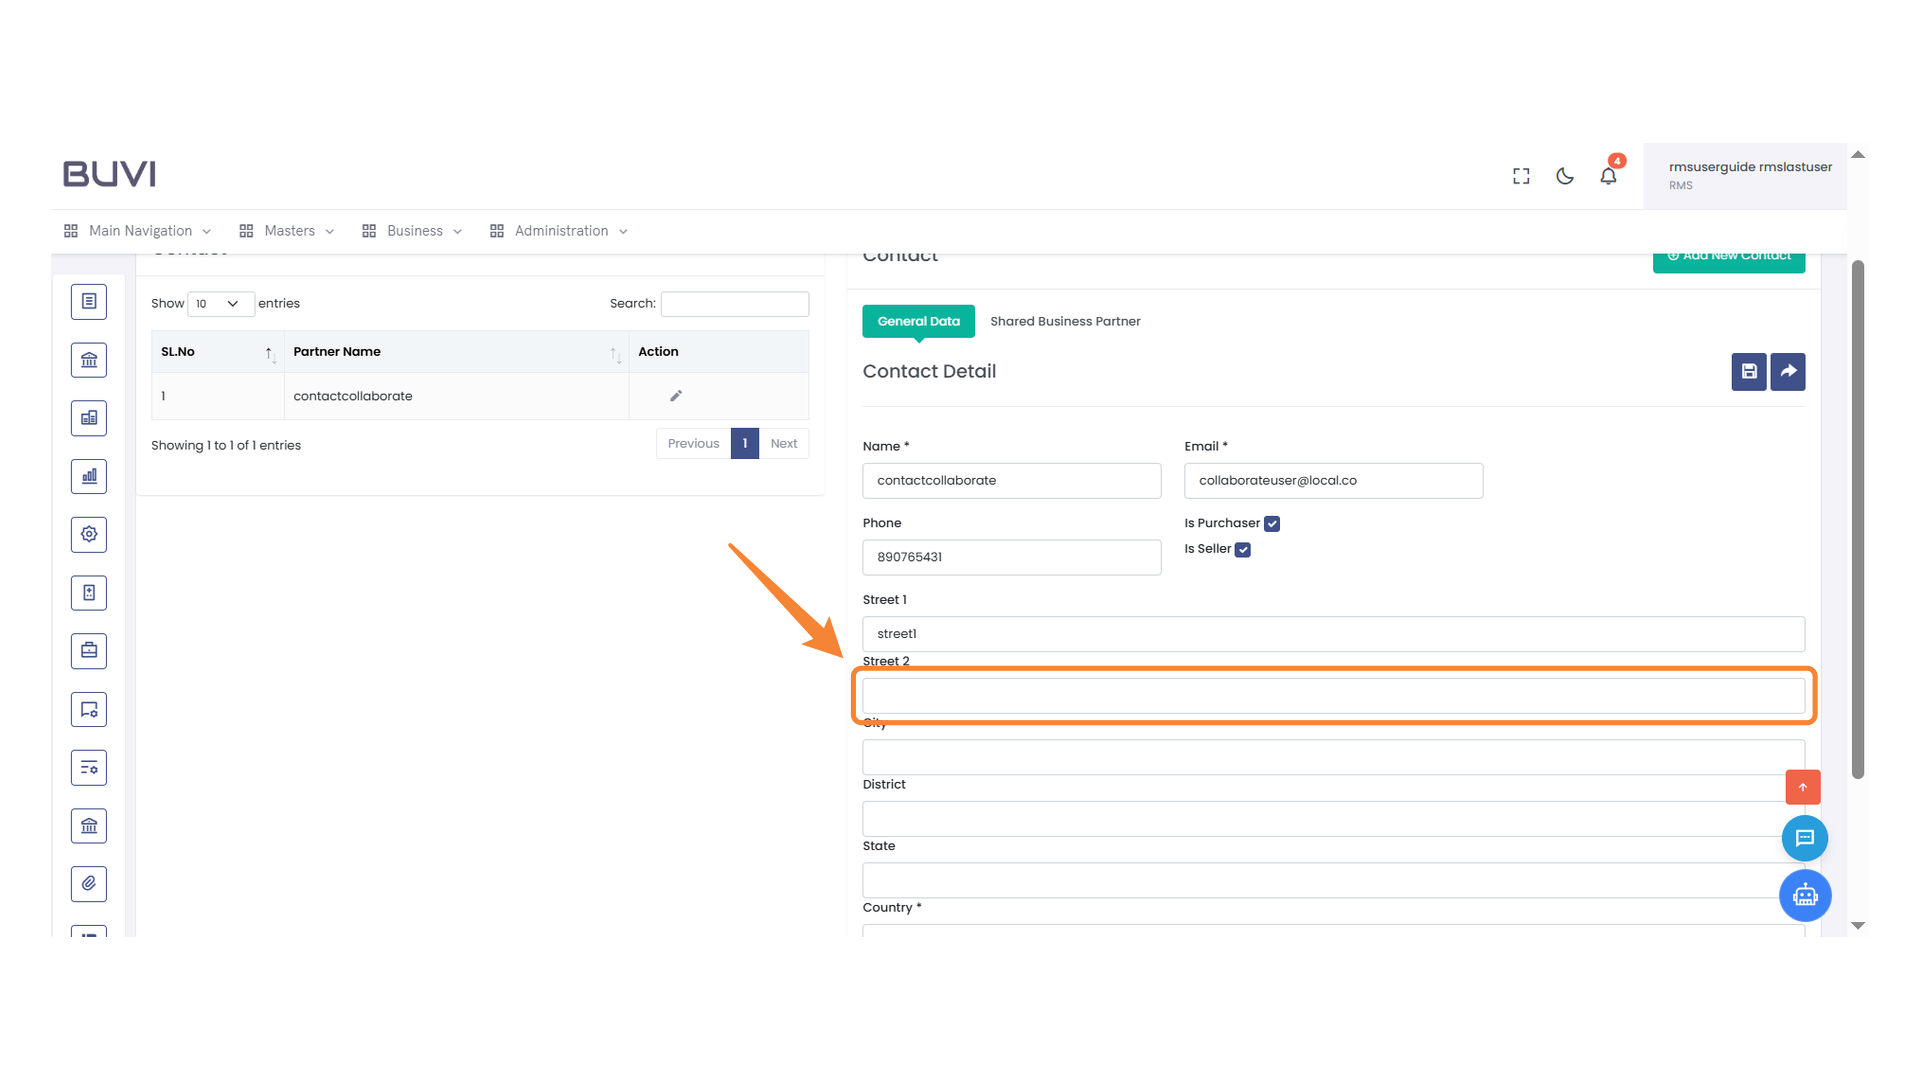
55. Street 2 Input Field
Enter the secondary street address in this field.
56. City Input Field
Enter the name of the city in the provided input field.

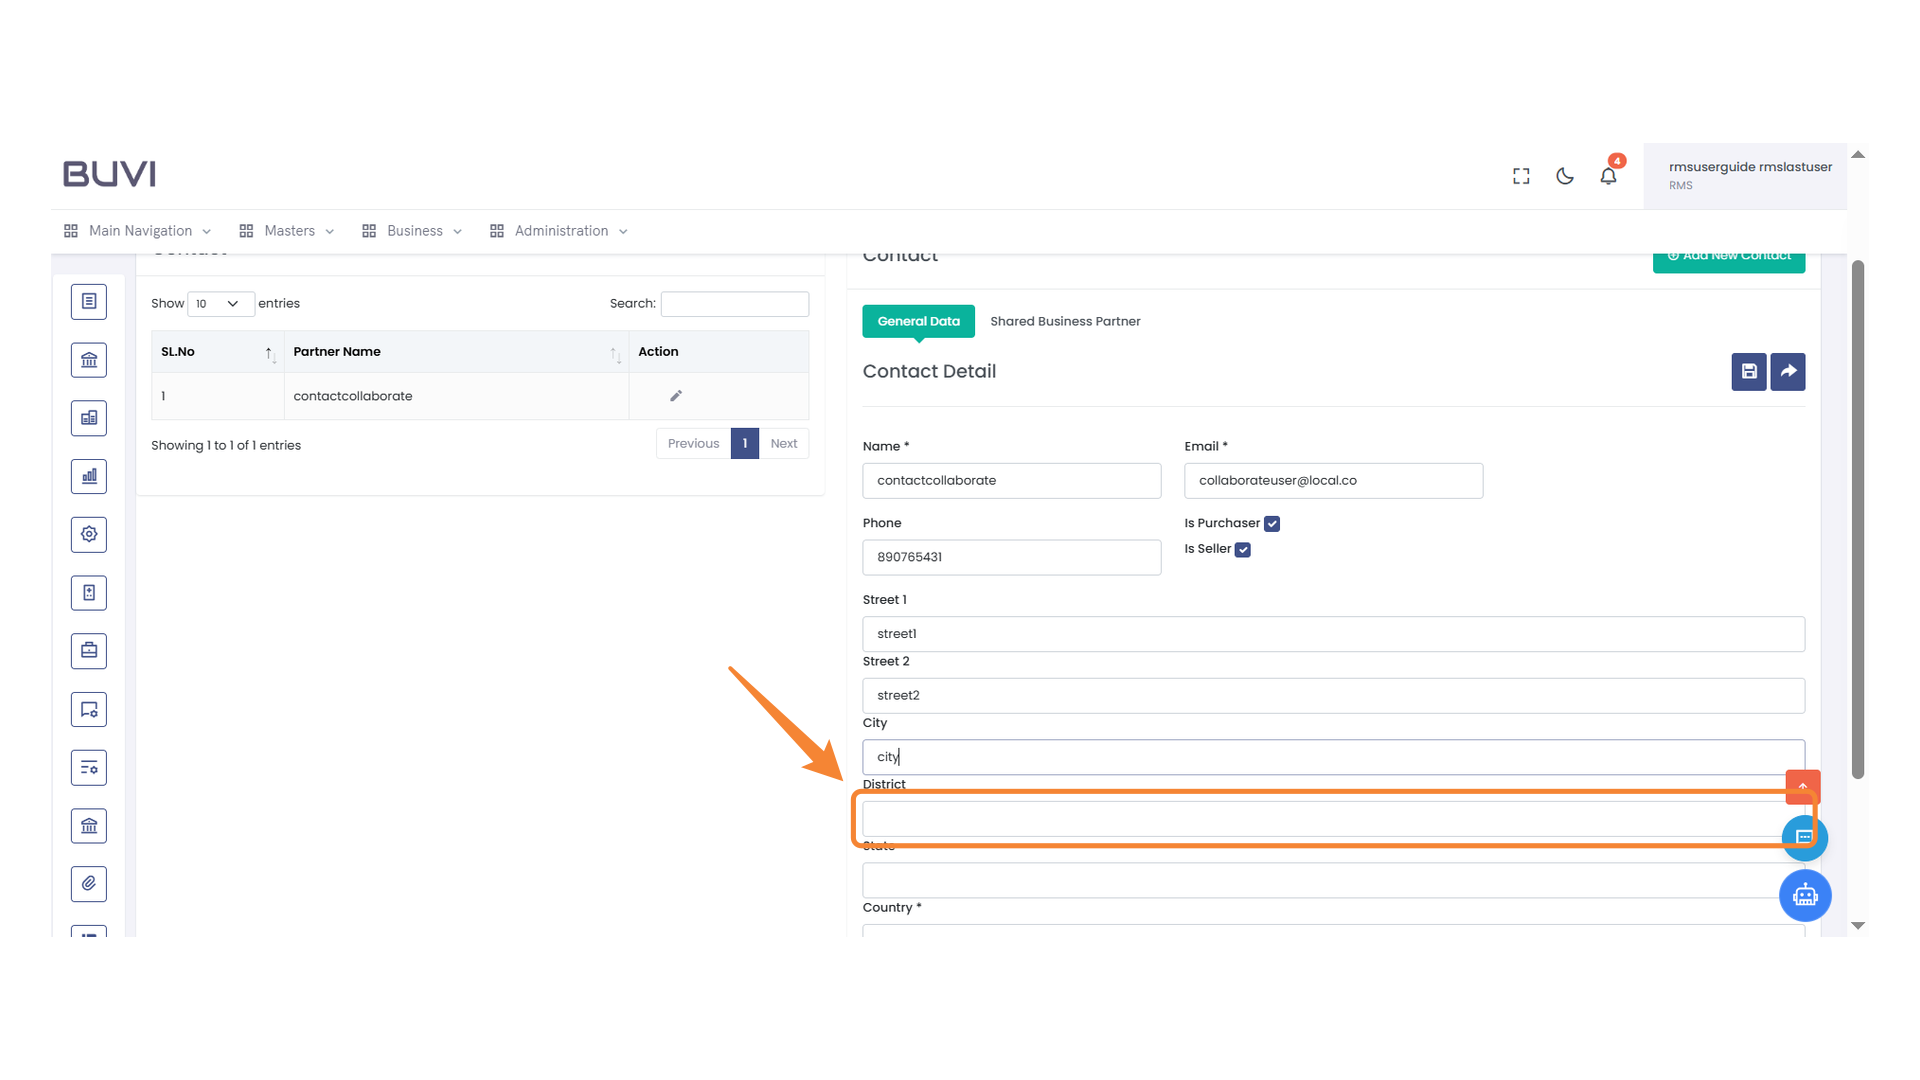
57. District Input Field
Enter the district name in the provided field.
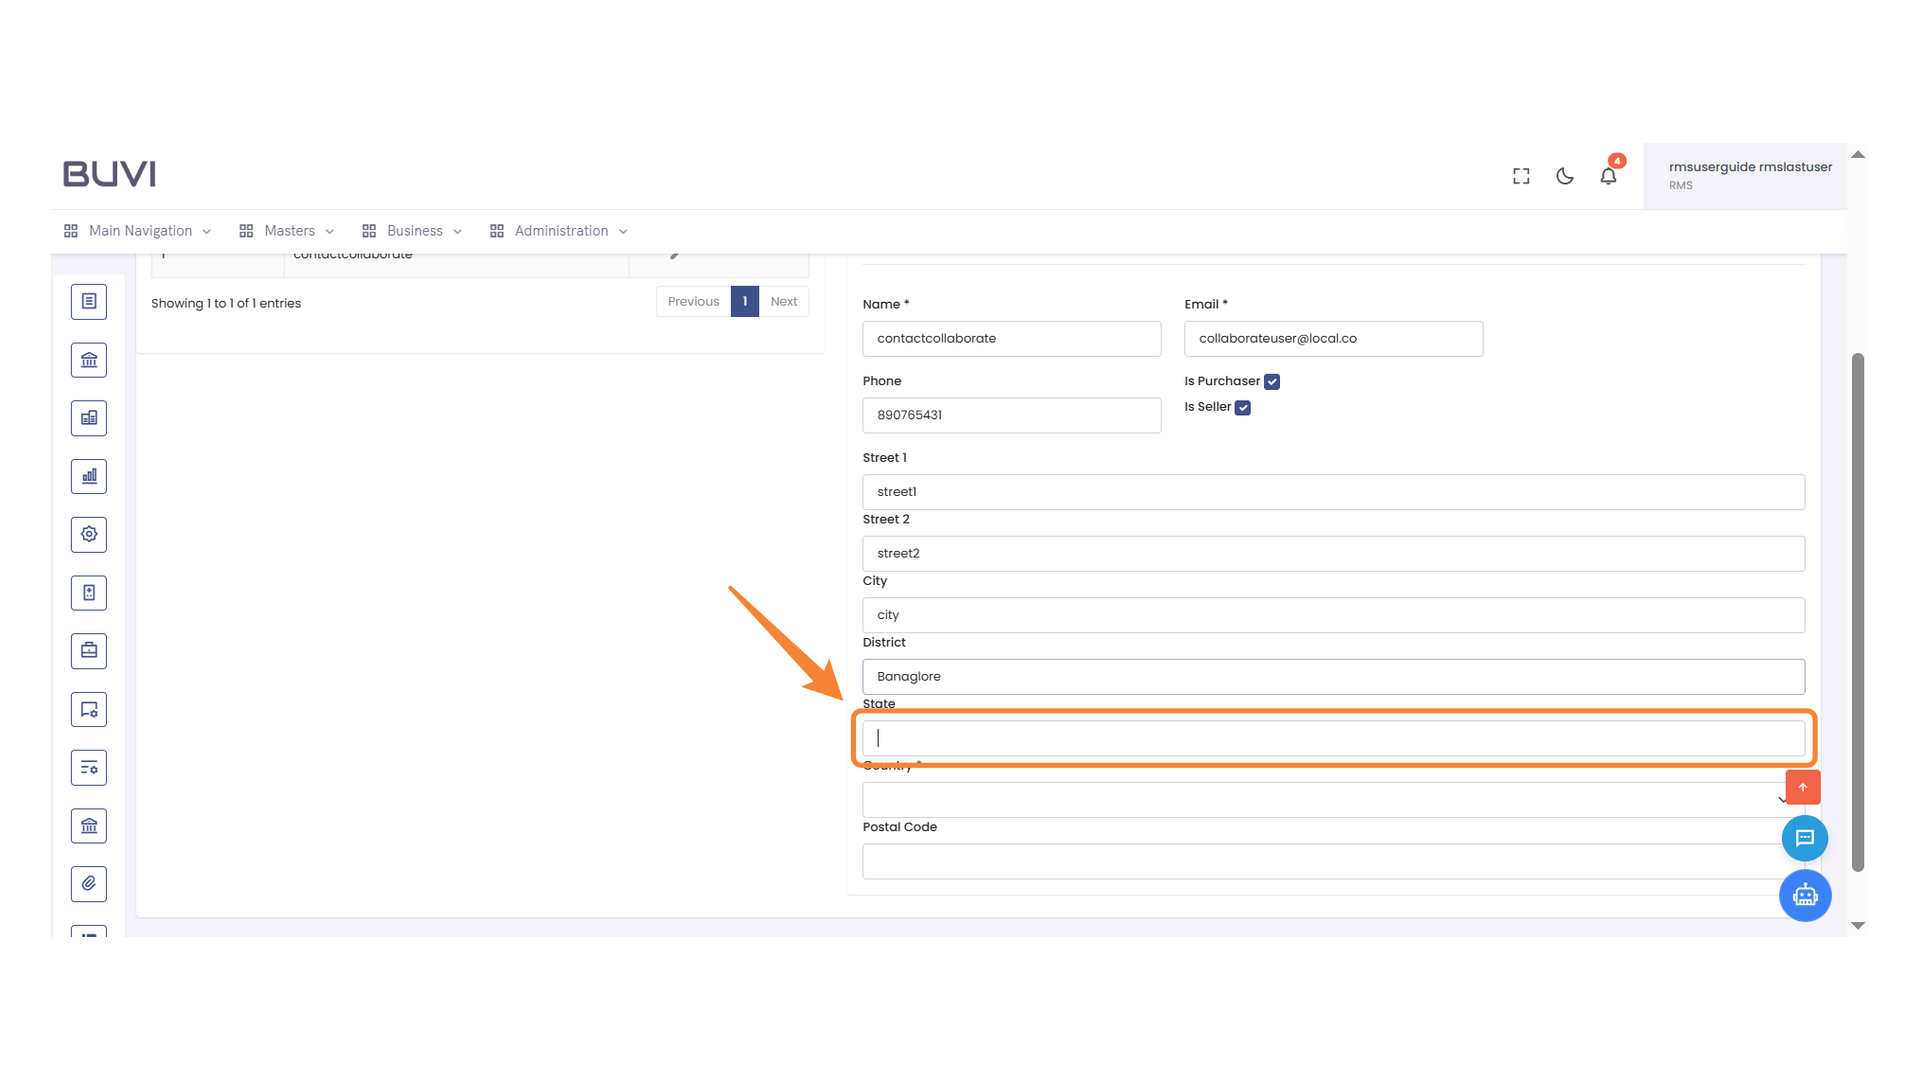
58. State Field Input
Enter the state name in the provided input field.
59. Select Country Field
Choose your country from the dropdown menu.

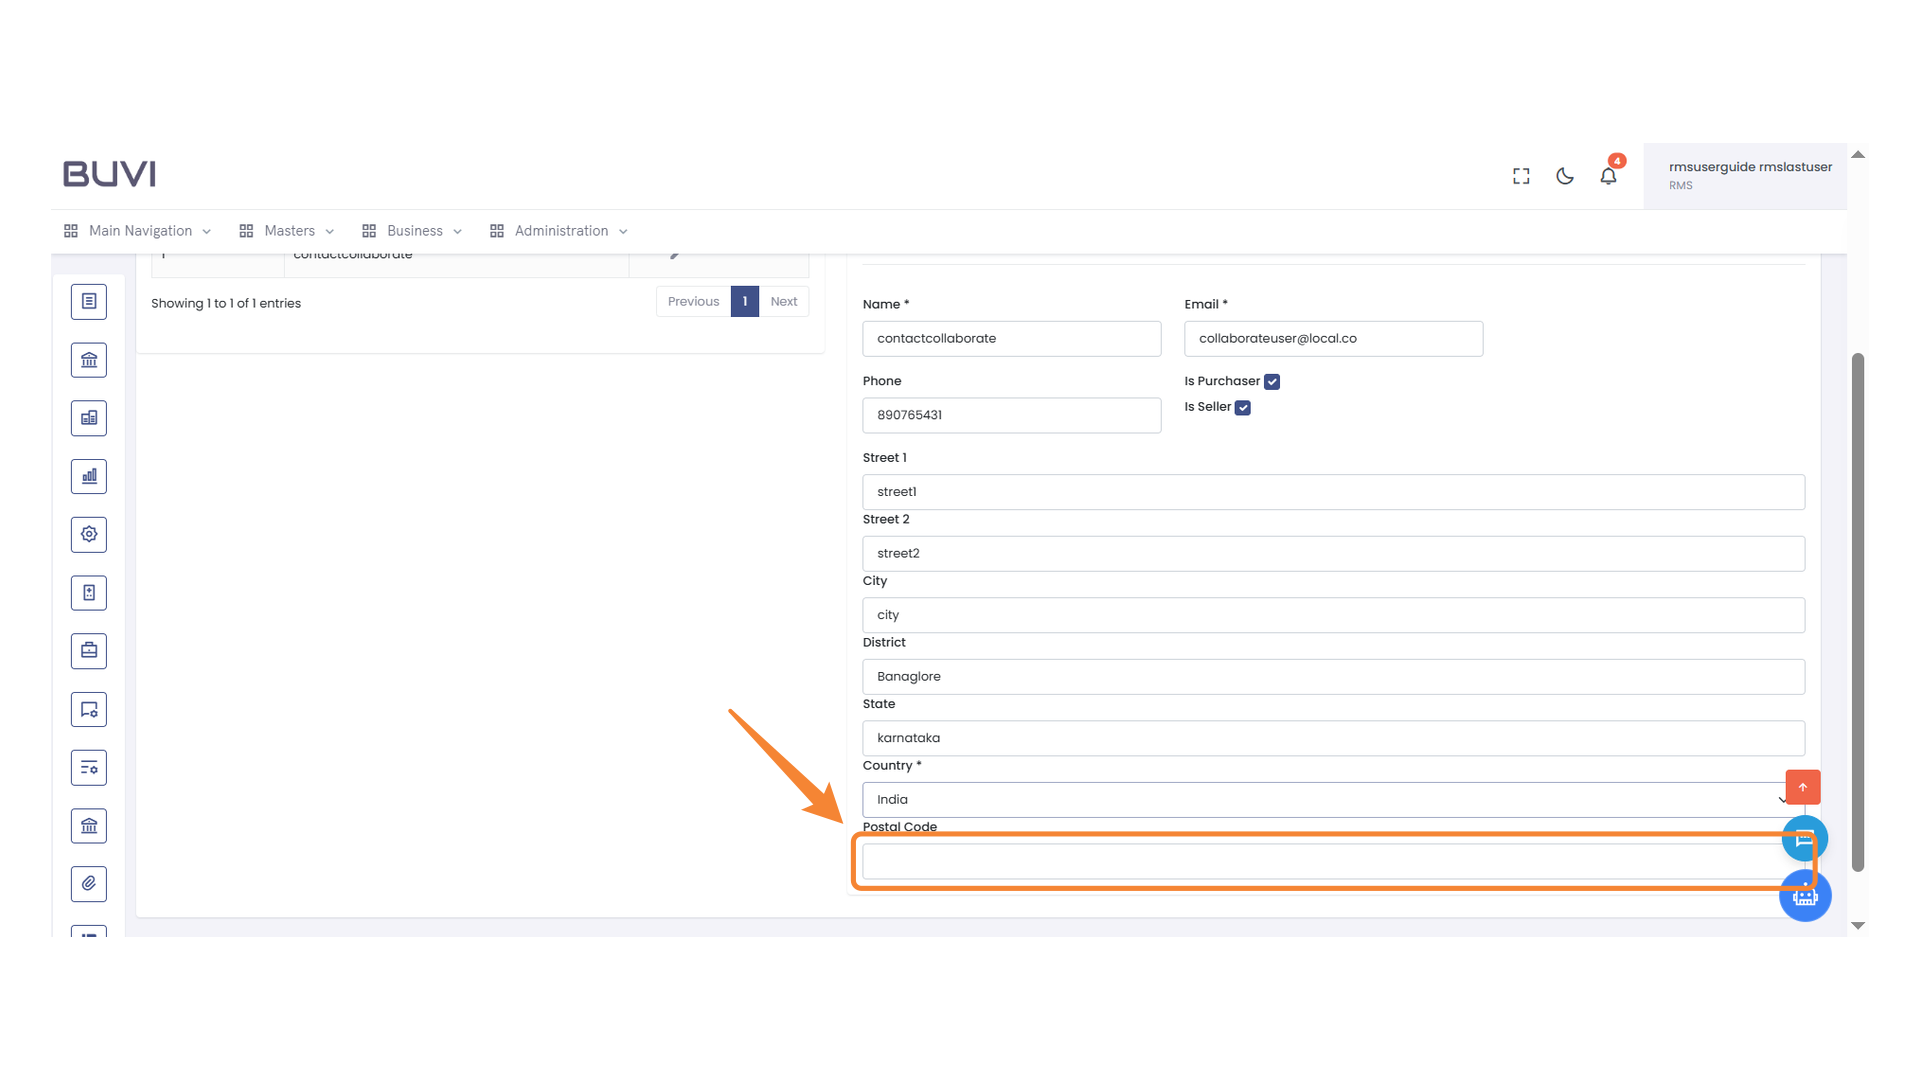
60. Postal Code Entry Field
Enter the postal code in the provided field to complete the form.
61. Save Contact Button
Click to save the contact details you have entered.
62. Edit Button
Click the button to edit the selected contact information.

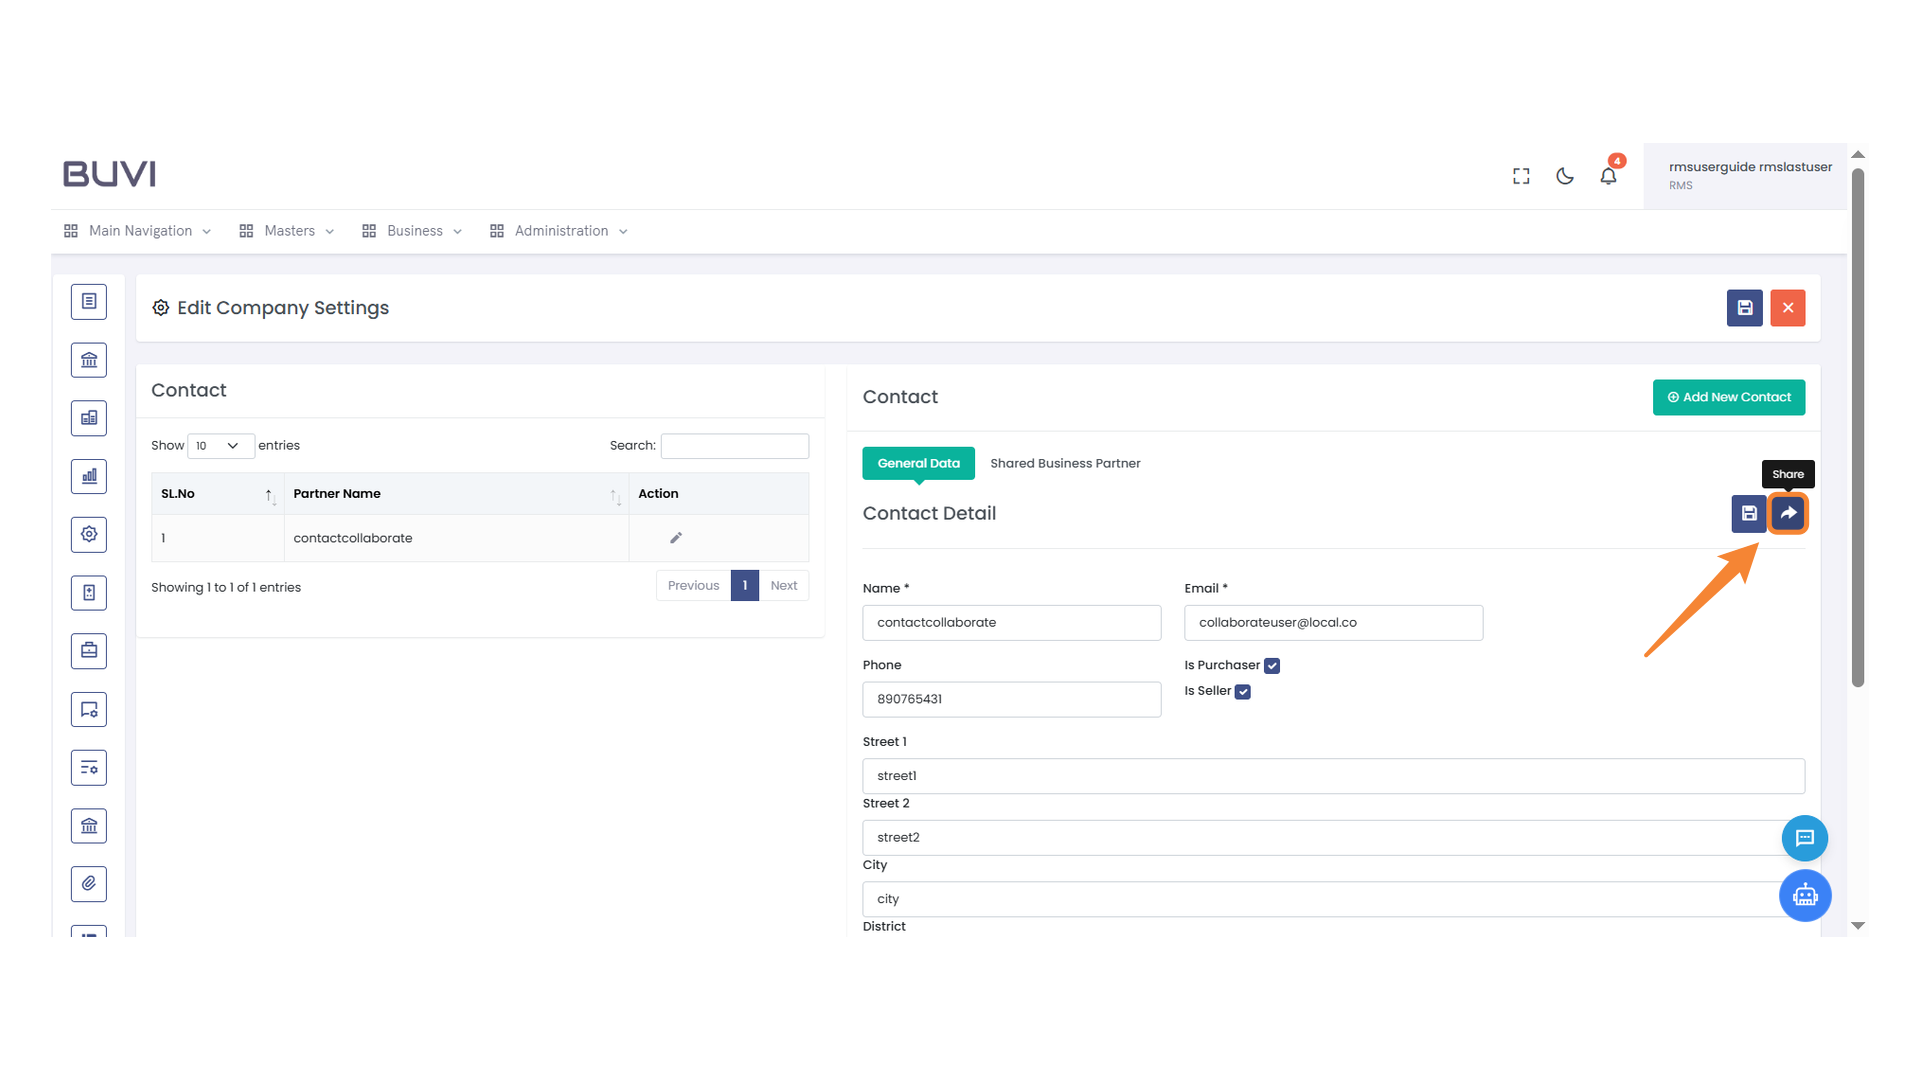
63. Share Button
Click to share the contact details.
64. Select Entry Checkbox
Check the box to select the current entry for further action.

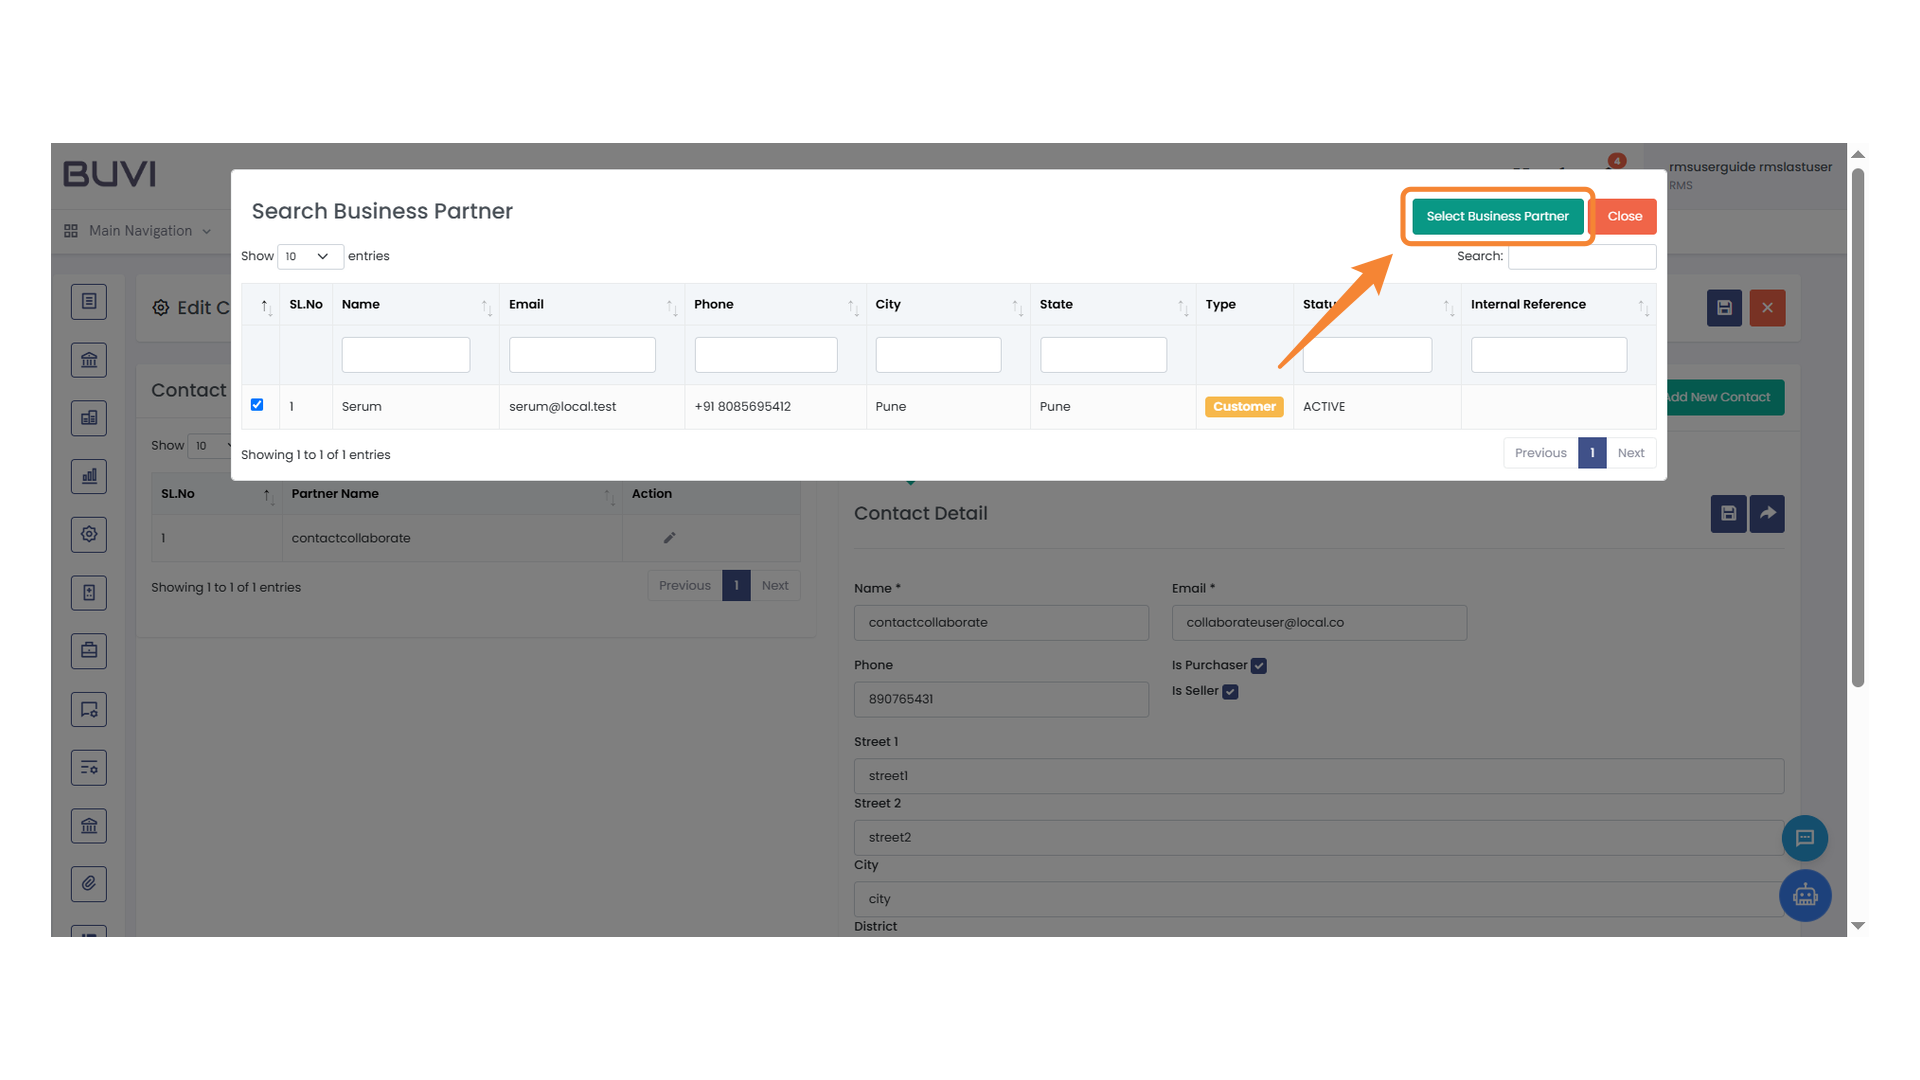
65. Business Partner Selection
Click the 'Select Business Partner' button to choose a partner from the list.
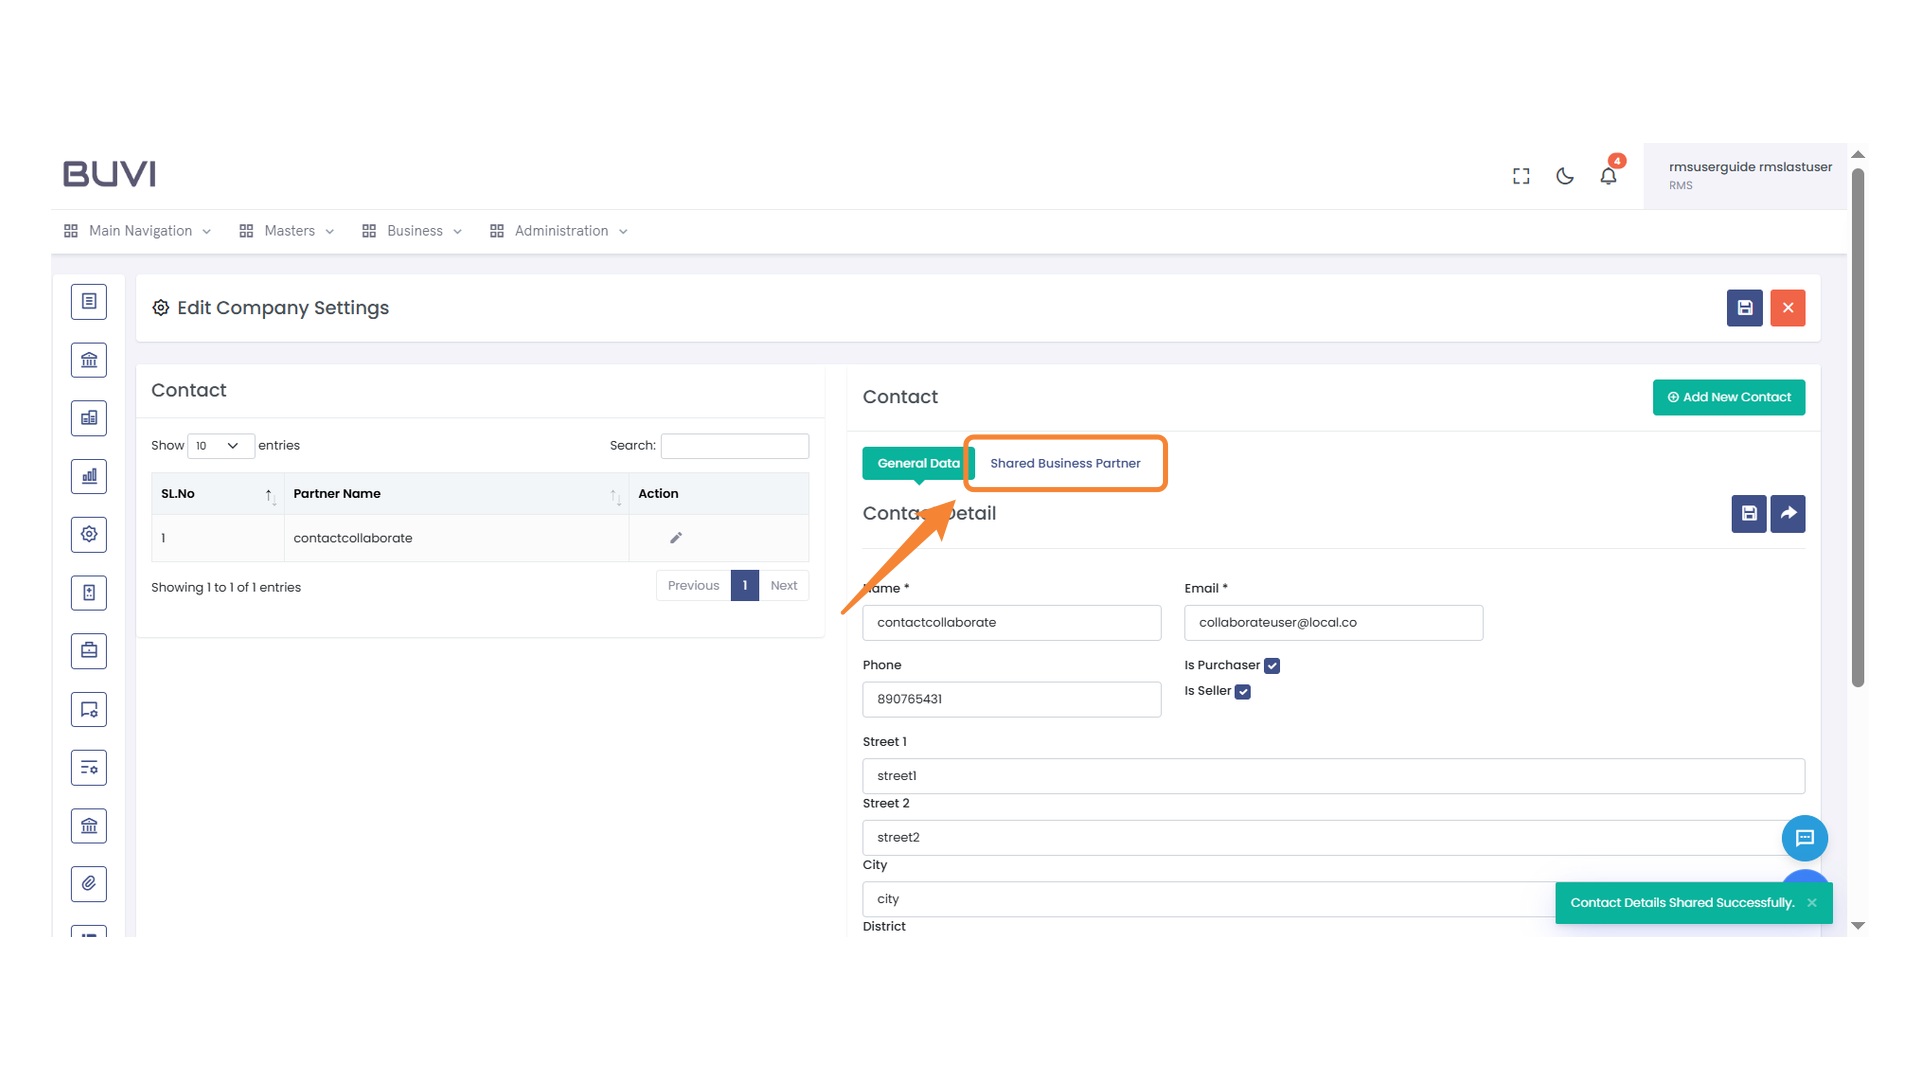
66. Shared Business Partner Tab Highlighted
Click on the 'Shared Business Partner' tab to view shared partner details.
67. Highlighted Business Partner Email
Verify the email address for accuracy.
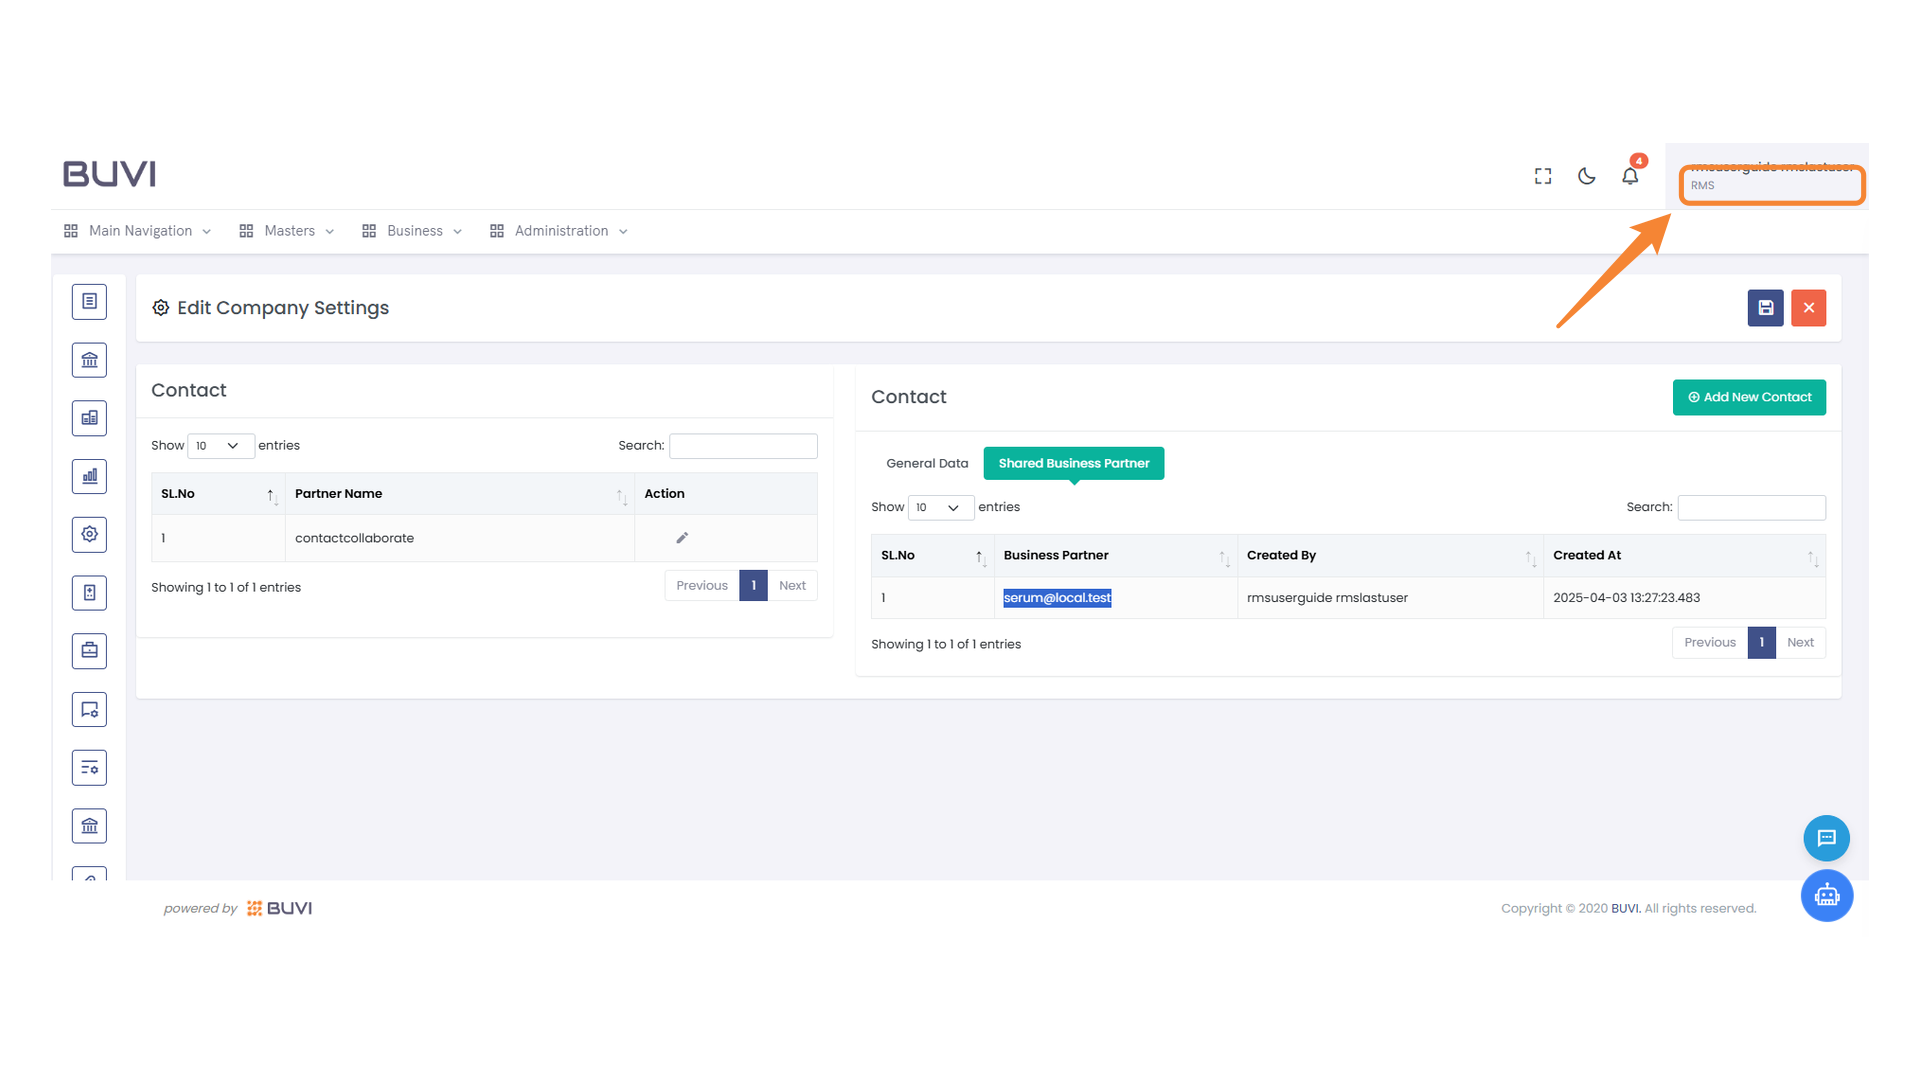
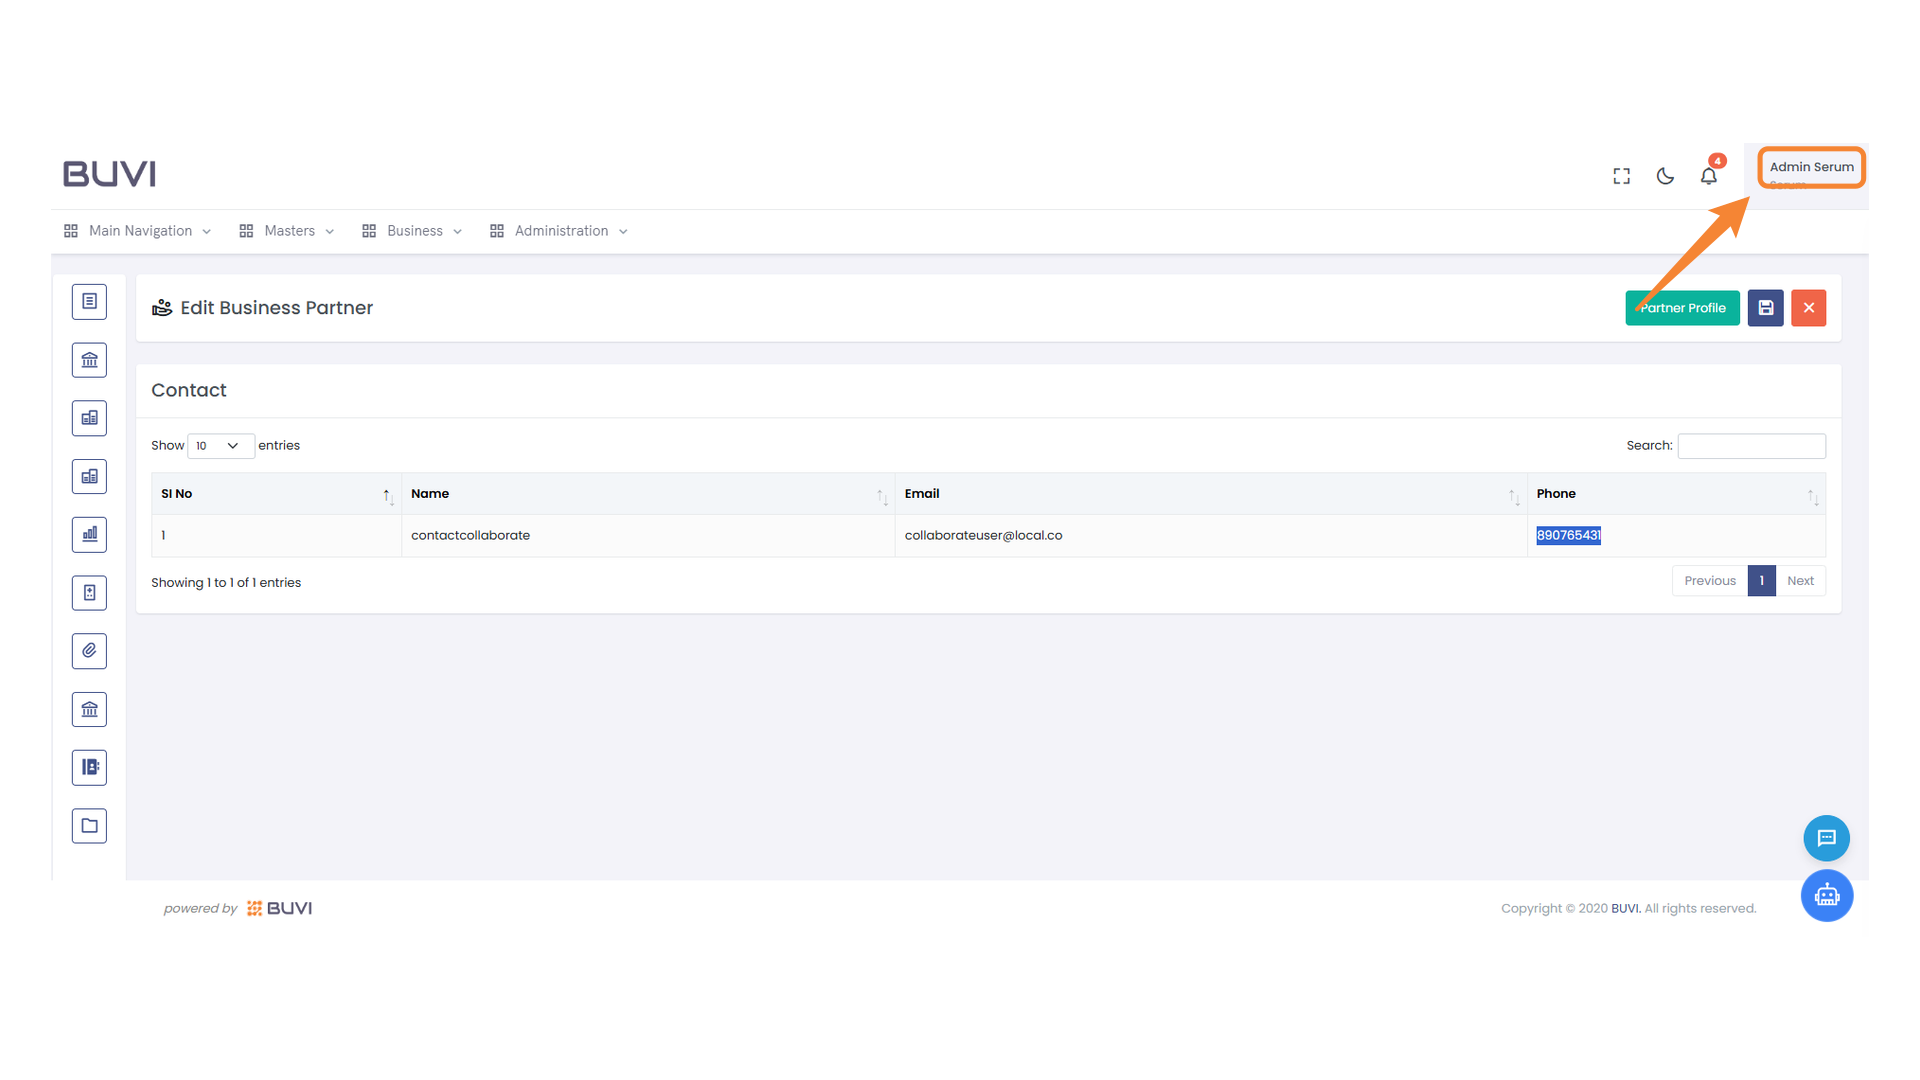
68. User Profile Section
Access user profile details and settings displayed here.
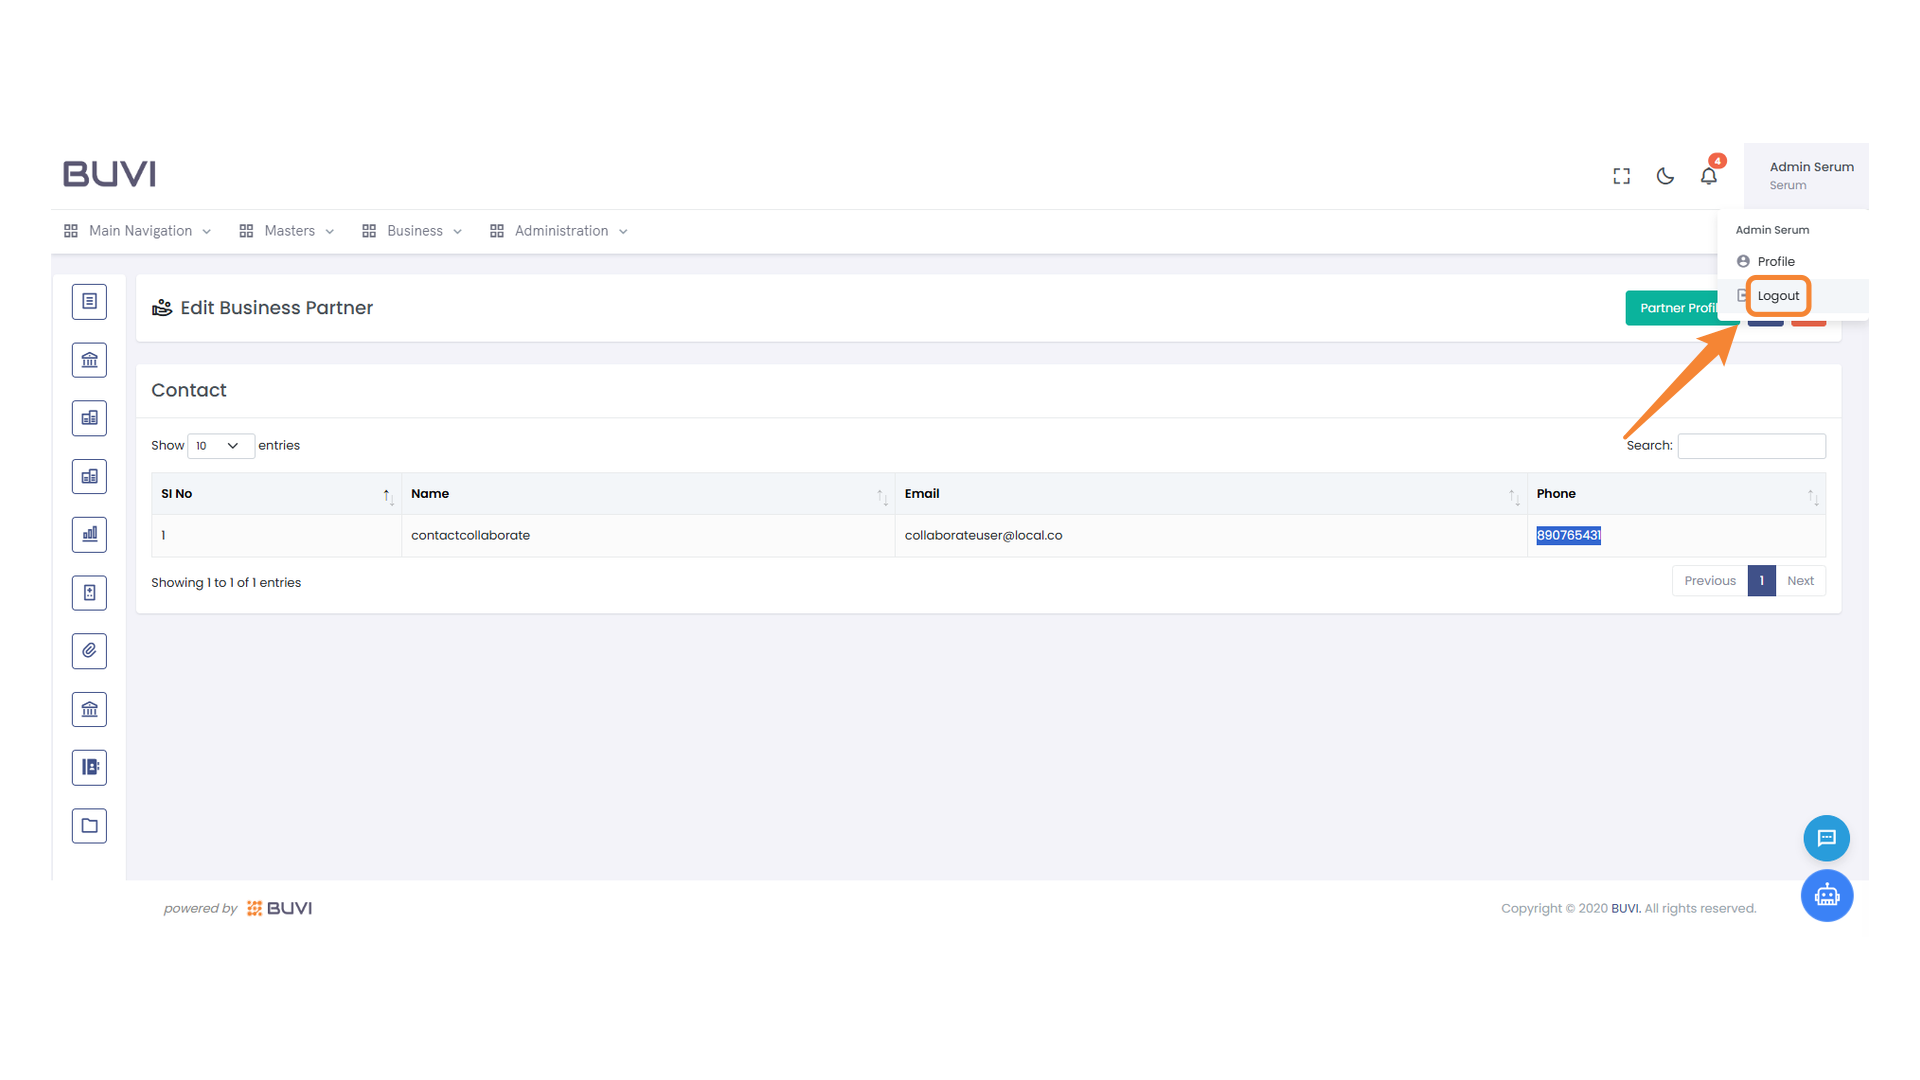
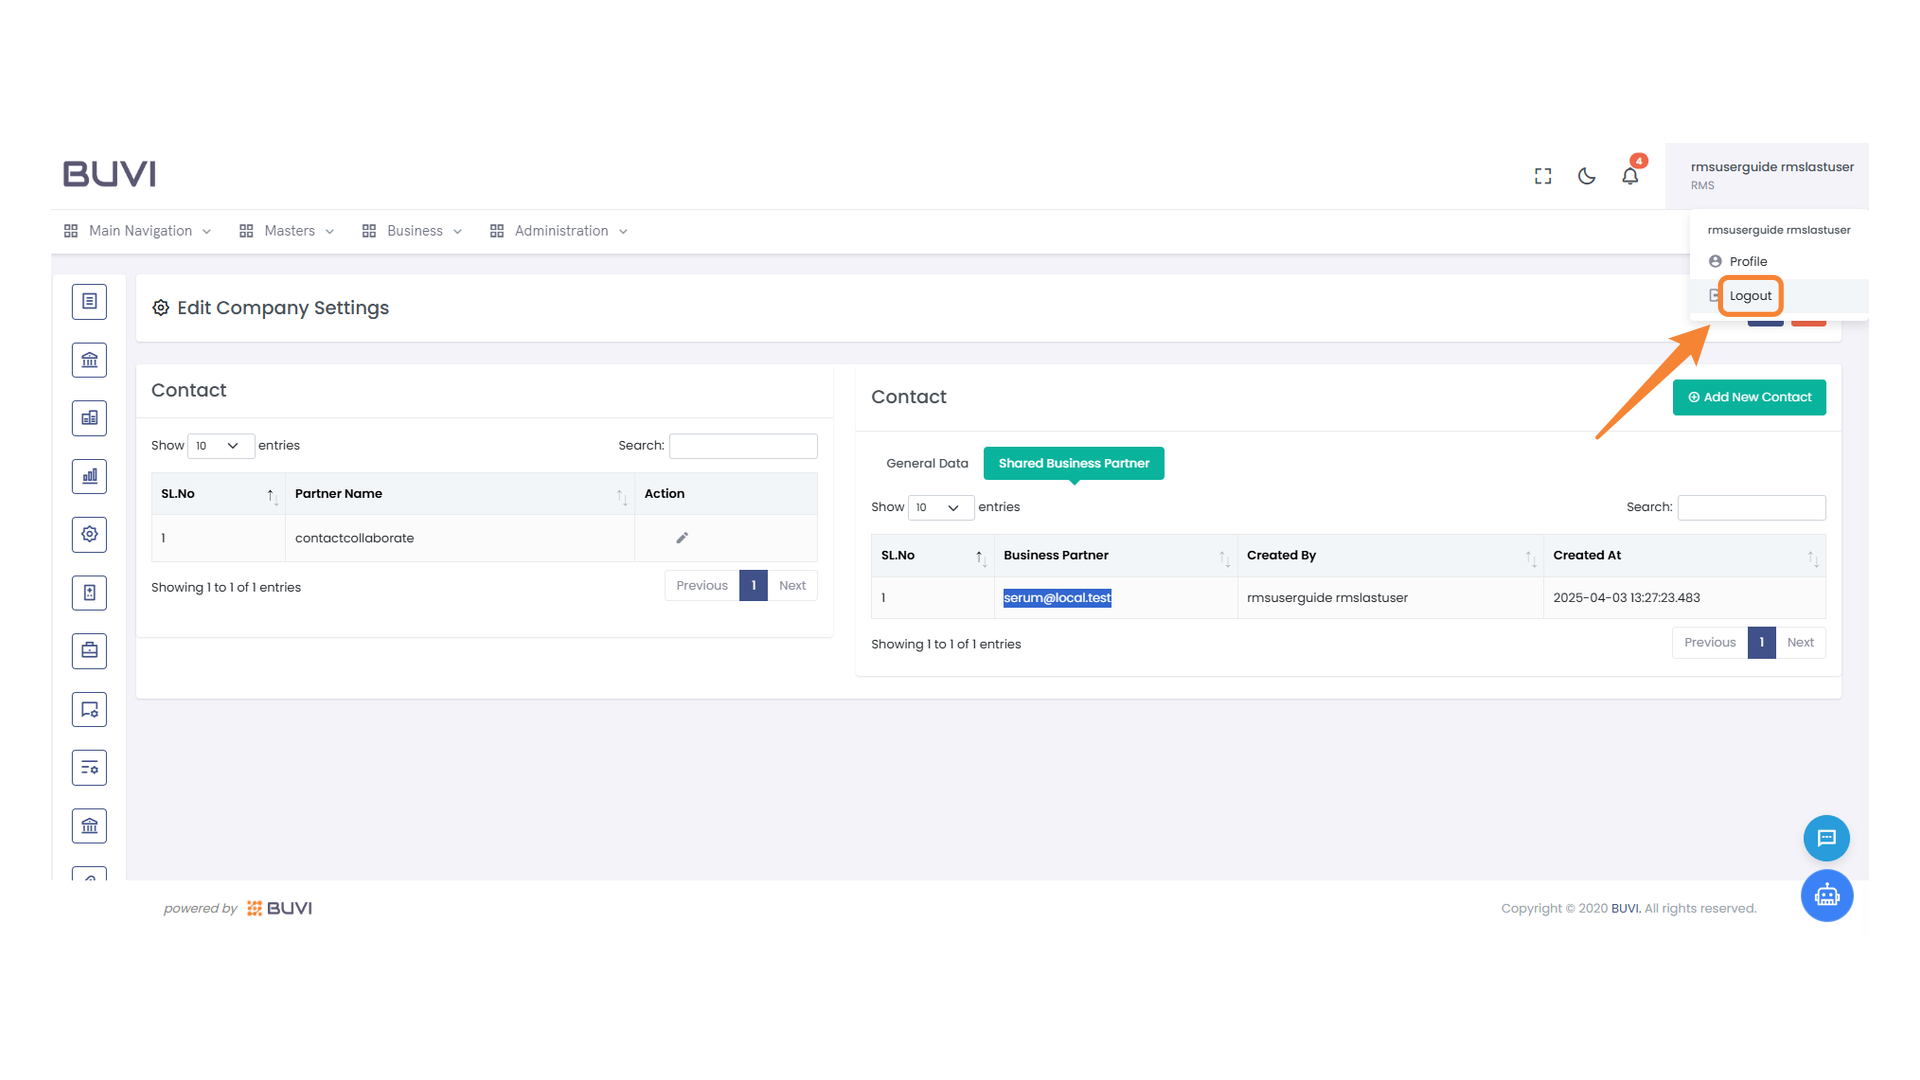
69. Logout Option Highlighted
Select the logout option to exit your account securely.
70. Email Input Field
Enter your email address to proceed with the Buyer login

71. Password Input Field
Enter your password to access your account.

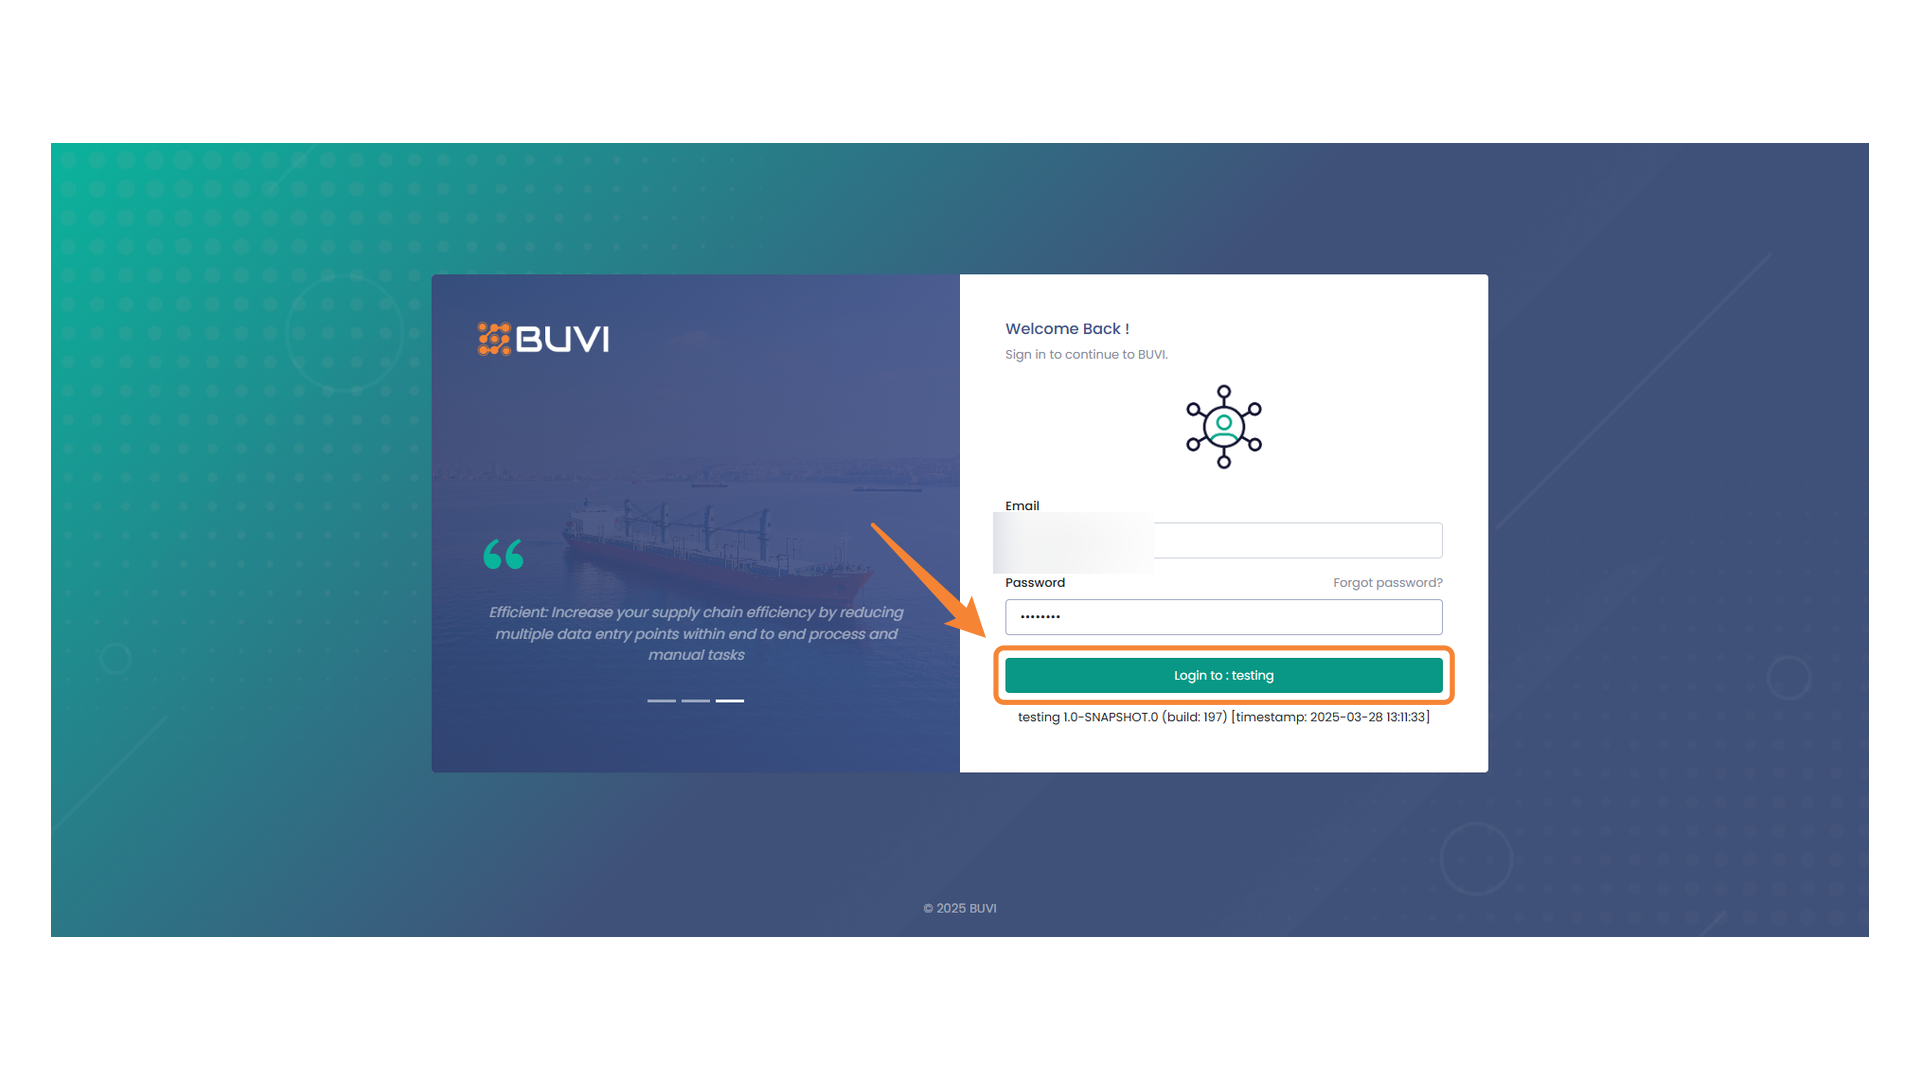
72. Login Button
Press this button to log in to the testing environment.
73. Masters Menu Section
Navigate to Masters to view collaboration details.
74. Business Partners Menu
Select this option to manage and view your business partners.
75. Search Bar
Enter search terms to find specific business partners in the list.
76. Highlighted Email Entry
Verify the email address entry for accuracy and ensure it matches the intended recipient.
77. Edit Action Button
Click the pencil icon to edit the selected entry.
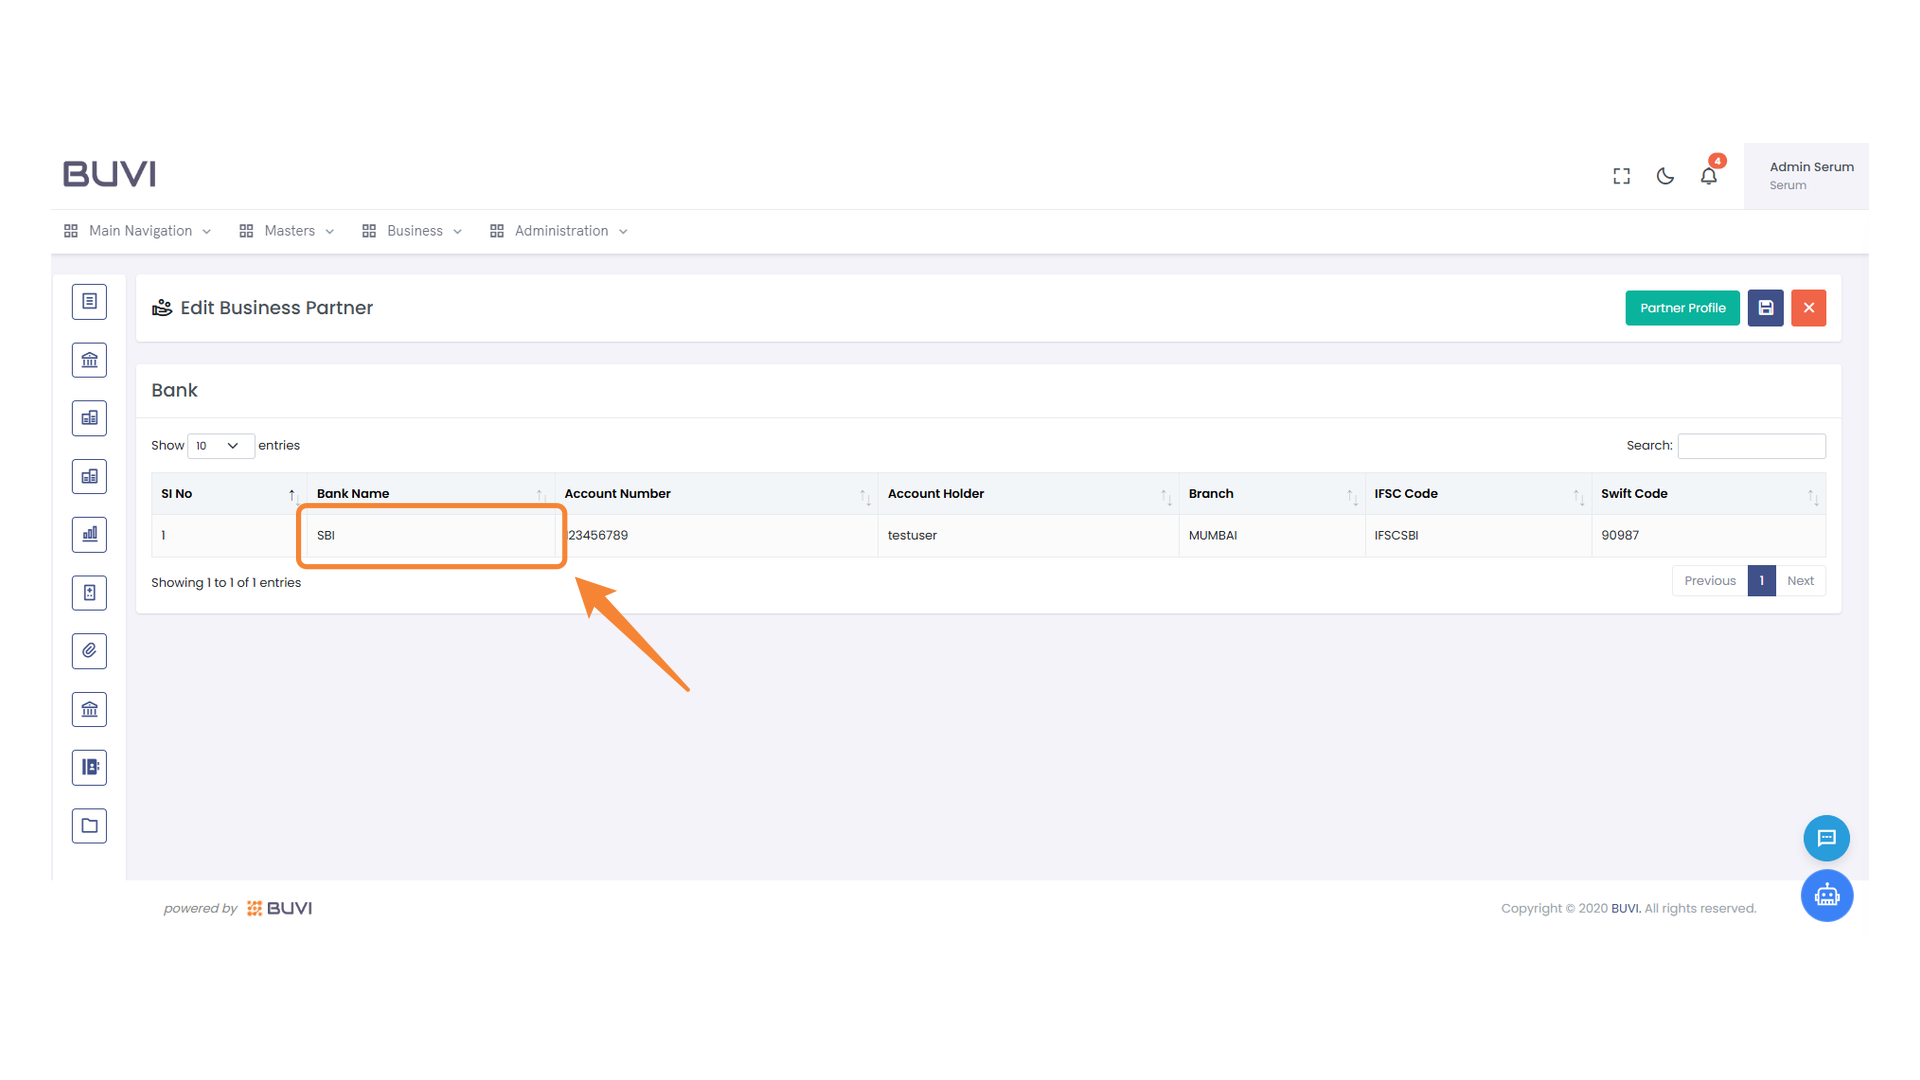
78. Bank Information Section
Navigate to the bank section to view or edit financial information.

79. Bank Name Selection
Focus on the chosen bank name entry in the list.
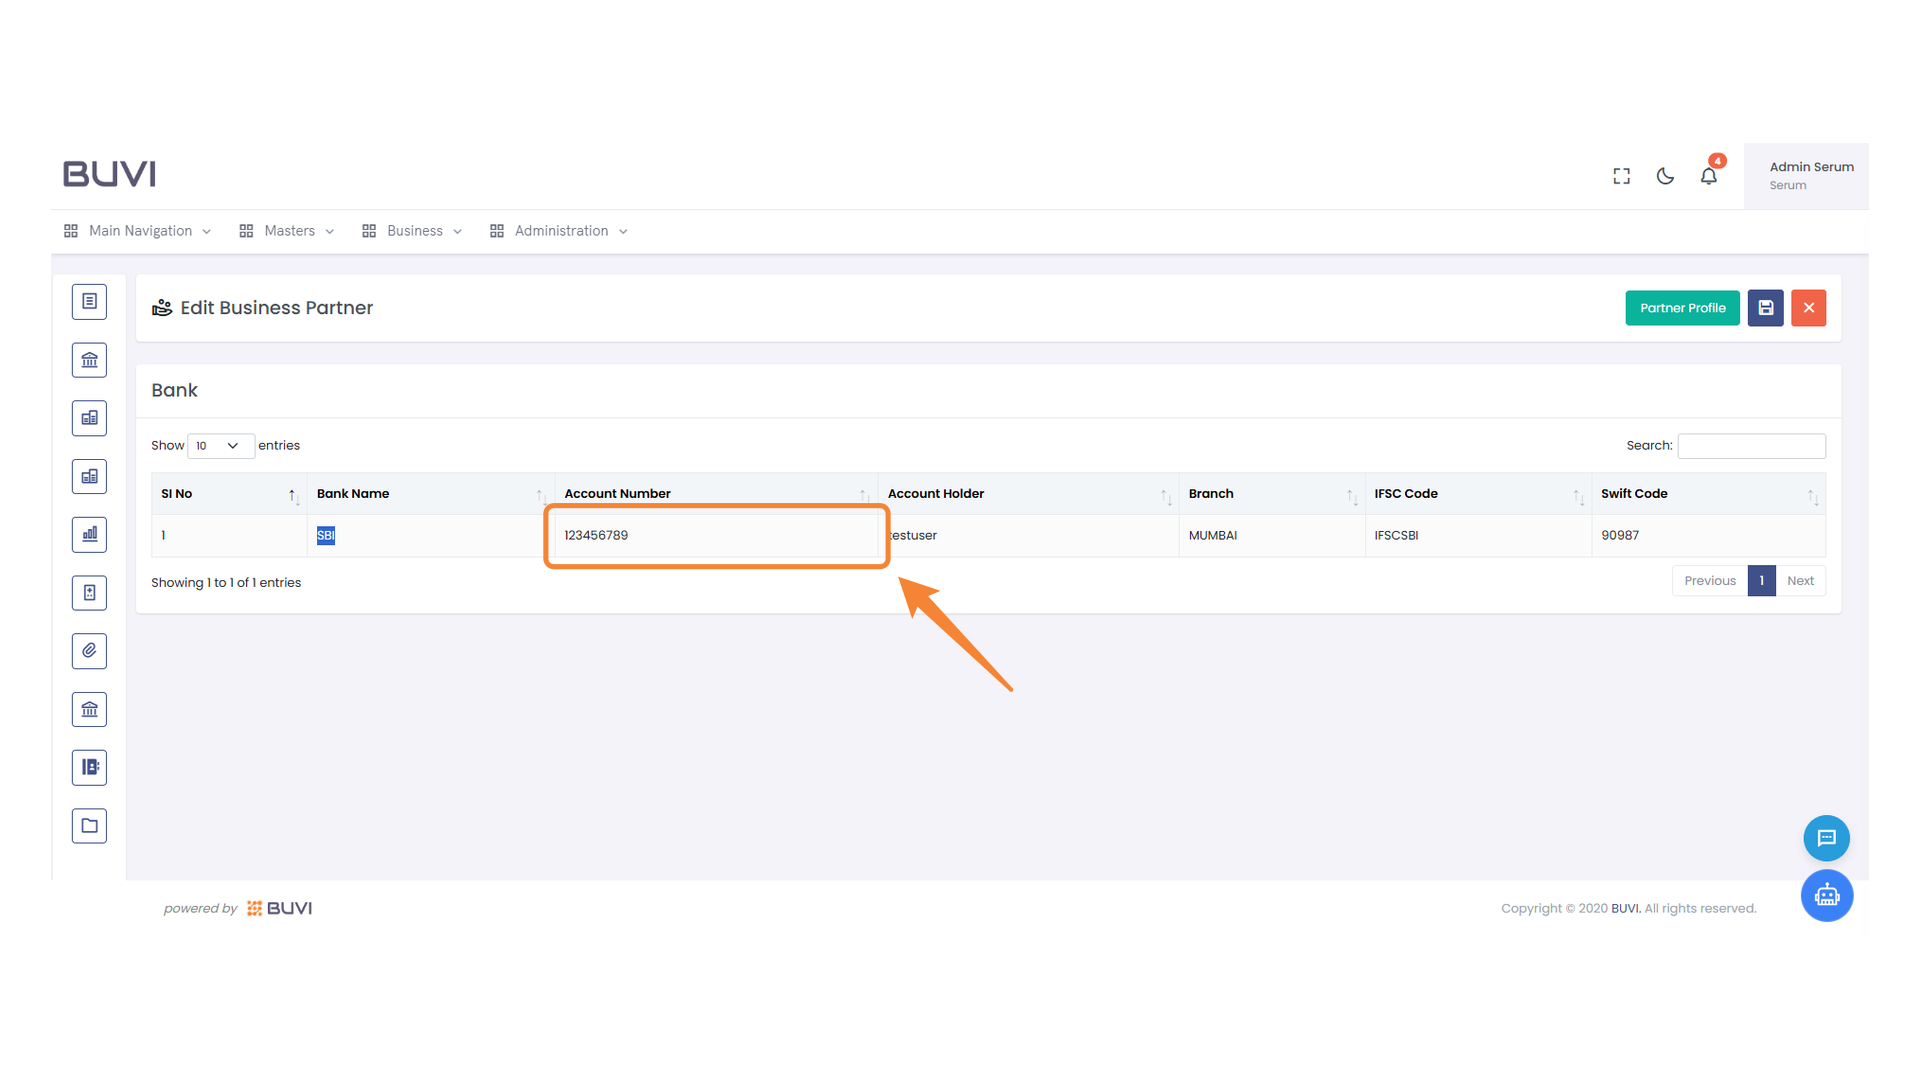
80. Highlighted Account Number
Examine the bank account number displayed
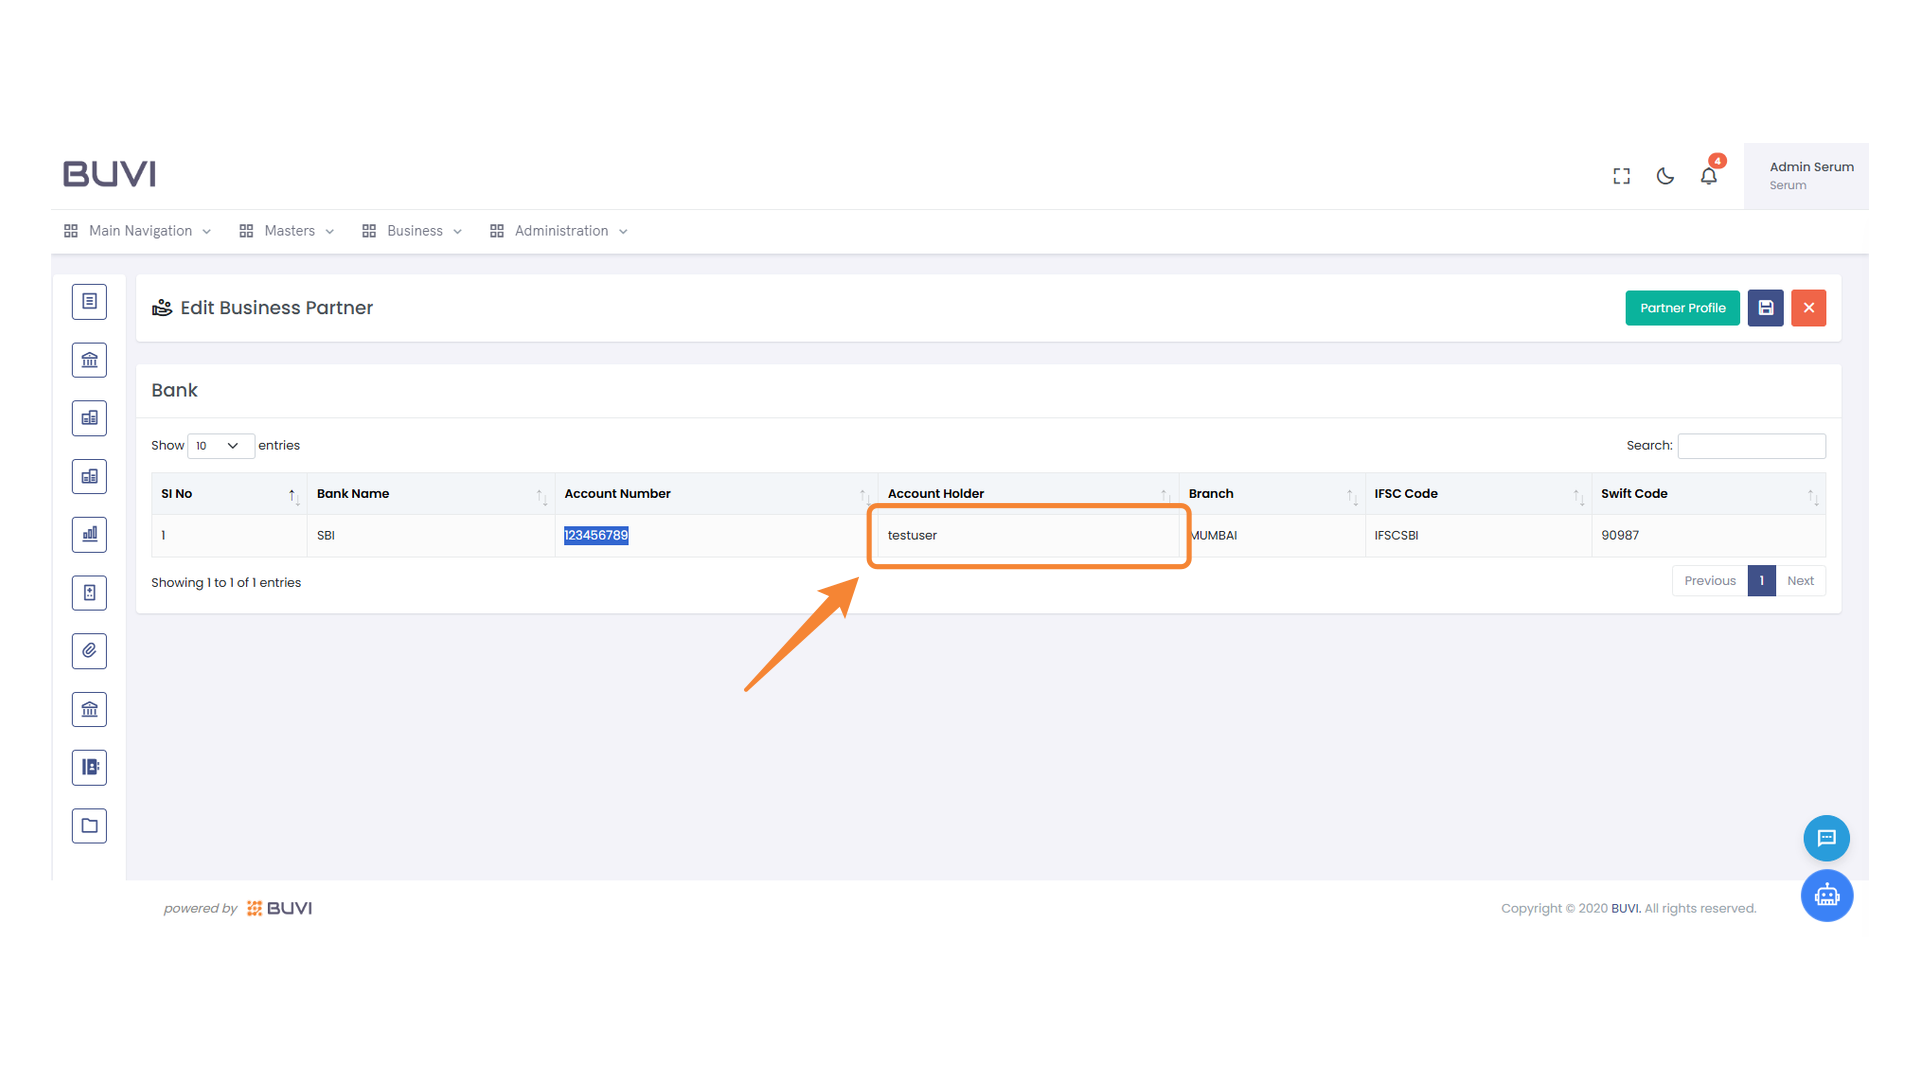
81. Account Holder Information
Verify that the account holder's name is correctly entered in the form.
82. Bank Branch Location
Identify the branch location for the selected bank account entry.
83. Bank Details Section
Examine the IFSC Code for the specified bank entry.
84. SWIFT Code Display
Verify the SWIFT code for accuracy.
85. Attachment Icon
Click to view attachments.
86. Unlabeled Entry in Attachments List
Please verify the attachment uploaded by the vendor.
87. Click to View Attachment
Select this button to view the attached file.
88. Product Icon Section
Click to access the product-related options and features.

89. Product Category Selection
Identify and manage the selected product category.
90. Product Category Code
Verify and edit the product category code as required.

91. Product Category Source
Verify the source information for the selected product category.
92. Third Party Category Code Information
Verify the displayed category code for accuracy.
93. Contact Icon
Click to access the contact section.
94. Contact Name Entry
Review the contact name for accuracy and relevance.
95. Highlighted Email Address
Verify the email address for the business contact entry.
96. Contact Phone Number
Verify and update the phone number displayed for the contact.
97. User Profile Access
Click here to redirect to the admin user profile settings.
98. Logout Option Highlighted
Click to log out of your account safely.